How to Sew a Hem: Double-Fold and Narrow Hems
Fold twice, press and stitch close to the inner fold. A clear method for the double-fold hem and its smaller version, the narrow hem.
A raw fabric edge frays, curls and looks unfinished. A hem solves all three by folding that edge out of sight and stitching it down. Learning how to sew a hem takes one practice strip of cotton, and the double-fold version shown here is the one used on napkins, bandanas, curtain edges, bag openings and the back panels of pillow covers.
What a Double-Fold Hem Is
In a double-fold hem the edge is turned to the wrong side of the fabric twice. The first fold tucks the raw edge under; the second fold wraps it completely, so no cut threads are left exposed. A single row of straight stitching then holds the folds in place.
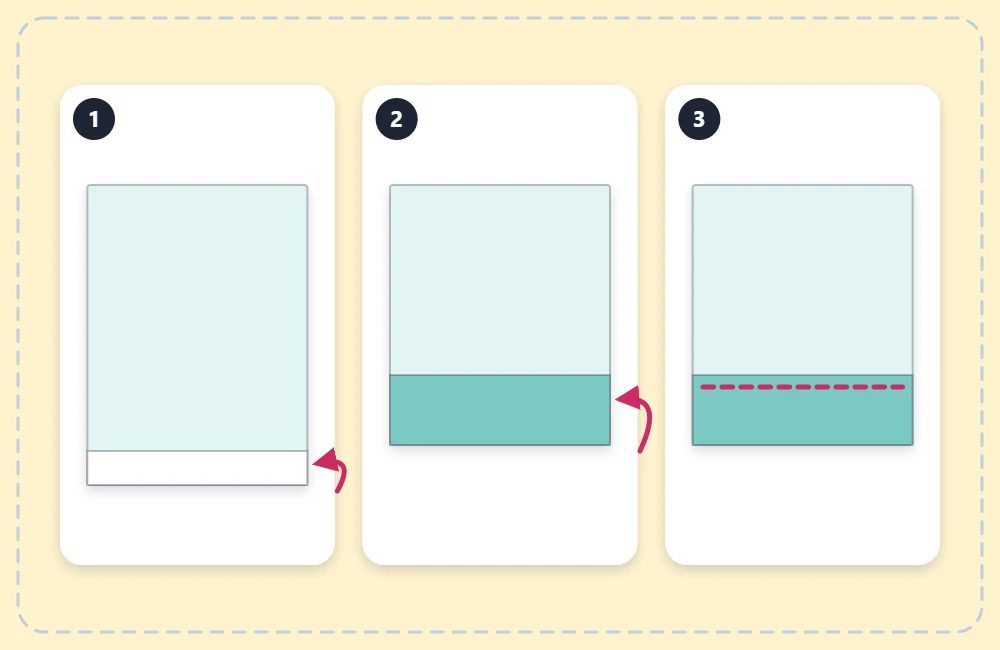
The extra fabric needed for the folds is called the hem allowance. It equals the first fold plus the second fold, and it must be added to the length of the piece before cutting.
| Hem type | First fold | Second fold | Hem allowance |
|---|---|---|---|
| Narrow hem | 1/4 inch (6 mm) | 1/4 inch (6 mm) | 1/2 inch (1.3 cm) |
| Standard hem | 1/2 inch (1.3 cm) | 1/2 inch (1.3 cm) | 1 inch (2.5 cm) |
| Deep hem | 1/2 inch (1.3 cm) | 1 inch (2.5 cm) | 1 1/2 inches (3.8 cm) |
What You Need
- Woven cotton fabric with a straight, cleanly cut edge
- An iron and ironing board
- A seam gauge, a small ruler with a sliding marker, or any short ruler
- Sewing clips or pins
- A sewing machine with a universal 80/12 needle and all-purpose thread
For a first attempt, cut a practice strip about 6 x 12 inches (15 x 30 cm) and hem one long edge.
How to Sew a Double-Fold Hem
These steps make a standard hem with two 1/2 inch (1.3 cm) folds.
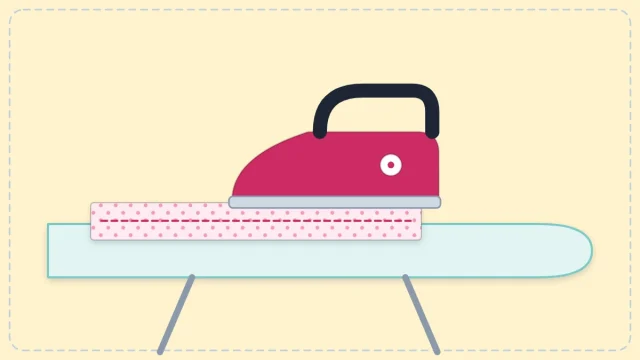
- Press the first fold. Lay the fabric wrong side up. Fold the raw edge up by 1/2 inch (1.3 cm), checking the depth with the seam gauge every few inches, and press along the fold.
- Press the second fold. Fold the edge up again by 1/2 inch (1.3 cm) so the raw edge is hidden inside. Press firmly.
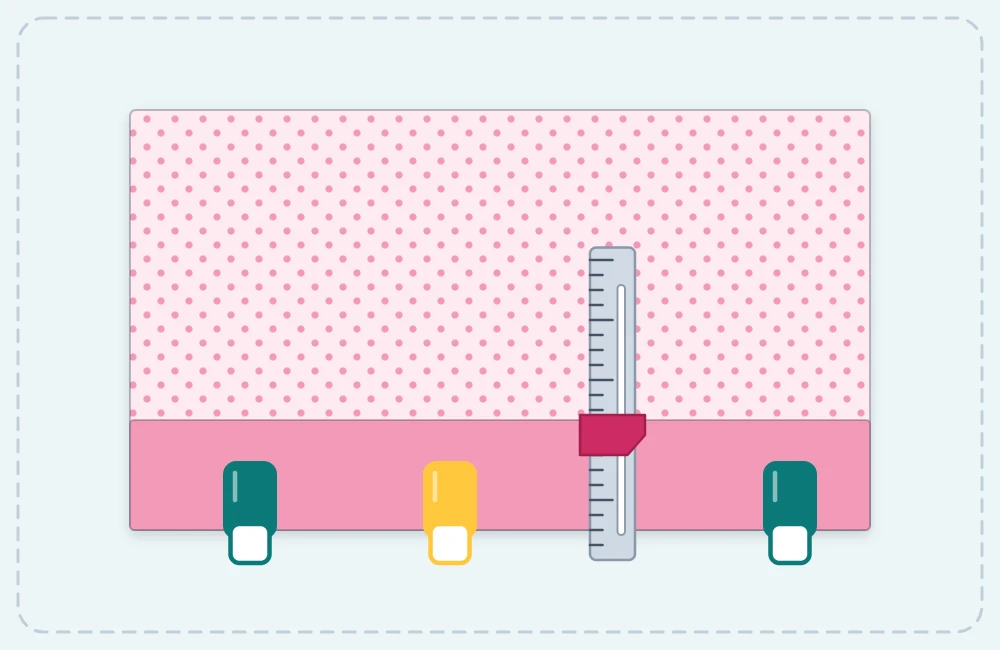
- Secure the hem. Hold the folds with clips or with pins placed across the hem so they are easy to remove as you sew.
- Set the machine. Choose a straight stitch about 2.5 to 3 mm long.
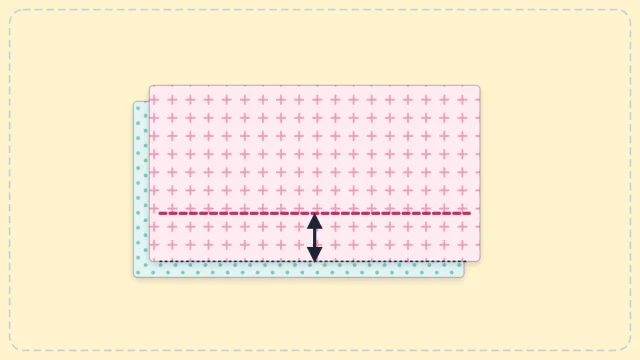
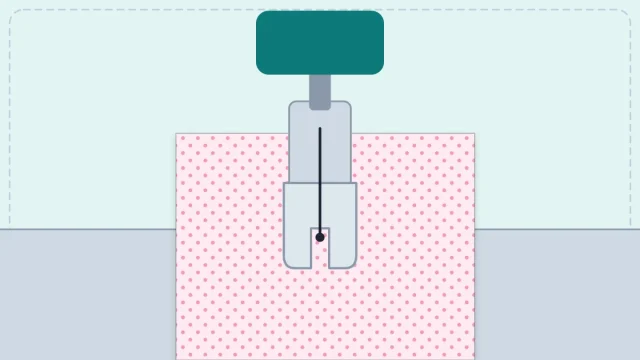
- Position the fabric. Place it under the presser foot with the wrong side facing up, so the folded hem is visible. The needle should come down about 1/8 inch (3 mm) from the inner fold, the fold farthest from the outer edge of the fabric.
- Stitch along the fold. Sew 3 to 4 stitches, backstitch over them, then sew the length of the hem at a steady pace, keeping the same distance from the inner fold. Remove pins before they reach the foot, and backstitch again at the end.
- Press the finished hem. A final press sets the stitches and flattens the edge.
Tip
Pressing does most of the work. A hem with two sharp, even creases practically holds itself, and the stitching only has to follow the fold. The basics are covered in the guide to pressing for sewing.
How to Sew a Narrow Hem
A narrow hem is the same idea at a smaller scale: two folds of 1/4 inch (6 mm) each. It suits lightweight fabrics and edges that should stay soft, which is why it is used on the hemmed bandana.
Small folds are harder to control than wide ones, so a few adjustments help:
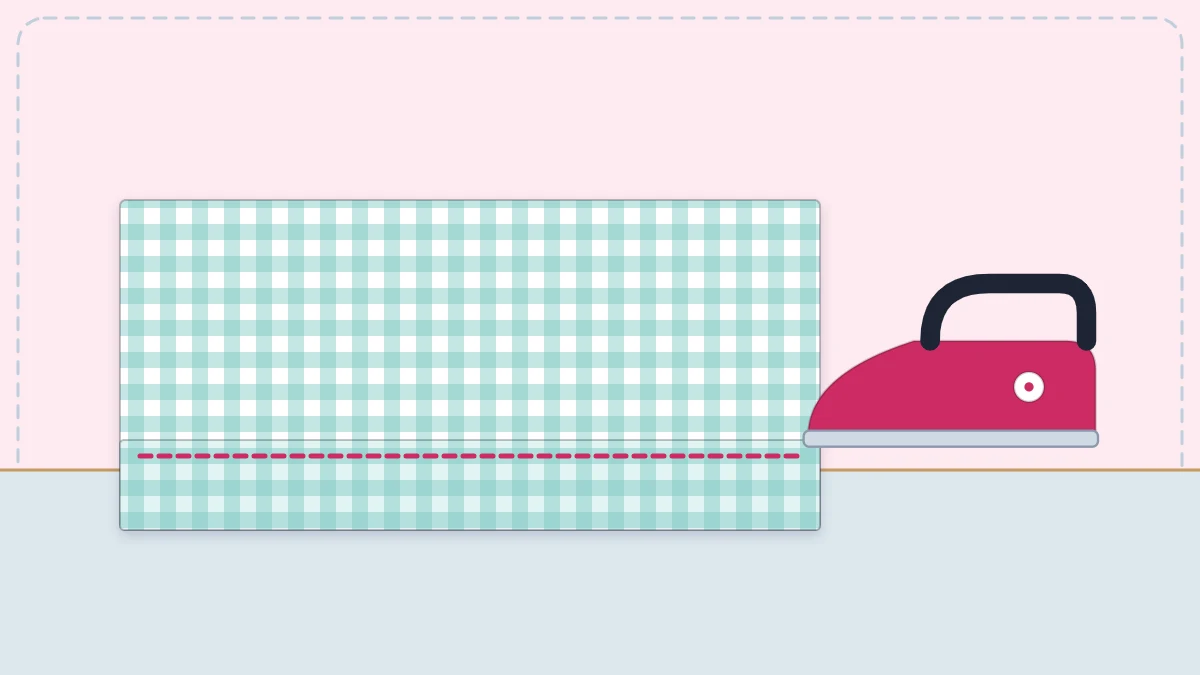
- Stitch a guide line first. Sew a line of straight stitching 1/4 inch (6 mm) from the raw edge. Fold along that line; the stitches make the fabric turn evenly.
- Press in short sections. Fold and press a few inches at a time, keeping your fingers away from the tip of the iron and from the steam.
- Use clips instead of pins. Clips grip a tiny fold without distorting it.
- Stitch close to the inner fold. Aim to sew just inside it, slowly, with a stitch length of about 2.5 mm.
Keeping the Stitching Even
Sewing with the wrong side up lets you see the fold you are following, but the row of stitches that people notice is on the right side. Keeping the distance from the fold constant keeps that visible row straight as well. Pick a reference point on the presser foot, such as the inside edge of its right toe, and run the fold along it for the whole hem. The same steering habits used for sewing a straight seam apply here: guide lightly and watch the fold, not the needle.
Use thread that matches the fabric for a hem that blends in, or a contrasting color if you want the stitching to be a visible detail. Remember to wind the bobbin in the color that should show on the right side.
Corners and Common Problems
When two hemmed edges meet at a corner, the simplest method is to hem two opposite sides first and then hem the remaining two sides over them. At each corner, stop with the needle down, lift the presser foot, turn the fabric and continue. A neater folded corner is explained step by step in the cloth napkins project.
If a hem does not turn out well, the cause is usually one of these:
- The stitching misses the fold in places: the hem depth is uneven. Measure more often while pressing, and sew a little farther from the inner fold.
- The hem twists or ripples: the top layer was pushed along as you sewed. Use more clips, reduce the pressure of your hands and let the machine feed the fabric.
- Raw threads poke out: the first fold was too shallow or the edge was already fraying. Trim the edge cleanly before folding.
- The hem looks wavy on the right side: the fabric was stretched while pressing. Lift the iron and set it down instead of sliding it.
Watch out
Check that the iron setting suits your fabric before pressing a hem. Test on a scrap first, because a setting that is too hot can scorch or leave shiny marks.
Frequently asked questions
How much extra fabric does a hem need?
Add the depth of both folds. Two 1/2 inch folds need 1 inch (2.5 cm) of extra length, and a narrow hem with two 1/4 inch folds needs 1/2 inch (1.3 cm).
Can a hem be sewn without an iron?
You can crease cotton firmly with your fingers and hold it with plenty of clips, but pressed folds are more even and much easier to stitch. An iron is worth using whenever one is available.
Is it better to hem by hand or by machine?
A machine-stitched double-fold hem is faster and stronger for household items and casual pieces. Hand hemming is mainly chosen when the stitches should be nearly invisible.