Hand-Sewn Felt Ornaments: Star, Heart and Tree
Make a set of three hand-sewn felt ornaments with nothing more than felt, thread, ribbon and a needle. No machine, no hems and no fraying edges.

Tutorial at a glance
Materials
- Three 9 x 12 in (23 x 30 cm) sheets of craft felt
- Embroidery floss or all-purpose thread
- Hand sewing needle
- 18 in (46 cm) of narrow ribbon
- Polyester fiberfill stuffing
- Paper and pencil for templates
- Sharp scissors, ruler and pins or small clips
Hand-sewn felt ornaments need no sewing machine, no hemming and very little fabric, which makes them an easy holiday project for a quiet evening. Felt does not fray, so the cut edges can stay exactly as they are. You cut two matching shapes, stitch them together around the edge, add a pinch of stuffing and a ribbon loop, and the ornament is ready to hang. A star, a heart and a tree use the same steps, so by the third one the stitching feels familiar.
What You Need
The list makes one set of three ornaments.
- Three sheets of craft felt, 9 x 12 inches (23 x 30 cm) each, in different colors
- Embroidery floss or all-purpose thread, matching or contrasting
- A hand sewing needle with an eye large enough for your thread
- Narrow ribbon, 18 inches (46 cm) in total
- A small handful of polyester fiberfill stuffing
- Plain paper and a pencil for the templates
- Sharp scissors, a ruler and a few pins or small clips
Wool-blend felt is a little denser and cuts more cleanly, while acrylic craft felt costs less and comes in many colors. Either works. Embroidery floss is made of six loose strands. Separate it and sew with two or three strands for a stitch that shows up nicely without being bulky.
Making the Templates and Cutting the Felt
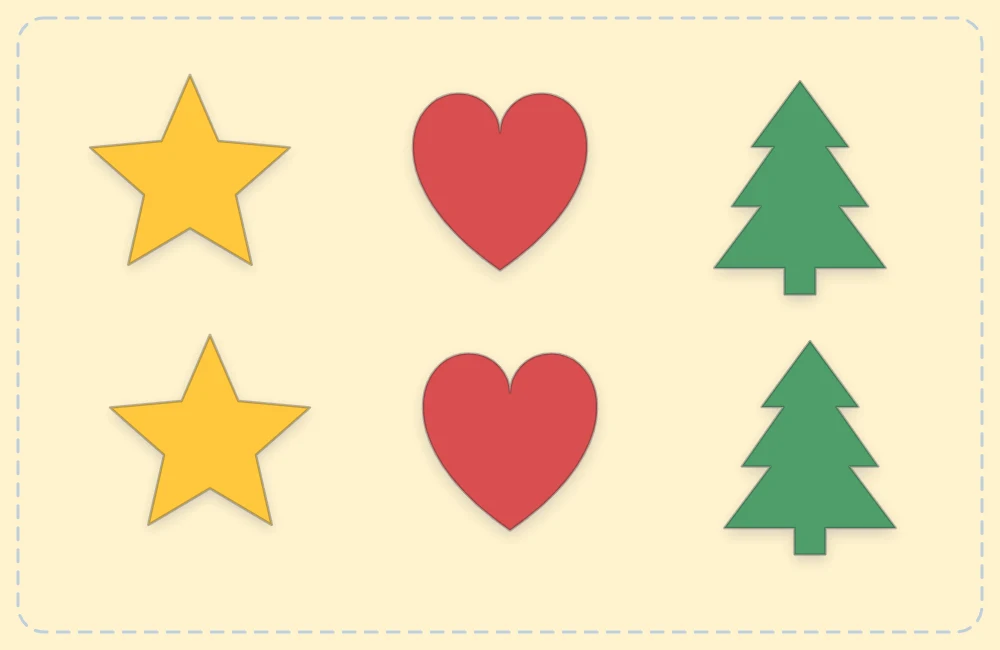
Draw each shape on paper, keeping it simple, with no thin points or deep notches. Folding the paper in half and cutting half a heart or half a tree along the fold gives a shape that is the same on both sides. For the star, five broad points are easier to stitch than narrow ones.
| Shape | Cut from felt | Approximate size |
|---|---|---|
| Star | 2 | 3 1/2 inches (9 cm) across |
| Heart | 2 | 3 1/2 inches wide x 3 inches tall (9 x 7.5 cm) |
| Tree | 2 | 3 inches wide x 4 inches tall (7.5 x 10 cm) |
| Ribbon loop | 3 | 6 inches (15 cm) long each |
There is no seam allowance to add in this project. The two layers are sewn together from the outside, with the stitches sitting about 1/8 inch (0.3 cm) in from the cut edge, so each ornament finishes at the same size as its template.
Pin the paper template to a doubled piece of felt and cut around it through both layers, so the front and back match exactly. Cut with long, smooth strokes and turn the felt instead of the scissors as you go around curves.
Choosing a Stitch
Two basic hand stitches suit felt ornaments, and both are explained with diagrams in hand sewing basics.
Running Stitch
The needle goes down and up through both layers in a dashed line, 1/8 inch (0.3 cm) from the edge. It is the quickest stitch and looks neat when the dashes and spaces are the same length.
Whipstitch
The thread wraps over the edge with each stitch, giving a row of small slanted stitches along the rim. It takes slightly longer and holds the two edges firmly together.
Pick one stitch and use it for the whole ornament. Aim for stitches about 1/8 inch long. Even spacing matters more than tiny stitches.
Sewing the Ornaments Step by Step
- Prepare the loop. Fold a 6 inch (15 cm) ribbon in half to form a loop. Place the two cut ends between the felt layers at the top of the shape, about 1/2 inch (1.3 cm) inside the edge, and pin or clip through all the layers.
- Thread the needle. Cut about 24 inches (60 cm) of floss or thread, thread the needle and knot one end.
- Hide the knot. Open the two layers slightly beside the ribbon. Bring the needle from the inside out through the front layer only, so the knot stays hidden between the layers.
- Secure the ribbon. Take the first three or four stitches through the front felt, both ribbon ends and the back felt. Go through this spot twice if the ribbon feels loose, since it carries the weight of the ornament.
- Stitch around the edge. Continue around the shape, keeping the stitches 1/8 inch (0.3 cm) from the edge and the two layers lined up. At inner corners, such as the dip of the heart or the angles of the star, place one stitch right in the corner.
- Stop before the end. When about 1 1/2 inches (4 cm) remain open, pause with the needle and thread still attached.
- Add the stuffing. Push small tufts of fiberfill through the opening, using the blunt end of a pencil to reach the points. Fill lightly. The ornament should be gently rounded, not hard, or the edge stitches will strain.
- Close the opening. Keep stitching until you meet the first stitches.
- Knot and hide the tail. Make a small knot close to the felt on the back. Pass the needle between the layers, bring it out about an inch away, pull gently and snip the thread at the surface so the end slips inside.

Tip
If the thread runs out partway around, knot it on the back, hide the tail between the layers and start a new length with its knot tucked inside, just as you did at the beginning.
Safety and Display
Watch out
These ornaments are decorations, not toys. They contain stuffing, ribbon and small parts that could come loose, so hang them out of reach of babies, young children and pets.
Hang the ornaments on a tree, a wreath, a garland string or a gift bag. Keep them away from candles, fireplaces and hot light bulbs, as felt and fiberfill can burn or melt. If you add decoration, simple stitched lines or small felt shapes sewn on before the two layers are joined are the most secure option.
Storing Them and Making More
Store the ornaments flat in a box with tissue paper between them so the loops do not crease. Dust can be lifted off felt with a piece of tape. Spot clean with a barely damp cloth instead of washing, since felt can shrink or lose its shape in water.
The same method works for any simple outline: a circle, a mitten, a bell or a snowman. If you enjoy the stuffing and hand finishing here, a simple square pincushion uses similar skills at the machine. For another small handmade gift, lavender sachets are just as quick. Sharp scissors and a few good needles are all the equipment this kind of sewing asks for, and both are covered in the guide to a beginner sewing kit.
Frequently asked questions
Do felt edges need to be hemmed or sealed?
No. Felt is made of matted fibers instead of woven threads, so a cut edge does not unravel and can be left as it is.
Can felt ornaments be made without stuffing?
Yes. Leave the stuffing out and stitch all the way around for a flat ornament. Flat ornaments are quicker and work well on gift tags and garlands.
Are felt ornaments safe for a child to play with?
They are decorations, not toys. The ribbon, stuffing and any small parts can come loose, so they should hang out of reach of babies, young children and pets.