Hand Sewing Basics: Threading a Needle, Knots and Three Essential Stitches
Learn to thread a needle, tie a knot and work the running stitch, backstitch and whipstitch, the three hand stitches that cover most everyday sewing jobs.

Hand sewing basics come down to five small skills: threading a needle, tying a knot and working three simple stitches. With those you can close the opening on a pillow, mend a split seam, attach a patch and make small projects without a machine at all. A needle, thread and a scrap of cotton are all the equipment required, and an evening of practice is enough to feel comfortable with each stitch.
What You Need
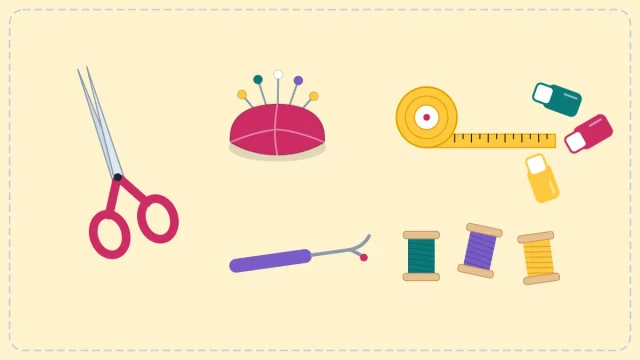
- Hand needles. Buy a pack of assorted “sharps”, the general-purpose hand needles with a sharp point and a small round eye. A medium size from the pack suits most cotton.
- Thread. All-purpose polyester thread works for nearly everything.
- Small scissors. Sharp tips give a clean thread end, which is much easier to pass through the eye of a needle.
- Practice fabric. A scrap of woven cotton or a piece of craft felt is ideal.
- Optional extras. A thimble protects the finger that pushes the needle, and a needle threader helps if the eye is hard to see.
All of these belong in a basic beginner sewing kit, so you may already have them.
Tip
Practice with thread in a color that contrasts with the fabric, and draw a chalk or pencil line to follow. You will see at once where the stitches wander or change length.
How to Thread a Needle and Tie a Knot
Cut a length of thread about 18 to 24 inches (45 to 60 cm), roughly the distance from your fingertips to your elbow. Longer thread seems efficient but twists and tangles as you sew. Snip the end at a slight angle, pinch the thread close to the tip and guide the eye of the needle onto it.
From here there are two ways to set up the thread:
- Single thread. Pull about 6 inches (15 cm) through the eye and knot only the long end. This gives fine, light stitching for hems and delicate fabric.
- Doubled thread. Pull the thread through until both ends meet, then knot the two ends together. The stitching is twice as strong and the needle cannot slide off, which makes this the easier choice for a first try.
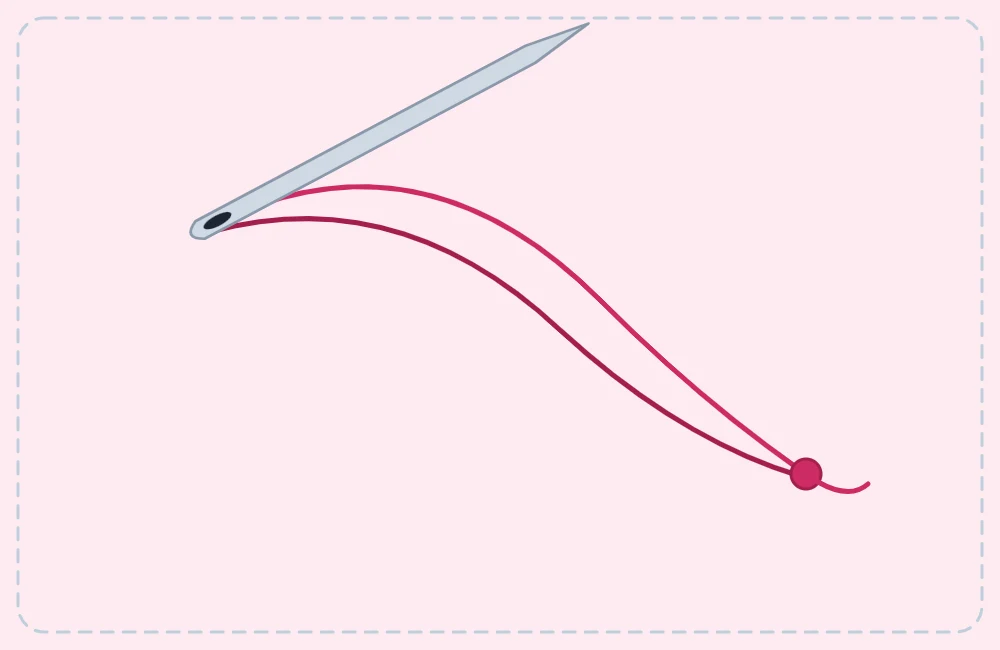
To tie the knot, wrap the thread end once around the tip of your index finger. Roll the loop off the finger with your thumb so the strands twist together, then pinch the twist and pull it down toward the end of the thread. Trim the tail to about 1/4 inch (6 mm).
Three Stitches to Learn First
Always start from the wrong side of the fabric, the side that will not show, so the knot stays hidden.
Running Stitch
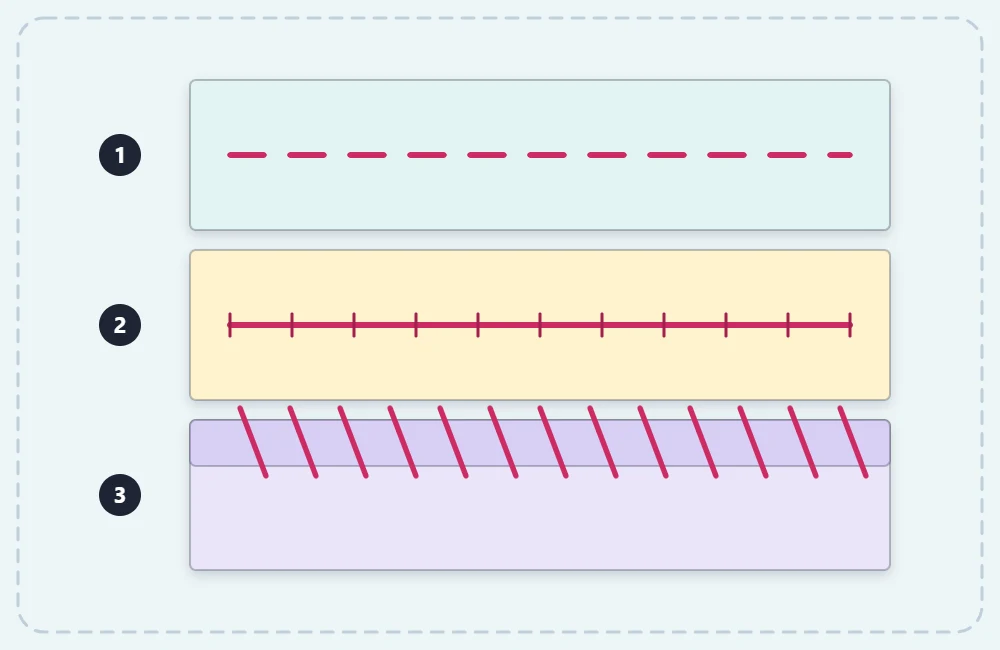
The running stitch is the simplest of all. Bring the needle up through the fabric, then weave it down and up along your line in even steps, so the stitches and the gaps between them are the same length. Aim for 1/8 to 1/4 inch (3 to 6 mm). Once the rhythm feels natural, you can load two or three stitches onto the needle before pulling the thread through.
Use it for basting, which means temporary stitching that holds layers until the permanent seam is sewn, as well as for gathering and for light seams that will not be under strain. Because of the gaps, it is not a strong stitch.
Backstitch
The backstitch is the strongest basic hand stitch, and from the front it looks much like a line of machine stitching. It works by taking each stitch backward to meet the one before it.
- Come up ahead of the start. Bring the needle up one stitch length in front of the beginning of your line.
- Go back. Push the needle down at the very start of the line. That is one backward stitch.
- Come up ahead again. Bring the needle up one stitch length beyond the stitch you just made.
- Close the gap. Push the needle down into the hole where the previous stitch ended.
Repeat the last two steps along the line. The front shows a solid row with no gaps, and the back shows longer, overlapping stitches. Choose backstitch for seams and repairs that need to hold.
Whipstitch
A whipstitch wraps over an edge. It joins two edges together or holds a folded edge in place. Bring the needle through from back to front close to the edge, carry the thread over the edge, and insert the needle from the back again a short distance along. Every stitch enters from the same side, so a row of small slanted stitches forms over the edge. Keep them about 1/8 inch (3 mm) apart and the same depth.
Whipstitch is the usual choice for felt, which does not fray, and it is the stitch used to assemble hand-sewn felt ornaments.
How to Finish Off a Line of Stitching
A row of stitches needs a secure end just as it needs a knot at the start. On the wrong side, take one tiny stitch through the fabric and stop before the thread is pulled tight, leaving a small loop. Pass the needle through the loop twice, then pull snug so a knot forms against the fabric.
To hide the tail, slide the needle between the fabric layers for about 1 inch (2.5 cm), bring it out and snip the thread close to the surface.
Common Problems and Easy Fixes
- The thread keeps tangling. It is probably too long or has twisted. Let the needle dangle freely so the thread can unwind, and cut a shorter length next time.
- The fabric puckers. The stitches are being pulled too tight. Smooth the fabric flat between your fingers every few stitches.
- Stitches are uneven. Mark small dots along the line with chalk and stitch from dot to dot until your eye learns the spacing.
- The knot pulls through the fabric. Tie a larger knot, or begin with two tiny stitches on top of each other.
Where Hand Sewing Fits Alongside a Machine
Hand stitches stay useful even after you own a machine. Many machine-sewn projects are turned right side out through a gap that has to be closed by hand; a simple pincushion is a good small example. Buttons, quick repairs and anything too small or awkward to fit under a presser foot are hand jobs too.
When you are ready for the next stage, the guide on how to start sewing lays out which machine skills to learn and in what order.
Frequently asked questions
Which hand stitch is the strongest?
The backstitch. Each stitch overlaps the one before it, so there are no gaps for the seam to pull apart.
Should the thread be single or doubled for hand sewing?
Use doubled thread for strength and for sewing on buttons, and single thread for hems and fine fabric where bulky stitching would show.
How long should each hand stitch be?
Between 1/8 and 1/4 inch (3 to 6 mm) suits most jobs. Shorter stitches are stronger, and even length matters more than tiny size.
Is a thimble necessary?
Not for light cotton or felt. It becomes helpful with thick or tightly woven fabric, where pushing the needle through can make a fingertip sore.