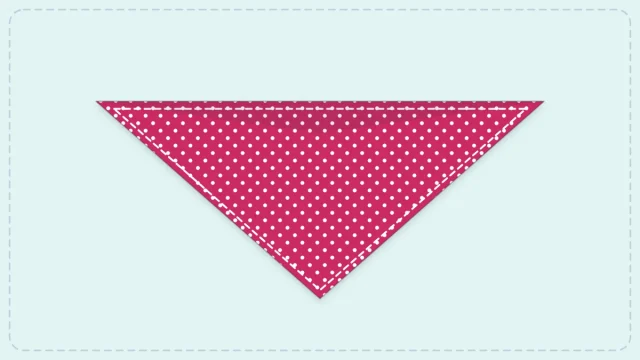
How to Sew a Soft Padded Glasses Case
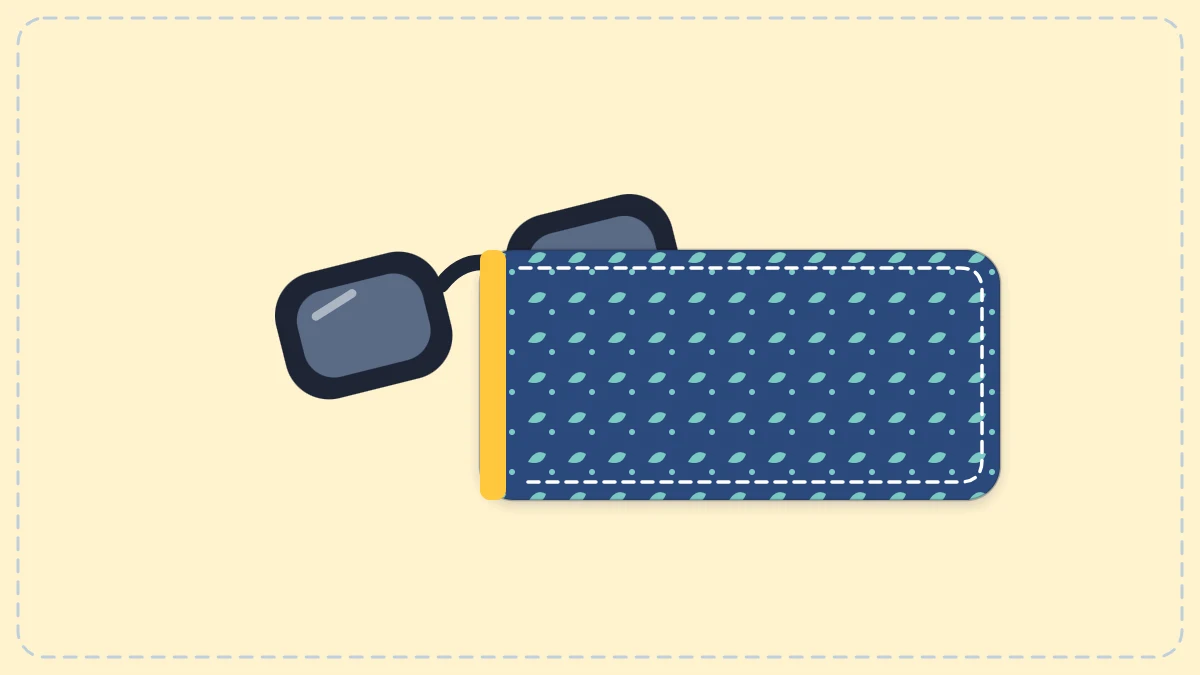
Sew a soft, padded slip-in glasses case from three small rectangles. Every seam is a straight line and there is no zipper or snap to fit.
Tutorial at a glance
Materials
- Outer fabric: quilting cotton, 9 x 8 in (23 x 20 cm)
- Lining: soft cotton or cotton flannel, 9 x 8 in (23 x 20 cm)
- Thin cotton or cotton-blend batting, 9 x 8 in (23 x 20 cm)
- All-purpose polyester thread
- Universal 90/14 machine needle
- Sewing clips or pins
- Fabric scissors, ruler and chalk marker
- Iron and a chopstick or other blunt turning tool
A soft glasses case is one of the most useful small things you can sew in an afternoon. It keeps lenses from rubbing against keys in a bag, it uses fabric pieces smaller than a sheet of paper, and it introduces a skill that shows up in many later projects: sewing through a layer of padding. This version is a simple slip-in sleeve with no zipper, snap or flap, so every seam is a straight line.
How This Case Goes Together
The whole case starts as one padded rectangle. You stack an outer fabric, a lining and a layer of batting (the soft, lofty sheet used inside quilts), sew around the edge, and turn the stack right side out so the raw edges are hidden inside. Then you fold that padded panel in half and stitch down the side and across the bottom. The top stays open so glasses slide in and out.
All seams use a 1/4 inch (0.6 cm) seam allowance, which is the distance between the stitching and the cut edge of the fabric. If that idea is new, the guide to seam allowances explains how to keep the width even.
What You Need
- Outer fabric: one piece of quilting cotton at least 9 x 8 inches (23 x 20 cm)
- Lining fabric: one piece of soft cotton or cotton flannel, the same size
- Thin cotton or cotton-blend batting, the same size
- All-purpose polyester thread that matches the outer fabric
- A universal 90/14 machine needle, which handles the extra thickness better than a finer one
- Sewing clips, or pins if you do not have clips
- Fabric scissors, a ruler and a chalk marker or pencil
- An iron, plus a chopstick or other blunt tool for pushing out corners
Choose a smooth lining with no rough texture, since it is the layer that touches the lenses. Thin batting is the better choice here. Thick, puffy batting makes the last seam hard to feed under the presser foot.
Cutting the Pieces
Press the fabrics flat before measuring, then cut one rectangle from each material. All three are the same size.
| Piece | Cut | Size |
|---|---|---|
| Outer fabric | 1 | 8 1/2 x 7 1/2 inches (21.5 x 19 cm) |
| Lining | 1 | 8 1/2 x 7 1/2 inches (21.5 x 19 cm) |
| Batting | 1 | 8 1/2 x 7 1/2 inches (21.5 x 19 cm) |
The 8 1/2 inch measurement is the width and the 7 1/2 inch measurement is the height. After the first seam takes 1/4 inch from every edge, the padded panel measures 8 x 7 inches (20 x 18 cm). Folded in half across its width, it becomes a case about 4 x 7 inches (10 x 18 cm).

Sewing the Glasses Case Step by Step
Set the machine to a straight stitch and lengthen it slightly, to about 3.0 if your machine uses numbers. A longer stitch moves through padding more easily.
- Stack the layers. Lay the batting on the table. Place the outer fabric on top with its right side (the printed side) facing up, then the lining with its right side facing down. Line up all four edges and clip them together.
- Mark a turning gap. On the bottom edge, make two marks 3 inches (7.5 cm) apart near the center. You will leave this stretch unsewn.
- Sew around the edge. Start at one mark and backstitch 3-4 stitches. Sew 1/4 inch (0.6 cm) from the edge all the way around. At each corner, stop with the needle down, lift the presser foot, turn the stack and lower the foot again. Stop at the second mark and backstitch.
- Trim the bulk. Cut the batting in the seam allowance close to the stitching, without cutting the fabric. Snip each corner off diagonally, staying a few threads away from the stitches.
- Turn it right side out. Reach into the gap between the outer fabric and the lining and pull the panel through. The batting ends up hidden in the middle. Push the corners out gently with the chopstick.
- Press the panel. Fold the raw edges of the gap to the inside by 1/4 inch so they line up with the sewn edge, press, and hold the gap with a clip.
- Topstitch all the way around. Topstitching is a line of stitching sewn from the right side that stays visible. Sew 1/8 inch (0.3 cm) from the edge around all four sides. This closes the gap and keeps the top edge crisp.
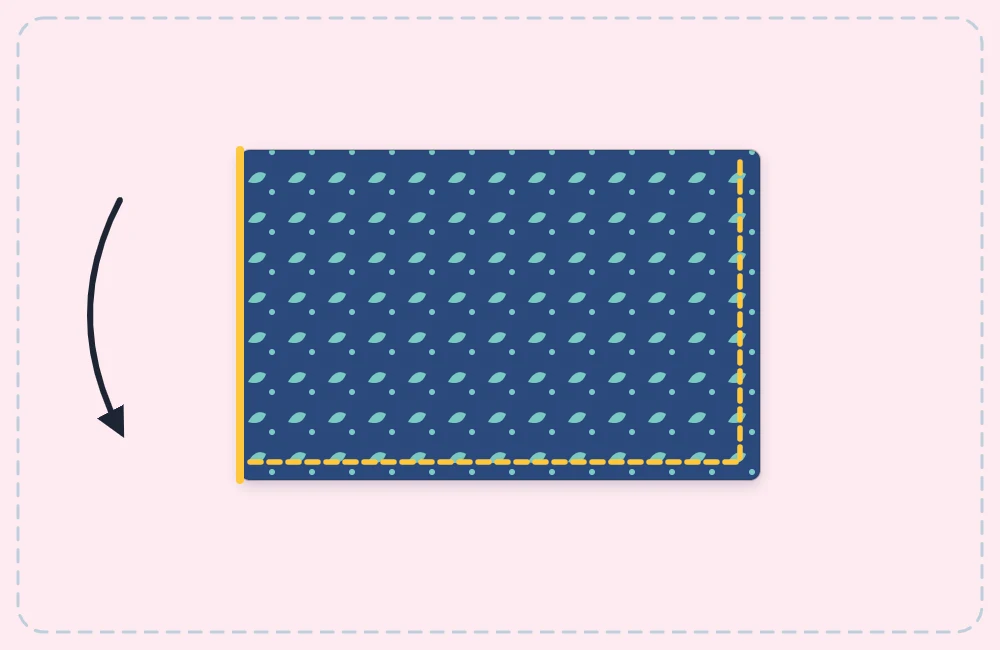
- Fold the panel in half. With the lining on the inside, bring the two 7 inch side edges together so the panel is 4 inches (10 cm) wide. Clip the side and bottom.
- Sew the side and bottom. Begin at the top of the open side and backstitch well, since this spot takes the most strain. Sew 1/4 inch (0.6 cm) from the edge down the side, pivot at the corner, and continue across the bottom to the fold. Backstitch to finish.
Tip
Clips hold thick, padded layers flat where pins tend to bend. If you do use pins, never sew over them. The article on pins versus clips shows when each one works best.
Getting Through the Thick Layers
The final seam passes through two padded panels at once, which is thicker than anything in a flat cotton project. Sew slowly and let the machine feed the fabric rather than pushing or pulling it. If the presser foot stalls at the start, turn the handwheel toward you by hand for the first few stitches.
Skipped stitches in thick layers usually point to the needle. A fresh 90/14 needle often solves it, and the guide to machine needles and thread covers the sizes in more detail. Switch the machine off before you change a needle, and keep your fingers to the sides of the presser foot, not in front of it.
Changing the Size
The finished case suits most everyday frames and many sunglasses. To check, fold your glasses and measure their length. The case should be about 1 inch (2.5 cm) longer than that. For long or chunky frames, add 1/2 inch (1.3 cm) to both cut measurements on all three pieces. For narrow reading glasses, you can take 1/2 inch off the width instead.
Care and Limits
A soft case protects lenses from scratches but not from crushing, so it is not a replacement for a hard case in a packed suitcase. Wash it in cool water and let it air dry if it gets dusty inside. Grit trapped in the lining is what scratches lenses.
Frequently asked questions
Can a soft glasses case be made without batting?
Yes. Two layers of cotton flannel in place of the batting give light padding and are easier to sew through. The case will be thinner and offer less cushioning.
Which fabric is safest for the lining?
A smooth, soft cotton or cotton flannel without texture, glitter or metallic print. Rough or coated fabrics are more likely to mark lenses over time.
Does the case need a closure to keep glasses in?
Not for everyday use. The padding grips the frames lightly, and the case is slightly longer than most glasses. Carry it upright in a bag if you are worried about them sliding out.