Pinning and Clipping Fabric: How to Hold Layers Together Before Sewing
Pins and sewing clips both keep fabric layers from shifting, but each suits different jobs. Learn how to place them, how many to use and when to take them out.
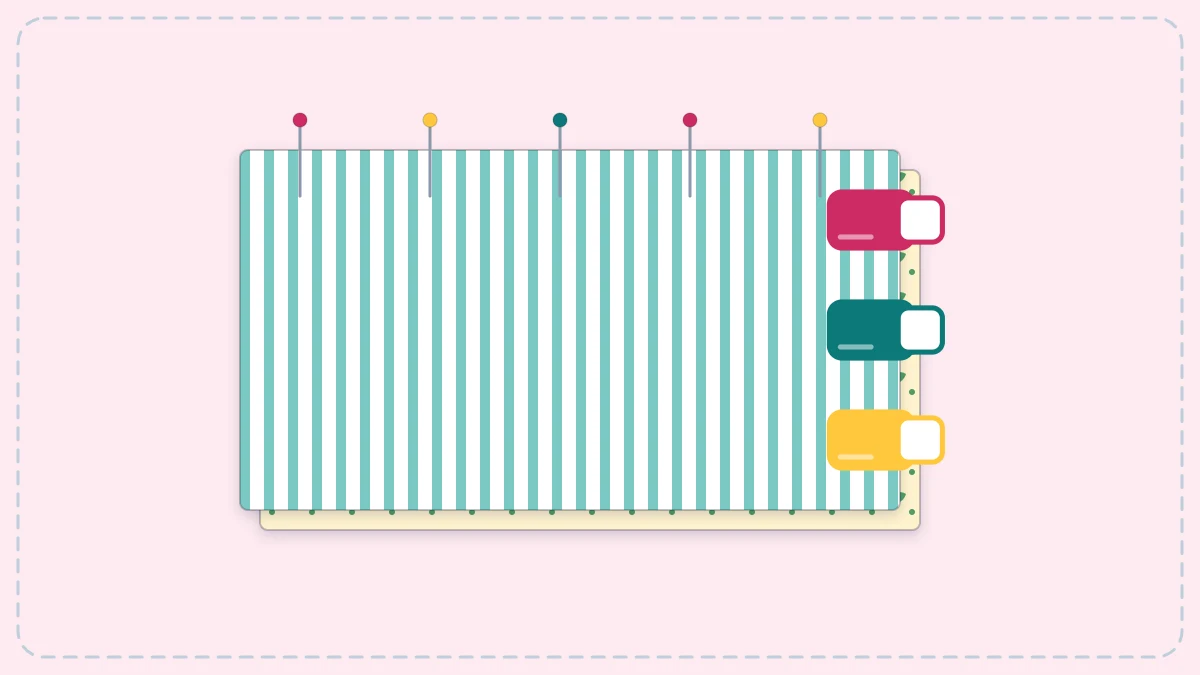
Pinning and clipping fabric is the small step between cutting and sewing that decides whether two layers reach the needle still lined up. Fabric shifts more easily than it looks: the presser foot pushes the top layer forward while the feed dogs (the small metal teeth under the foot) pull the bottom layer back. Pins and sewing clips stop that creep, so edges stay together, corners match and seams end where they should. Both tools do the same job in different ways, and knowing when to reach for each one saves a lot of unpicking.
Why Fabric Layers Need Holding
Even quilting cotton, the most stable fabric for a first project, moves over the length of a seam. Two pieces that start with their ends matched can finish with one layer 1/4 inch (6 mm) longer than the other. On a pillow cover or a bag, that shows up as a twisted side seam or a corner that will not lie flat.
Holding the layers also frees your hands. Instead of gripping the fabric, you only guide it. If you are still learning to sew a straight seam, having the layers secured lets you keep your eyes on the fabric edge and the seam guide rather than on two slippery pieces.
Getting to Know Pins
Straight pins are thin steel pins with a head at one end. For general sewing, look for pins about 1 1/2 inches (3.8 cm) long with a sharp, fine point. The head matters more than you might expect:
- Glass-head pins can stay in place while you press, because glass does not melt under an iron.
- Plastic-head pins are inexpensive and easy to see, but the heads can melt if the iron touches them.
- Flat-head pins lie flat against the fabric, which helps when a ruler has to rest on top.
Throw away any pin that is bent, rusty or dull. A damaged pin snags threads and leaves visible holes. Keep pins in a pincushion or a magnetic dish next to the machine; both belong in a basic beginner sewing kit.
How to Place a Pin
Lay the fabric flat on a table rather than on your lap. Push the point down through all the layers, then bring it back up about 1/4 inch (6 mm) further along, taking one small “bite” of fabric. A small bite holds better than a long one, because the layers have less room to slide along the pin.
Perpendicular or Parallel Pinning
There are two common ways to angle a pin, and each has its use.
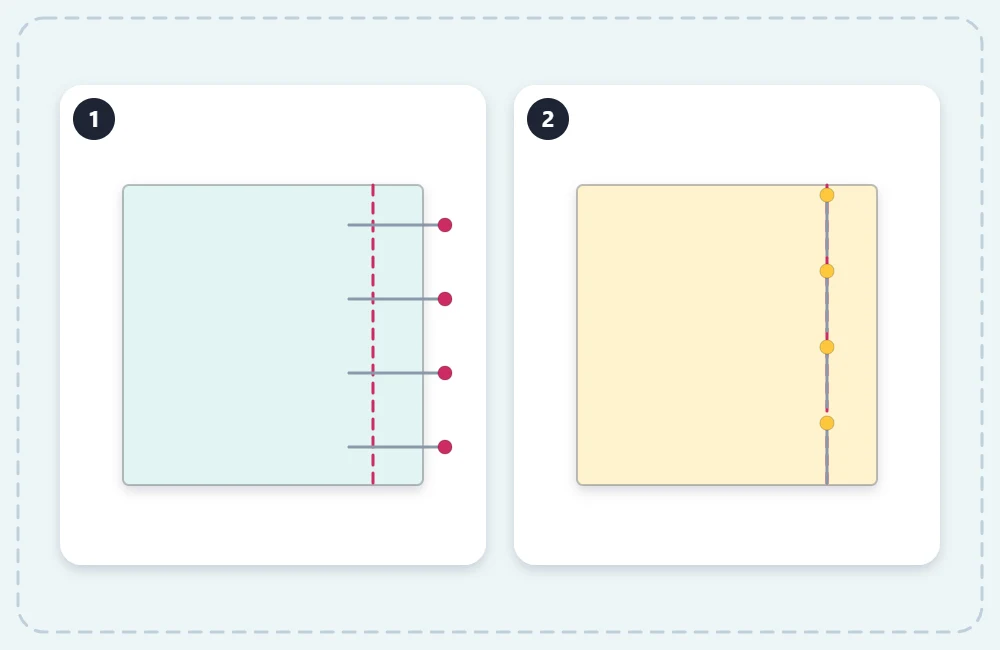
Perpendicular pinning means the pin crosses the seam line at a right angle, with the head sticking out beyond the raw edge. This is the everyday choice for seams. The heads are easy to grab as the fabric moves toward the needle, and a pin lying across the seam stops the layers from sliding lengthwise.
Parallel pinning means the pin lies along the edge. It is useful for holding a fold in place, for example when you press and sew a double-fold hem, or when a long pin sticking out would get in the way. Place parallel pins with the heads pointing toward you as you sew, so each one can be pulled out before it reaches the presser foot.
When Sewing Clips Work Better
Sewing clips are small plastic clips with a spring, a little like miniature clothespins. They grip the edge of the fabric instead of piercing it, which makes them the better tool in several situations:
- Thick stacks. Bag straps, layers with batting and bulky seam crossings can bend a pin or refuse to take one at all. A clip simply closes over the stack.
- Fabrics that keep holes. Vinyl, laminated cotton and faux leather show every pinhole permanently.
- Folded edges. Hems, casings and binding stay flat under a clip without the ripple a pin can cause.
- Sewing with children nearby. Clips have no sharp point and are easy to spot if one falls on the floor.
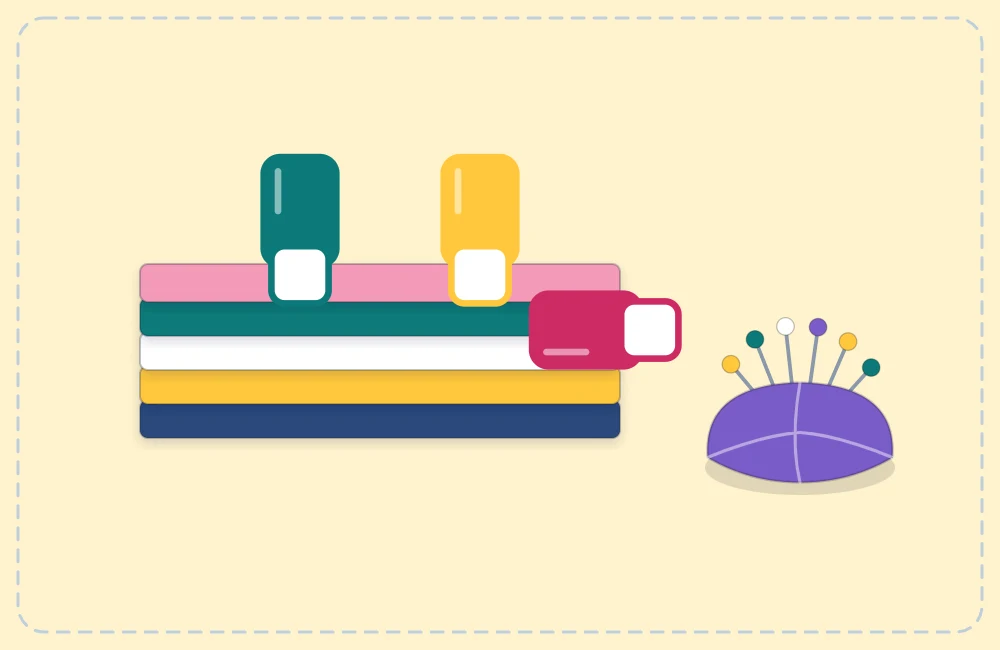
Clips do have a limit: they only reach about 1/2 inch (1.3 cm) in from an edge. They cannot hold a pocket in the middle of a panel or keep a pattern piece on fabric. Put the flat side of each clip face down so it glides over the bed of the machine.
Pins vs Clips at a Glance
| Situation | Better choice | Reason |
|---|---|---|
| Ordinary seams in cotton | Pins | Precise and hold right at the seam line |
| Holding something away from an edge | Pins | Clips only reach the edge |
| Thick or padded layers | Clips | Pins bend or distort the stack |
| Vinyl, laminated or coated fabric | Clips | Pinholes do not close up |
| Hems and casings | Either | Clips are faster, pins are flatter |
Most people end up owning both and using them in the same project.
How Many to Use and Where
Follow the same order every time and the layers will match:
- Match the ends. Line up both ends of the seam and secure each with one pin or clip.
- Secure the middle. Find the center of the seam and hold it too.
- Fill in the gaps. Add pins or clips every 2 to 3 inches (5 to 7.5 cm). Place them closer on curves and slippery fabrics; on a long straight seam in cotton, every 4 inches (10 cm) is usually enough.
Check that the raw edges are even all the way along before sewing. An accurate seam allowance depends on both layers sitting exactly on top of each other, because the machine only measures from the edge it can see.
Tip
When two seams have to meet, such as at the side seams of a bag, pin exactly through the two seam lines first, then pin the rest of the edge.
Removing Pins and Clips as You Sew
Sew up to each pin, stop with the needle down in the fabric, pull the pin out and drop it straight into the pincushion. Then carry on. Clips come off the same way, just before they touch the front of the presser foot.
Watch out
Do not sew over pins. If the needle lands on one, it can bend or break, and a broken needle tip can fly up toward your face or damage the machine. Stopping to remove each pin takes only a second.
When the seam is finished, run a hand over the work and check the floor around your chair. A small magnet picks up dropped pins quickly. Counting clips back into their box is a simple habit that keeps one from being left inside a turned project.
Frequently asked questions
Can pins and clips be used on the same project?
Yes. It is common to pin the flat seams and switch to clips where the layers get thick, such as strap ends or folded hems.
Why do pins leave holes in some fabrics?
Tightly woven or coated fabrics do not close up around a pinhole the way cotton does. On those fabrics, pin only inside the seam allowance or use clips instead.
How many pins does a beginner need?
One box of sharp pins and a pack of around 20 to 30 clips covers most small projects. Replace pins as they bend or go dull.