How to Cut Fabric Accurately: Squaring Up, Scissors, Rotary Cutters and Marking
Accurate sewing starts with accurate cutting. Learn how to prepare and square up fabric, choose between scissors and a rotary cutter, and mark clean cutting lines.
Learning how to cut fabric accurately does more for a first project than any stitch setting on the machine. A piece that is 1/4 inch (6 mm) too small or cut on a slant cannot be corrected at the needle; the seams will not match and the finished item ends up crooked. The good news is that accurate cutting is mostly preparation and patience. With a flat surface, a straight starting edge and a clear line to follow, the cutting itself takes only a few minutes.
Prepare the Fabric Before You Cut
Three things should happen before a blade touches the fabric.
- Prewash. Cotton can shrink the first time it is washed. Wash and dry it the way the finished item will be cared for, so any shrinking happens now and not after sewing.
- Press. Wrinkles and fold lines hide extra fabric, which throws off every measurement. Smooth the whole piece with an iron first; the guide to pressing for sewing covers heat settings.
- Find the grain. The selvages are the two tightly woven finished edges that run down the length of the fabric. Threads parallel to them form the lengthwise grain, which is the most stable direction. Cutting pieces in line with the grain helps them hang and sew without twisting. Grain is explained in more detail in the guide on how to choose fabric.
Work on a table or counter at a comfortable height. A bed or carpet lets the fabric sink and shift, and the floor is hard on the back.
Squaring Up the Fabric
The edge cut at the store is rarely straight. Squaring up means trimming one edge so that it sits at an exact right angle to the selvages. Every later measurement starts from this edge.
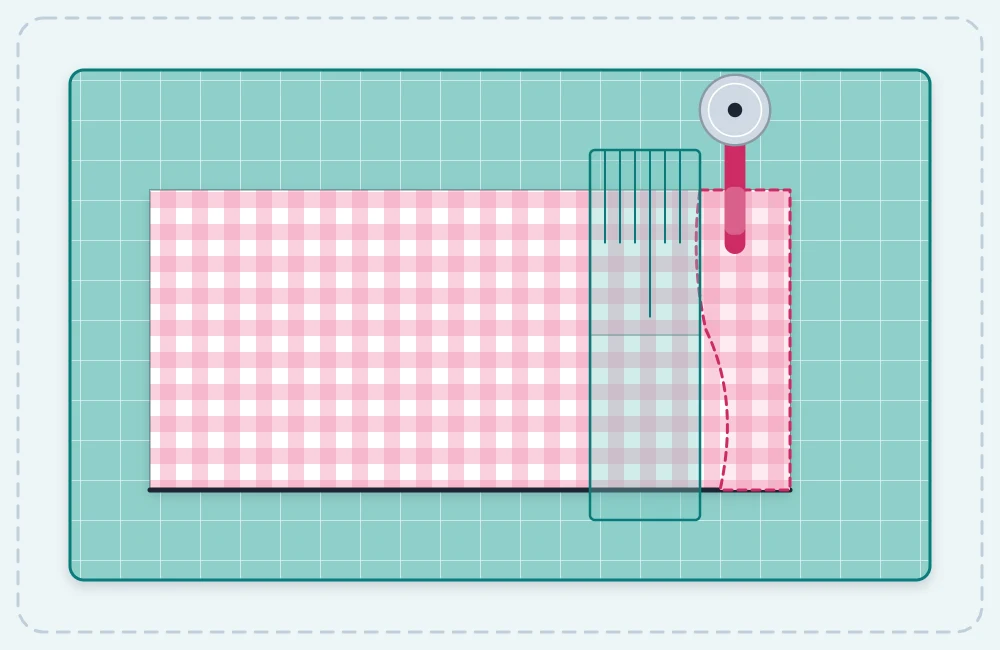
- Fold the fabric. Bring the two selvages together. Hold the fabric up and slide one selvage sideways along the other until the fabric hangs smoothly, with no diagonal ripples at the fold.
- Lay it on the mat. Place the fold nearest to you, along a horizontal line of the cutting mat.
- Line up the ruler. Set a clear ruler across the fabric near the uneven edge, with one of its cross lines exactly on the fold.
- Trim. Cut along the edge of the ruler to remove the uneven strip.
Without a mat and rotary cutter, do the same thing with chalk: draw a line at a right angle to the fold using a ruler and the corner of a large book, then cut along the line with scissors.
Scissors or Rotary Cutter
Both tools give clean results. Many beginners start with scissors and add a rotary cutter later; a list of what to buy first is in the beginner sewing kit guide.
Fabric Shears
Fabric shears are scissors with long blades, usually about 8 inches (20 cm), kept only for fabric. Cutting paper dulls them quickly. To cut well with shears:
- Keep the lower blade resting on the table and the fabric lying flat. Lifting the fabric changes its shape.
- Use long, smooth strokes, and stop each stroke just before the tips close. Short snips leave a jagged edge.
- Move around the table rather than turning the fabric.
Rotary Cutter, Mat and Ruler
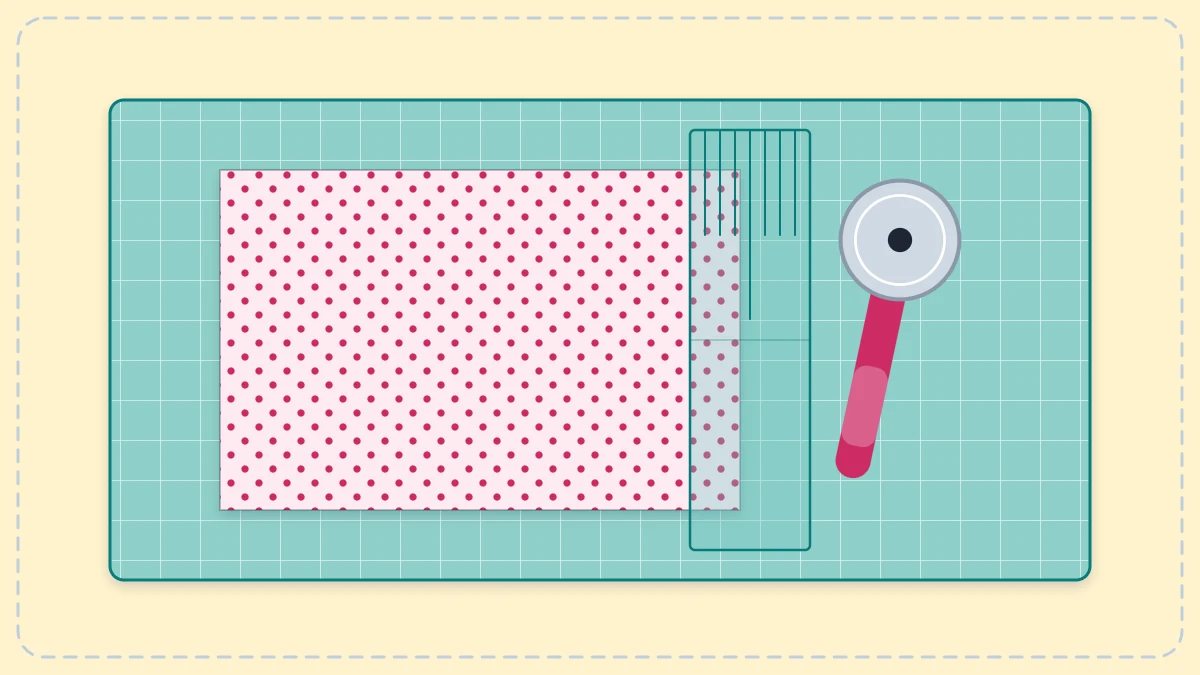
A rotary cutter is a handle with a round blade that rolls like a pizza wheel. A 45 mm blade is the common all-purpose size. It must be used on a self-healing cutting mat with a thick clear ruler as the guide. This set is fast and very accurate for straight pieces such as squares, rectangles and strips.
Stand up so your weight is over the ruler. Press the ruler down with a flat hand, fingertips well back from the edge, and roll the blade away from your body in one firm pass.
Watch out
A rotary blade is as sharp as a razor. Close the blade guard every time the cutter leaves your hand, always cut away from your body, and keep the cutter out of reach of children.
Marking Before You Cut
When cutting with scissors, draw every piece on the fabric first. Use tailor’s chalk, a chalk pencil or a washable fabric marker, and test it on a scrap to be sure the marks come out. Mark on the wrong side of the fabric (the back, usually the duller side).
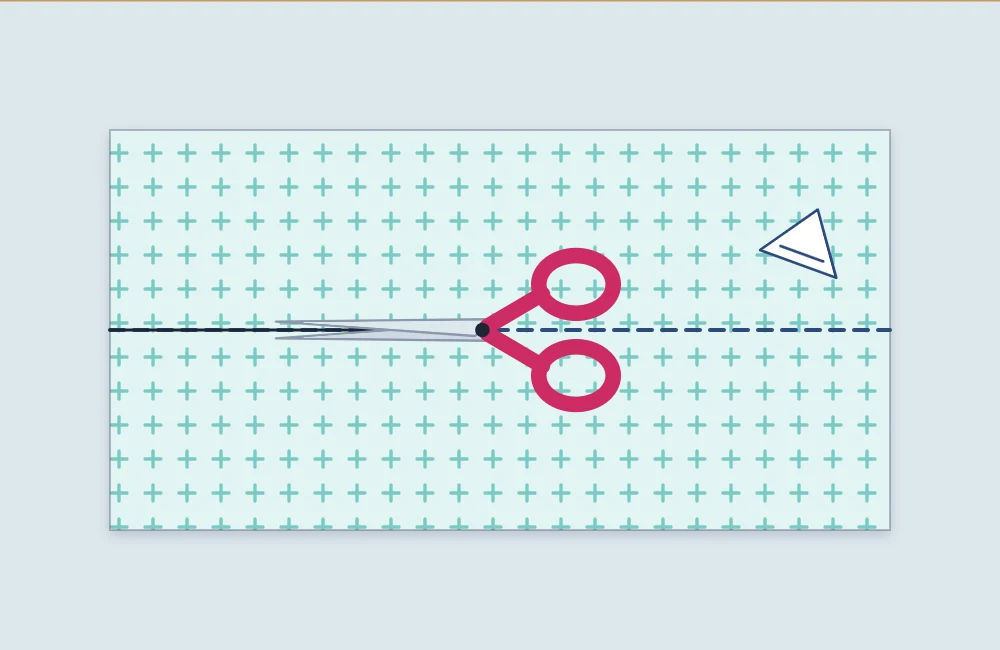
Measure from the squared edge and from a selvage or a straight side, make two or three small marks, then join them with a ruler. Check each measurement a second time before cutting. A chalk line has some width, so decide whether to cut down the middle of the line or just inside it, and do the same on every piece.
The sizes in a project’s cutting list already include the seam allowance, so cut exactly on the marked size without adding anything extra.
Tip
Trim off the selvages before marking pieces. They are woven more tightly than the rest of the fabric and can pucker after washing.
Cutting Step by Step
- Prewash and press the fabric.
- Square up one edge.
- Measure and mark each piece from the squared edge, keeping the sides parallel to the selvage.
- Check every measurement against the cutting list.
- Cut with long strokes of the shears, or with the rotary cutter against the ruler.
- Compare matching pieces by laying one on top of the other. Trim any small difference now.
Common Cutting Problems
- Jagged edges. Usually caused by short snips or dull blades. Lengthen the strokes and have the shears sharpened if they chew the fabric.
- Two matching pieces come out different sizes. The layers shifted. When cutting through two layers at once, pin them together inside the marked shape first.
- The ruler slides. Press down nearer to the blade and “walk” your hand up the ruler on long cuts, stopping the blade while the hand moves.
- A printed stripe or check looks crooked. Prints are not always printed perfectly on grain. For small home projects, it is fine to follow a bold print with the ruler so the finished piece looks straight.
- The blade skips threads. A rotary blade that leaves uncut threads is dull or nicked and should be replaced.
Careful cutting can feel slow at first. It pays back at the machine, where pieces that are the right size and shape go together without stretching, trimming or guesswork.
Frequently asked questions
Is a rotary cutter necessary for a first project?
No. Sharp fabric shears, a ruler and chalk are enough to cut any beginner project. A rotary cutter mainly saves time on straight pieces.
Can fabric be cut folded in two layers?
Yes, as long as the layers are smooth and pinned so they cannot shift. Avoid cutting more than two layers with scissors, because the lower layers tend to slide.
Which side of the fabric should be marked?
Mark the wrong side whenever possible, and test the chalk or marker on a scrap first to be sure it comes out.