How to Sew a Lined Zipper Pouch for Beginners
A flat, lined zipper pouch with no boxed corners or tabs, so the zipper is the only new skill. Includes cut sizes, the zipper sandwich explained and fixes for common first-pouch problems.

Tutorial at a glance
Materials
- Outer fabric: 1/4 yard (0.25 m) or one fat quarter of quilting cotton
- Lining fabric: 1/4 yard (0.25 m) or one fat quarter of quilting cotton
- Nylon coil zipper, 12 in (30 cm) or longer
- All-purpose polyester thread
- Universal 80/12 machine needle
- Zipper foot
- Sewing clips or pins
- Ruler and fabric marker
- Scissors or rotary cutter
- Iron
A lined zipper pouch is the project most beginners put off, and nearly always because of the zipper. Everything else in it is plain straight seams. The zipper is the one new skill here, and the first attempt is slower and fussier than an ordinary seam. Expect a slightly wobbly first pouch and plan to make two: the second usually goes far more smoothly.
This version is flat, with no boxed corners and no fabric tabs. The finished pouch measures about 8 1/2 x 6 inches (21.5 x 15 cm), a useful size for pencils, charging cables or a small mending kit.
What You Need
- Outer fabric: 1/4 yard (0.25 m) or one fat quarter of quilting cotton
- Lining fabric: 1/4 yard (0.25 m) or one fat quarter of quilting cotton
- One nylon coil zipper, 12 inches (30 cm) or longer
- All-purpose polyester thread
- A universal 80/12 machine needle
- A zipper foot (check your machine’s manual for how it attaches)
- Sewing clips or pins, a ruler and a fabric marker
- Scissors or a rotary cutter, plus an iron
Quilting cotton is the easiest choice because it does not stretch or slide; see the guide to choosing fabric for a first project. The zipper is deliberately longer than the pouch, so the pull can sit out of the way while you stitch; the surplus is trimmed off later. A nylon coil zipper has soft plastic teeth a machine needle can cross. Avoid metal zippers here, because a needle that hits a metal tooth can break.
Cutting List
Press the fabric first, then cut four identical rectangles. The width is the longer measurement.
| Piece | Quantity | Cut Size (Width x Height) |
|---|---|---|
| Outer fabric | 2 | 9 1/2 x 6 1/2 in (24 x 16.5 cm) |
| Lining fabric | 2 | 9 1/2 x 6 1/2 in (24 x 16.5 cm) |
| Nylon coil zipper | 1 | 12 in (30 cm) or longer |
The seam allowance, meaning the distance from the raw edge to the stitching, is 1/4 inch (6 mm) on the two zipper seams and 1/2 inch (1.3 cm) on the sides and bottom. The side seams take 1 inch off the width, and the zipper and bottom seams take 3/4 inch off the height of each panel; the visible zipper tape adds a little back.
How the Zipper Sandwich Works
A zipper has two fabric strips called the tape, a row of teeth down the middle, and a pull that slides along the teeth. The right side of the zipper is the side where the pull sits.
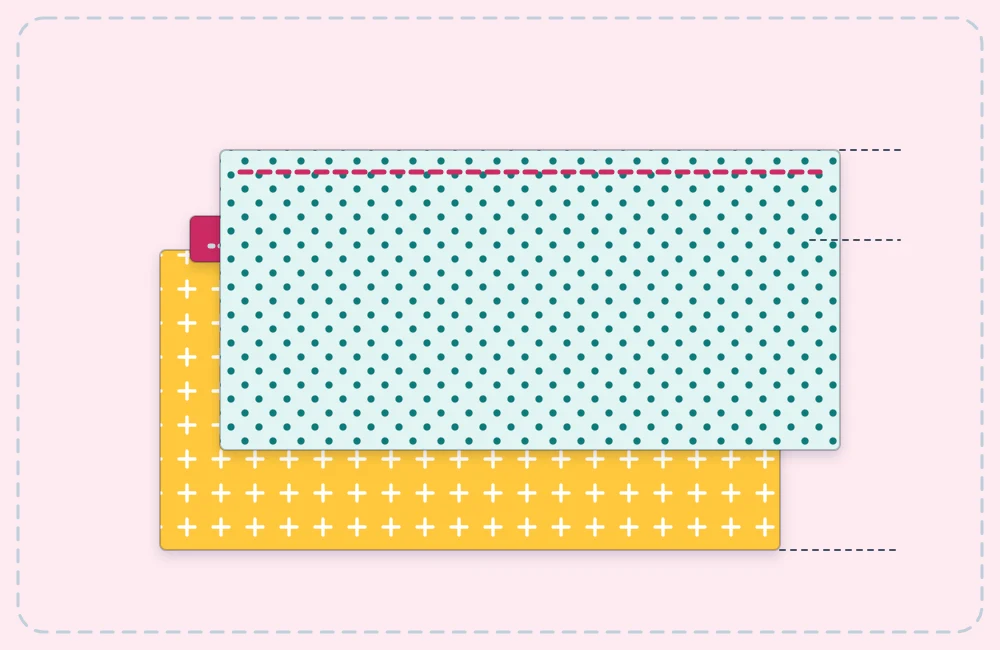
In a lined pouch, each long edge of the tape is trapped between one outer piece and one lining piece, a stack often called a sandwich. The outer fabric lies right side up, the zipper lies face down on it, and the lining goes face down over both. One row of stitching catches every layer, and when the fabrics are folded back the tape edge is hidden.
Step-by-Step Instructions
- Build the first sandwich. Lay one outer piece right side up. Place the zipper face down along the top 9 1/2 inch edge, with extra zipper hanging off both ends. Lay one lining piece face down on top. Clip all three layers along the edge.
- Sew the first zipper seam. Switch off the machine, attach the zipper foot, then sew 1/4 inch (6 mm) from the edge, backstitching 3 or 4 stitches at both ends. When you reach the pull, stop with the needle down, lift the presser foot, slide the pull past the foot, lower the foot and continue.
- Press the fabrics away from the teeth. Fold the outer piece and the lining back so their wrong sides face each other. Press both away from the zipper on a medium setting, keeping the iron off the nylon teeth; careful pressing makes the next steps easier.
- Repeat on the other side. Lay the second outer piece right side up. Place the sewn unit on top with the outer fabric facing down and the free tape edge along the top. Add the second lining piece face down, clip, sew and press as before.
- Topstitch along the zipper. Topstitching is a visible row of stitching sewn from the right side. Sew about 1/8 inch (3 mm) from each fold, through all layers, to keep the lining out of the teeth.
- Open the zipper halfway. Slide the pull to the middle of the fabric. Do this now, or the pouch cannot be turned right side out later.
- Pin the pouch for the outer seam. Fold the pieces so the two outer rectangles are right sides together and the two lining rectangles are right sides together. Match the zipper seams at each side and fold the zipper teeth toward the lining. Mark a 3 inch (7.5 cm) gap in the middle of the lining’s bottom edge.
- Sew around the edge. Change back to the regular presser foot. Start at one end of the gap and sew all the way around with a 1/2 inch (1.3 cm) seam allowance, pivoting at the corners and stopping at the other end of the gap. Sew slowly across the zipper coil, turning the handwheel by hand if the layers feel thick.
- Trim and turn. Check that the pull is inside the pouch, then cut the extra zipper level with the fabric edges. Snip the four corners diagonally, close to the stitching but not through it. Pull the pouch right side out through the gap and the open zipper.
- Close the gap. Fold the gap’s raw edges inward by 1/2 inch, press, and stitch close to the fold. Push the lining inside the pouch, poke out the corners with a blunt tool and give the pouch a final press.
Watch out
Before you trim the zipper, make sure the pull sits between the two side seams. If it is left on the part you cut away, it cannot be put back on.
Fixing Common First-Pouch Problems
The Zipper Sticks or Catches Fabric
The stitching is too close to the teeth, or the topstitching was skipped. Aim to keep the edge of the zipper foot running beside the teeth, not on top of them.
The Zipper Seam Wanders
Narrow seams show every wobble. Slow down, watch the fabric edge instead of the needle, and review the basics of sewing a straight seam. More clips also help; see the guide to holding layers together.
The Lining Looks Baggy
A lining cut the same size as the outer fabric has slightly too much room inside. Next time, sew the lining’s sides and bottom a little deeper, at about 5/8 inch (1.6 cm).
Frequently asked questions
Can a zipper pouch be sewn without a zipper foot?
It is possible on some machines by moving the needle position all the way to one side, but the regular foot tends to ride up on the zipper teeth. A zipper foot lets the stitching sit close to the teeth and makes the job much easier.
Does it matter which way the zipper opens?
Not for how the pouch works. If you have a preference, lay the zipper on the first outer piece and check which end the pull will close toward before you sew.
Can a zipper that is too long be shortened?
Yes, a nylon coil zipper can be cut to length with ordinary scissors once the side seams are sewn across it. The seams act as the new stops, so the pull cannot slide off.
Should the fabric be interfaced?
It is optional. Quilting cotton makes a soft pouch without it; fusing lightweight interfacing to the outer pieces before sewing gives a firmer shape.