How to Sew a Simple Drawstring Bag With a Casing
Sew an unlined drawstring bag from two rectangles and two cords. The project introduces pivoting at corners, pressing seams open and stitching a simple casing.

Tutorial at a glance
Materials
- 1/2 yard (0.5 m) of quilting cotton or one fat quarter
- 1 3/4 yards (1.6 m) of cord, 1/8 to 1/4 inch (3 to 6 mm) thick
- All-purpose polyester thread
- Universal 80/12 machine needle
- Fabric shears or rotary cutter, mat and ruler
- Pins or sewing clips
- Chalk or washable fabric marker
- Large safety pin
- Iron and ironing board
A simple drawstring bag teaches three useful skills in one short session: sewing a seam with a pivot at the corners, pressing a seam open, and making a casing. A casing is a folded and stitched channel that a cord or elastic runs through. This bag is unlined, closes with two cords that pull from opposite sides, and finishes at about 9 x 11 1/4 inches (23 x 28.5 cm), a handy size for shoes, toys, knitting or gift wrapping. All seams use a 1/2 inch (1.3 cm) seam allowance.
What You Need
- 1/2 yard (0.5 m) of quilting cotton, or one fat quarter (a precut piece about 18 x 22 inches / 46 x 56 cm)
- 1 3/4 yards (1.6 m) of cord, about 1/8 to 1/4 inch (3 to 6 mm) thick
- All-purpose polyester thread
- A universal 80/12 machine needle
- Fabric shears, or a rotary cutter with a mat and ruler
- Pins or sewing clips
- Chalk or a washable fabric marker
- A ruler or seam gauge
- A large safety pin
- An iron and ironing board
Prewash and press the fabric before cutting.
Cutting List
| Piece | Quantity | Cut size |
|---|---|---|
| Bag panel | 2 | 10 inches wide x 13 inches tall (25.5 x 33 cm) |
| Cord | 2 | 28 inches (71 cm) long |

Here is how the finished size is reached. The width is 10 inches minus two 1/2 inch side seams, which leaves 9 inches (23 cm). The height is 13 inches minus 1/2 inch for the bottom seam and 1 1/4 inches (3.2 cm) for the casing, which leaves 11 1/4 inches (28.5 cm).
Mark and Prepare the Panels
On the wrong side of each panel, make a small chalk mark on both long edges, 2 1/2 inches (6.5 cm) down from the top. The side seams stop at these marks, and the gaps above them become the openings where the cords enter the casing.
Unlined bags show their raw edges on the inside. To limit fraying, sew a zigzag stitch along both long edges of each panel before joining them. Other simple finishes are described in the seam allowance guide.
Sew the Drawstring Bag
Use a straight stitch of medium length, about 2.5 mm, and backstitch 3 or 4 stitches at the start and end of each seam.
- Pin the panels together. Place the two panels right sides together with all edges even and the marks matching. Pin the sides and bottom; there are tips in the guide to pinning and clipping fabric.
- Sew the sides and bottom. Start exactly at the mark on one side and backstitch. Sew down the side with a 1/2 inch (1.3 cm) seam allowance. Stop with the needle down 1/2 inch from the bottom edge, lift the presser foot, turn the fabric and sew across the bottom. Pivot again and sew up the other side, stopping at the mark. Backstitch. Remove pins as you reach them rather than sewing over them.
- Trim the corners. Cut diagonally across the two bottom corners, about 1/8 inch (3 mm) from the stitching.
- Press the side seams open. Press the seam allowances apart on both sides of the bag. Above each mark, where the edges are not sewn, keep pressing the same 1/2 inch (1.3 cm) folds to the wrong side all the way to the top edge.
- Stitch around the openings. On each side of the bag, topstitch (sew a visible line through the folded edge) in a narrow U shape: down one side of the opening about 1/4 inch (6 mm) from the fold, across the seam just below the mark, and back up the other side. This holds the folded edges flat and strengthens the end of the seam.
- Fold the casing. Work on the front panel only. Fold the top edge 1/4 inch (6 mm) toward the wrong side and press. Fold it again by 1 inch (2.5 cm) and press. Hold the fold with pins or clips. Repeat on the back panel, keeping the two panels separate.
- Stitch the casing. Sew along the lower fold of the front casing, about 1/8 inch (3 mm) from the fold, from one opening to the other. Backstitch at both ends. Repeat on the back. A casing is folded like the double-fold hem in the guide on how to sew a hem.
- Turn the bag. Turn the bag right side out, push the bottom corners out with a blunt tool and press.
- Thread the first cord. Fasten the safety pin to one end of a cord. Starting at the left opening, push the pin through the front casing, out at the right opening, into the back casing and out again at the left. Knot the two ends together.
- Thread the second cord. Repeat with the other cord, this time starting and ending at the right opening. Knot the ends.
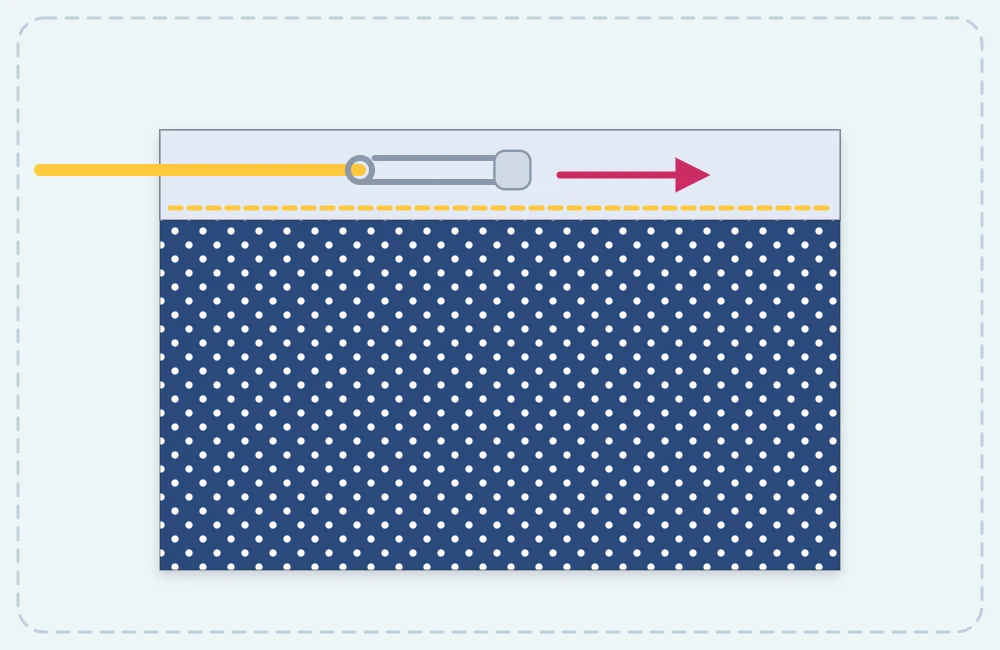
Pull the two knots in opposite directions and the top of the bag gathers closed.
Tip
Wrap a small piece of tape tightly around each cord end before threading. It stops the cord from unraveling and gives the safety pin something firm to grip.
Troubleshooting
- The cord will not go through. The casing stitching may have drifted too far from the fold, or the cord is too thick. A 1-inch (2.5 cm) casing suits cord up to about 1/4 inch (6 mm).
- The casing is sewn shut at the sides. The front and back were caught together. Unpick those few stitches with a seam ripper and sew each panel separately.
- A hole appears below the casing. The side seam was not backstitched at the mark. Sew over the end of the seam again from the inside.
Watch out
Long cords are a strangulation hazard for babies and young children. Do not give a drawstring bag to a small child or leave one within reach of a crib.
Changing the Size
The formula is easy to adapt. Decide on the finished width and height, then add 1 inch (2.5 cm) to the width and 1 3/4 inches (4.5 cm) to the height to get the cut size of each panel. Cut each cord twice the finished width plus 10 inches (25 cm). A small 6 x 8 inch (15 x 20 cm) gift bag, for example, needs two panels of 7 x 9 3/4 inches (18 x 25 cm) and two 22-inch (56 cm) cords.
When a drawstring bag feels comfortable, a simple tote bag is a natural next project, using the same side and bottom seams with straps instead of a casing.
Frequently asked questions
What kind of cord works for a drawstring bag?
Cotton cord, twill tape, ribbon or a flat shoelace all work, as long as they are no thicker than about 1/4 inch (6 mm) for this casing.
Can the bag be made with one cord instead of two?
Yes. Thread a single cord through both casings and knot it; the bag will gather from one side only and will not close quite as tightly.
Is a drawstring bag strong enough for heavy items?
An unlined quilting cotton bag suits light items such as shoes, toys or craft supplies. For heavier loads, use a sturdier fabric such as canvas and sew the seams twice.