How to Sew a Soft Fabric Basket With Boxed Corners
A lined, interfaced fabric basket with boxed corners and a fold-over cuff. Includes cut sizes, the math behind the finished size and a clear way to sew matching corners.
Tutorial at a glance
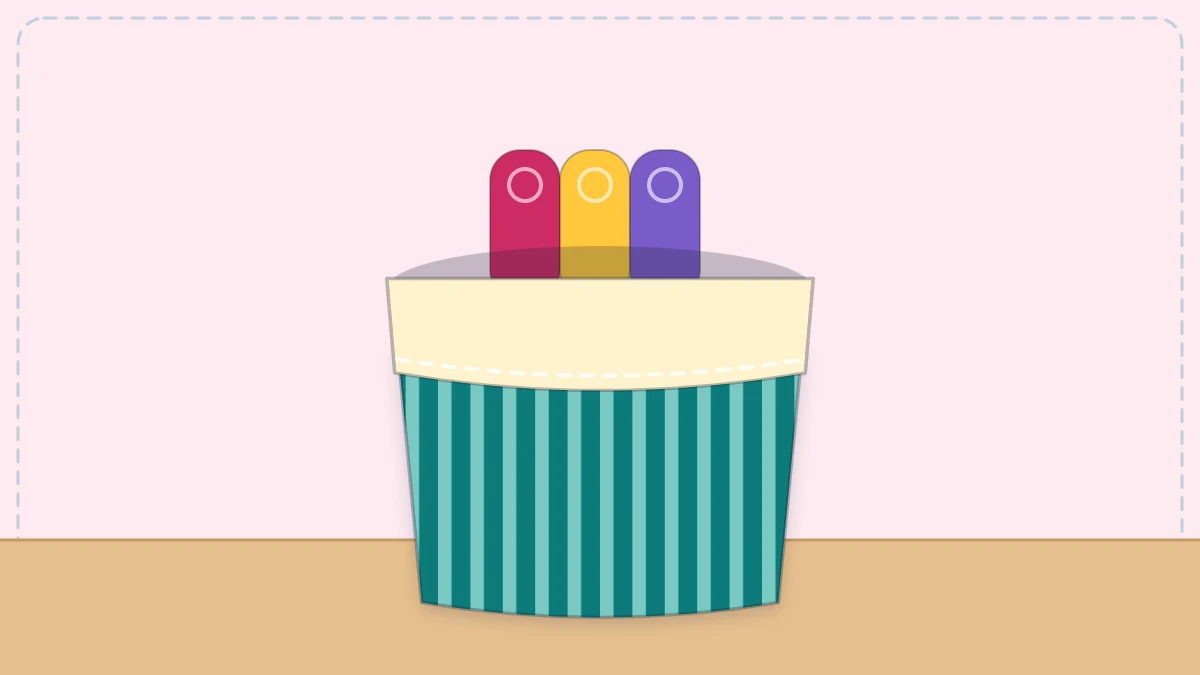
Materials
- Outer fabric: 1/2 yard (0.5 m) of quilting cotton or light canvas
- Lining fabric: 1/2 yard (0.5 m) of quilting cotton
- Firm fusible interfacing: 3/4 yard (0.7 m), 20 in (51 cm) wide
- All-purpose polyester thread
- Universal 80/12 machine needle, or 90/14 for canvas
- Sewing clips or pins
- Ruler and fabric marker
- Scissors or rotary cutter and mat
- Iron and pressing cloth
A soft fabric basket turns a few flat rectangles into something that stands up on a shelf, and the technique that makes it happen is the boxed corner. It is a single straight seam sewn across a pinched corner, and it gives the basket a flat base and upright sides. This fabric basket is lined, stiffened with fusible interfacing and finished with a fold-over cuff that shows off the lining.
The finished basket measures about 8 inches wide, 4 inches deep and 7 inches tall with the cuff folded down (20.5 x 10 x 18 cm). It suits rolled fabric scraps, yarn, cloth napkins or small toys.
What You Need
- Outer fabric: 1/2 yard (0.5 m) of quilting cotton or light canvas
- Lining fabric: 1/2 yard (0.5 m) of quilting cotton in a contrasting color or print
- Fusible interfacing: 3/4 yard (0.7 m) of a firm, iron-on type, 20 inches (51 cm) wide
- All-purpose polyester thread
- A universal 80/12 machine needle, or a 90/14 for canvas
- Sewing clips or pins
- A ruler and a fabric marker
- Scissors, or a rotary cutter with a mat
- An iron and a pressing cloth
Interfacing is a material applied to the wrong side of fabric to add body. The fusible kind has heat-activated glue on one side and is bonded in place with an iron. The firmer the interfacing, the better the basket stands. Because the cuff shows the lining, choose a lining you like next to the outer fabric.
Cutting List
All seams use a 1/2 inch (1.3 cm) seam allowance, which is the distance from the raw edge to the stitching. Every piece is the same size.
| Piece | Quantity | Cut Size (Width x Height) |
|---|---|---|
| Outer fabric | 2 | 13 x 12 in (33 x 30.5 cm) |
| Lining | 2 | 13 x 12 in (33 x 30.5 cm) |
| Fusible interfacing | 2 | 13 x 12 in (33 x 30.5 cm) |
Here is how the numbers work out. The two side seams reduce the 13 inch width to 12 inches. Each boxed corner is 4 inches across, which creates a base 4 inches deep and leaves 8 inches of width. Boxing also uses 2 inches of height, the bottom seam and top seam use 1/2 inch each, so the 12 inch panel ends up 9 inches tall. Folding a 2 inch cuff brings the height to 7 inches.
Prepare the Pieces
Place each outer rectangle wrong side up and lay an interfacing rectangle on top, glue side down. The glue side feels slightly rough or looks shiny. Cover it with a pressing cloth and press firmly, lifting and lowering the iron instead of sliding it, following the heat and time given in the interfacing instructions. Let the pieces cool flat before moving them so the bond sets.
Step-by-Step Instructions
- Sew the outer bag. Place the two outer pieces right sides together. Sew down one 12 inch side, across the 13 inch bottom and up the other side with a 1/2 inch (1.3 cm) seam allowance, pivoting at the corners. Backstitch 3 or 4 stitches at the start and end. Leave the top open.
- Sew the lining. Sew the two lining pieces the same way, but leave a 4 inch (10 cm) gap in the middle of one side seam. Backstitch on both sides of the gap.
- Press the seams open. Press the side and bottom seam allowances open on both bags as far as you can reach. This makes the corners flatter and easier to line up.
- Pinch the first corner. At one bottom corner of the outer bag, pull the front and back apart and flatten the corner into a triangle, so the side seam lies directly on top of the bottom seam. Push a pin through the top seam and check that it comes out through the seam underneath.
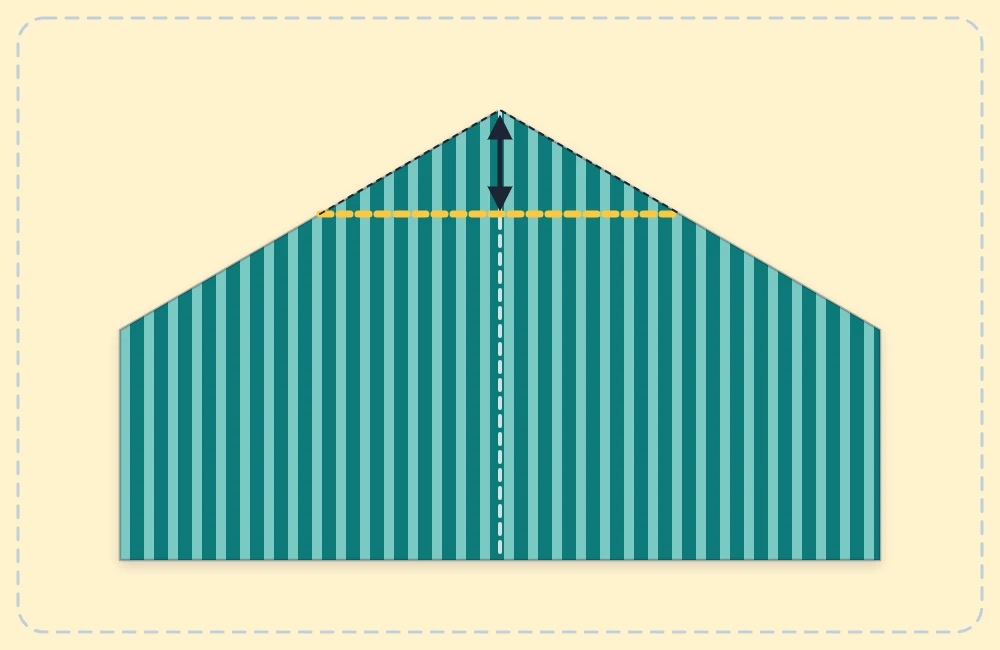
- Mark the boxing line. Measure 2 inches (5 cm) from the tip of the triangle along the seam and draw a line across at a right angle to the seam. The line should be 4 inches (10 cm) long from fold to fold.
- Sew and trim the corner. Stitch along the line, backstitching at both ends. Cut off the triangle 1/2 inch (1.3 cm) outside the stitching. Repeat on the other outer corner and on both lining corners.
- Nest the two bags. Turn the outer bag right side out and leave the lining wrong side out. Slide the outer bag inside the lining so the right sides face each other. Match the side seams and clip the top edges together all the way around.
- Sew the top edge. Sew around the top with a 1/2 inch (1.3 cm) seam allowance, overlapping the start by a few stitches. If your machine has a removable free arm, slipping the opening over it makes this circle easier to sew.
- Turn the basket. Pull the outer bag out through the gap in the lining. Fold the gap edges in by 1/2 inch, press, and stitch them closed close to the fold, or close them invisibly with a few hand stitches.
- Press and topstitch. Push the lining down inside the outer bag. Roll the top seam so it sits right on the edge, press, then topstitch 1/4 inch (6 mm) from the top all the way around.
- Fold the cuff. Turn the top 2 inches (5 cm) to the outside so the lining shows, and finger-press the fold.
Watch out
Measure all four boxed corners the same way. If one line is 4 inches long and another is 3 1/2, the basket will lean and the lining will not sit flat inside.
Troubleshooting
- The seams do not meet at the corner. The triangle shifted before sewing. Unpick it, re-pin through both seams and stitch again.
- The lining wrinkles inside. A little looseness is normal. Careful pressing of the top edge and the topstitching hold it in place.
- The interfacing bubbles or peels. It was not pressed long enough. Press again through a pressing cloth, holding the iron still for several seconds in each spot.
- The top seam is hard to feed. Thick side seams can stall the machine. Sew slowly and turn the handwheel by hand across them.
Changing the Size
The boxing measurement controls the shape. A longer boxing line gives a deeper, shorter basket, and a shorter line gives a taller, flatter one. To plan a new size, cut width equals finished width plus depth plus 1 inch, and cut height equals unfolded height plus half the depth plus 1 inch. If seam allowances are still new to you, sketch the panel and subtract them before cutting.
Frequently asked questions
What makes a fabric basket stand up?
The interfacing does most of the work. A firm fusible interfacing on the outer pieces gives the sides enough body to stay upright, and a heavier outer fabric such as canvas adds to it.
Can a fabric basket be made without interfacing?
Yes, but it will be soft and slouchy, more like a fabric bag than a bin. That is fine for light contents such as yarn or socks.
Why is the lining left with a gap in the side seam?
The outer and lining are joined at the top while inside out, so there has to be an opening to pull everything right side out. A gap in the lining ends up hidden inside the basket.