How to Sew a Simple Reversible Table Runner
A reversible table runner made from two long rectangles: sew, turn and topstitch. Includes cut sizes, how to size a runner for any table and tips for keeping long seams straight.

Tutorial at a glance
Materials
- Front fabric: 1 3/4 yards (1.6 m) of medium-weight woven cotton
- Back fabric: 1 3/4 yards (1.6 m) of a cotton of similar weight
- All-purpose polyester thread
- Universal 80/12 machine needle
- Pins or sewing clips
- Long ruler or tape measure and fabric marker
- Scissors or rotary cutter and mat
- Blunt point turner such as a chopstick
- Iron and ironing board
A simple table runner is two long rectangles sewn together, turned right side out and topstitched. There are no curves, no closures and no tricky corners, only long straight seams, which makes it excellent practice for keeping a seam even over a distance. Because the back is a full piece of fabric, the runner is reversible: flip it over for a second look.
The runner in these instructions finishes at 14 x 60 inches (35.5 x 152.5 cm). That suits a table about 48 inches (122 cm) long, with roughly 6 inches (15 cm) hanging over each end. A section below explains how to size it for a different table.
What You Need
- Front fabric: 1 3/4 yards (1.6 m) of quilting cotton or another medium-weight woven cotton
- Back fabric: 1 3/4 yards (1.6 m) of a cotton of similar weight
- All-purpose polyester thread
- A universal 80/12 machine needle
- Plenty of pins or sewing clips
- A long ruler or tape measure and a fabric marker
- Scissors, or a rotary cutter with a mat
- A blunt point turner, such as a chopstick
- An iron and ironing board
The yardage is set by the length of the runner, not its width, because each piece is cut in one length along the fabric. A good deal of width is left over. If you use the same fabric for both faces, one 1 3/4 yard length is enough, since two 15 inch strips fit side by side. Prewash and press cotton before cutting so the two layers do not shrink differently later. Like any cotton table linen, the runner is decorative and is not protection from hot dishes.
Cutting List
The seam allowance, meaning the distance between the raw edge and the stitching, is 1/2 inch (1.3 cm) on every side. Each piece is cut 1 inch (2.5 cm) longer and 1 inch wider than the finished runner.
| Piece | Quantity | Cut Size (Width x Length) |
|---|---|---|
| Front rectangle | 1 | 15 x 61 in (38 x 155 cm) |
| Back rectangle | 1 | 15 x 61 in (38 x 155 cm) |
Cut the long edges parallel to the selvage, the tightly woven edge that runs down each side of the fabric. This direction stretches the least, which helps a long piece stay straight. Trim the selvage itself away first. The guide to cutting fabric accurately shows how to keep a long cut straight by moving the ruler in stages.
Sizing a Runner for Your Table
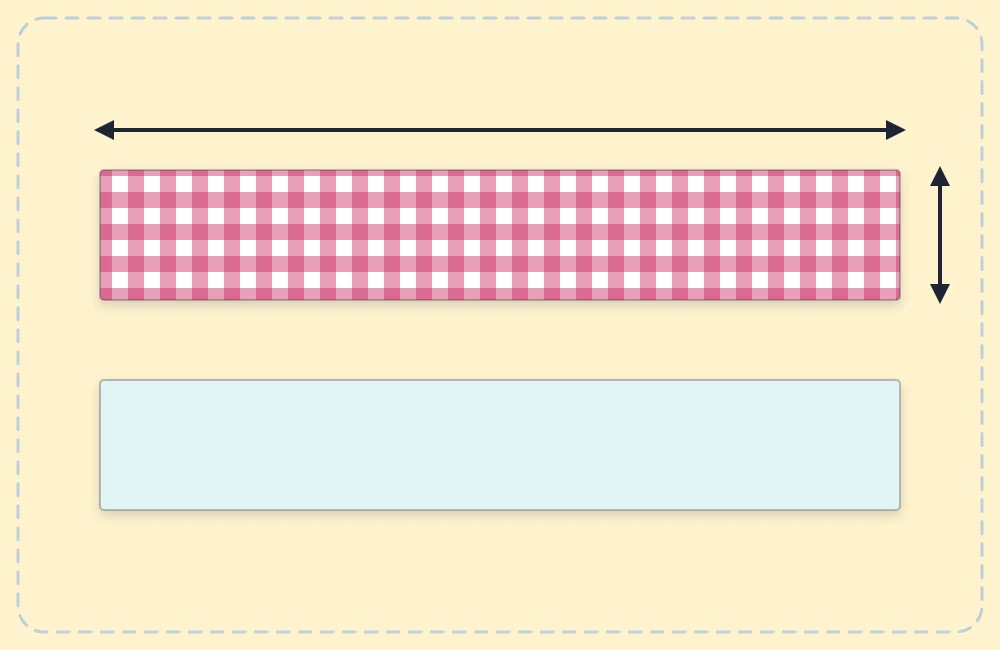
Measure the length of the tabletop and add 12 inches (30.5 cm) for an overhang of 6 inches at each end. For a runner that stops short of the edges instead, subtract a few inches from the table length. A width of 12 to 16 inches (30.5 to 40.5 cm) suits most tables; roughly one third of the table’s width is a common guide.
Once you have the finished size, add 1 inch (2.5 cm) to both measurements for the cut size. For example, a 72 inch runner needs two pieces 15 x 73 inches, cut from 2 1/8 yards (2 m) of fabric.
Step-by-Step Instructions
- Stack the rectangles. Lay the front piece right side up on a large table or a clean floor. Place the back piece on top, right side down, and smooth both layers from the center outward until all the edges line up.
- Pin generously. Pin or clip every 3 inches along both long edges and across the short ends. Long layers creep as they are sewn, and close pinning is what keeps them matched.
- Mark the turning gap. On one long side, near the middle, mark a 5 inch (12.5 cm) gap with a double pin at each end.
- Sew around the edge. Set a straight stitch about 2.5 mm long. Start at one end of the gap, backstitch 3 or 4 stitches, and sew with a 1/2 inch (1.3 cm) seam allowance. Remove each pin before it reaches the needle.
- Pivot at the corners. Stop 1/2 inch from each corner with the needle down, lift the presser foot, turn the fabric a quarter turn, lower the foot and continue. End at the other side of the gap and backstitch.
- Clip the corners. Cut diagonally across each corner about 1/8 inch (3 mm) from the stitching, taking care not to cut the stitches.
- Press before turning. Press the seams flat as sewn. Then fold back the two seam allowances at the gap by 1/2 inch and press them, so the gap edges are creased in the right place.
- Turn the runner right side out. Reach in through the gap and pull the far end through, then the rest. Push the corners out gently with the point turner.
- Press the edges. Work along each side, rolling the seam between your fingers until it sits on the edge, and press a section at a time. Tuck the gap edges in level with the rest of the side.
- Topstitch around the runner. Topstitching is a visible row of stitching sewn from the right side. Sew 1/8 to 1/4 inch (3 to 6 mm) from the edge on all four sides, pivoting at the corners. This closes the gap and keeps the edges crisp. Overlap the first stitches and backstitch.
Tip
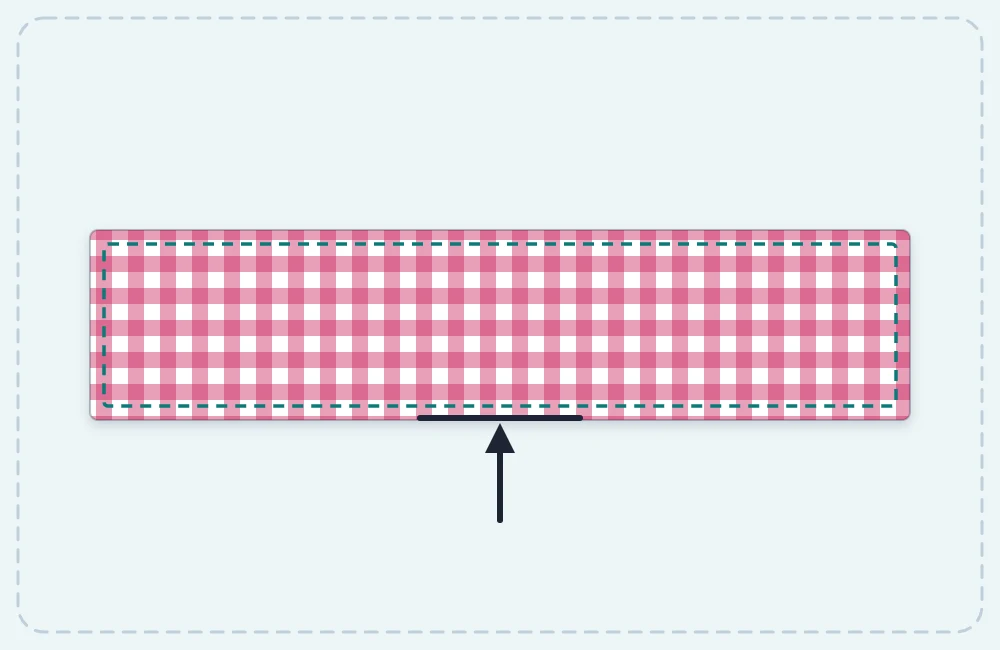
Support the weight of the runner on the table beside the machine, or over your shoulder, while you sew. Fabric that hangs off the edge drags on the seam and pulls the stitching off line.
Keeping Long Seams Straight
A 60 inch seam shows drift more than a short one. Pick a guide line on the needle plate or the edge of the presser foot, keep the fabric edge on it, and watch that guide instead of the needle. Stop with the needle down whenever you need to reposition your hands. The basics are covered in how to sew a straight seam.
If the top layer ends up longer than the bottom one at the end of a seam, the layers have shifted. More pins help, and so does sewing both long sides in the same direction. If ripples appear after turning, a thorough press usually settles them; see pressing for sewing for technique.
Variations
- Seasonal pair. Use an everyday fabric on one face and a holiday print on the other.
- Extra stitching. Add a second row of topstitching 1/2 inch (1.3 cm) inside the first for a framed look.
- Matching set. The leftover width is enough for coordinating cloth napkins.
Frequently asked questions
How long should a table runner be?
A common choice is the length of the table plus about 12 inches, so 6 inches hangs over each end. A shorter runner that stops before the table edges is also a normal look.
Can the runner be pieced from shorter lengths of fabric?
Yes. Join two shorter pieces with a 1/2 inch seam, press the seam open and treat the joined piece as one rectangle. Placing the join in the center keeps it looking deliberate.
Does a table runner need batting?
No. Two layers of cotton lie flat on a table without any filling. Batting is only needed for a quilted runner, which is a different project.