How to Sew Reversible Placemats
Sew a set of four reversible placemats with the sew, turn and topstitch method. Includes cut sizes, a clear step list and tips for sharp corners and flat edges.
Tutorial at a glance
Materials
- Fabric A: 1 yard (0.9 m) of medium-weight woven cotton
- Fabric B: 1 yard (0.9 m) of a second cotton of similar weight
- All-purpose polyester thread
- Universal 80/12 machine needle
- Pins or sewing clips
- Ruler and fabric marker
- Scissors or rotary cutter and mat
- Blunt point turner such as a chopstick
- Iron and ironing board
Reversible placemats use one of the most common methods in beginner sewing: stitch two pieces right sides together, turn them right side out through a gap, then topstitch around the edge. Once that sequence makes sense, it carries over to table runners, coasters and many simple bags. Each placemat has a different fabric on each face, so one set gives you two looks for the table.
Each finished placemat measures 18 x 13 inches (45.5 x 33 cm), a standard size that holds a dinner plate, a glass and cutlery. The instructions make a set of four.
What You Need
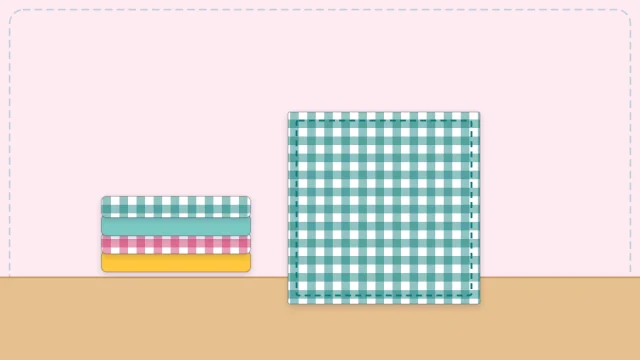
- Fabric A: 1 yard (0.9 m) of medium-weight woven cotton, 42 to 44 inches (107 to 112 cm) wide
- Fabric B: 1 yard (0.9 m) of a second cotton of similar weight
- All-purpose polyester thread in a color that suits both fabrics
- A universal 80/12 machine needle
- Pins or sewing clips
- A ruler and a fabric marker
- Scissors, or a rotary cutter with a mat
- A blunt point turner, such as a chopstick
- An iron and ironing board
Quilting cotton works well and comes in the widest range of prints. A slightly heavier cotton, such as a light canvas or home decor weight, gives a firmer placemat. Whatever you choose, pair fabrics of the same weight and fiber so the two layers behave alike in the wash. Prewash and press both fabrics before cutting. These placemats are meant for ordinary table settings; they are not heat-resistant and should not be used under hot dishes straight from the oven or stove.
Cutting List
The seam allowance, which is the distance between the raw edge and the stitching, is 1/2 inch (1.3 cm) on all four sides. Each cut rectangle is therefore 1 inch (2.5 cm) longer and 1 inch wider than the finished placemat.
| Piece | Quantity for Four Placemats | Cut Size |
|---|---|---|
| Fabric A rectangle | 4 | 19 x 14 in (48.5 x 35.5 cm) |
| Fabric B rectangle | 4 | 19 x 14 in (48.5 x 35.5 cm) |
Two rectangles fit side by side across the width of the fabric, so four rectangles use 28 inches (71 cm) of the 1 yard length. The remainder allows for shrinkage and straightening the cut ends. If your print has a clear direction, check that it runs the same way on every piece before you cut. For clean, square pieces, follow the steps in how to cut fabric accurately.
Step-by-Step Instructions
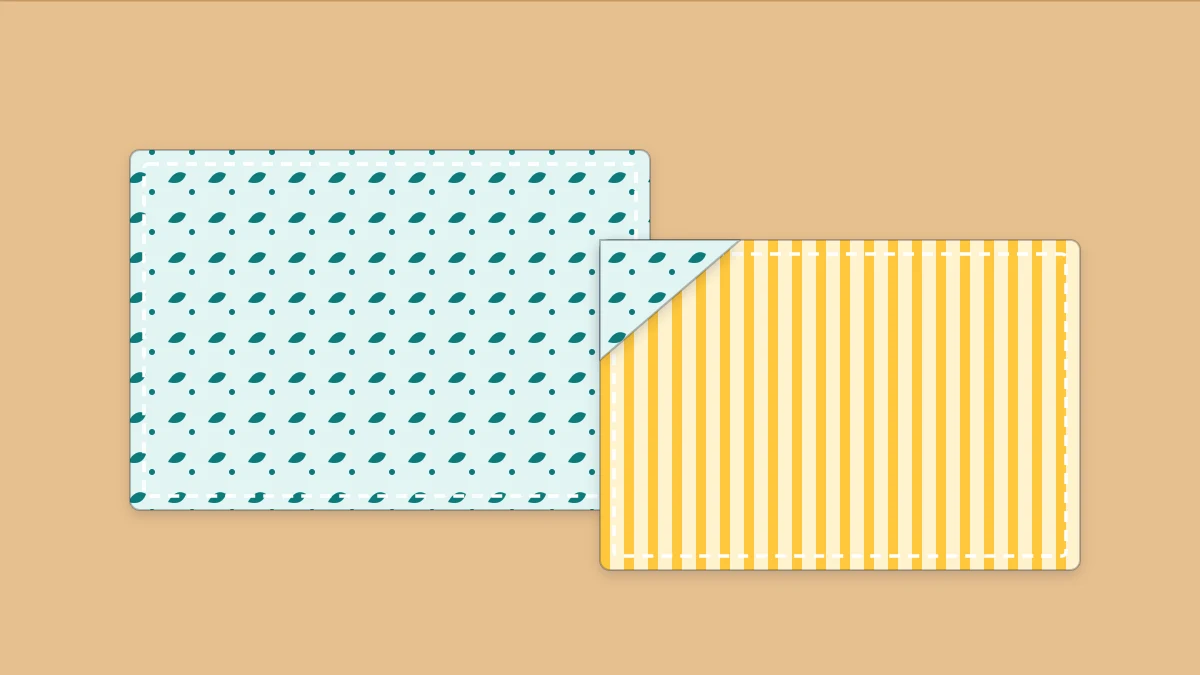
- Pair the rectangles. Place one Fabric A rectangle right side up on the table. Lay one Fabric B rectangle on top, right side down, so the right sides face each other. Line up all four edges.
- Pin and mark the gap. Pin or clip around the edge every 3 to 4 inches. On one long side, mark a 4 inch (10 cm) gap in the middle with two pins placed side by side at each end. They are a reminder to stop sewing there.
- Sew around the edge. Set a straight stitch about 2.5 mm long. Start at one end of the gap and backstitch 3 or 4 stitches. Sew with a 1/2 inch (1.3 cm) seam allowance, removing each pin before it reaches the needle.
- Pivot at the corners. Stop 1/2 inch from each corner with the needle down, lift the presser foot, turn the fabric a quarter turn, lower the foot and continue. Finish at the other end of the gap and backstitch again.
- Clip the corners. Cut diagonally across each corner, about 1/8 inch (3 mm) from the stitching, without cutting the stitches. This removes bulk so the corners turn out sharp.
- Press the gap edges. Before turning, fold the two seam allowances at the gap back by 1/2 inch, one toward each side, and press them. This crease makes the gap easy to close neatly later.
- Turn the placemat right side out. Reach through the gap, take hold of the far corner and pull the fabric through. Push each corner out gently with the blunt point turner. Do not use scissor tips, which can poke through the seam.
- Press the edges flat. Roll each seam between your fingers until the stitching sits exactly on the edge, then press. At the gap, make sure the pressed edges are tucked in and level with the rest of the side.
- Topstitch all the way around. Topstitching is a row of stitching sewn from the right side that shows on the finished piece. Sew 1/8 inch (3 mm) from the edge around all four sides, pivoting at the corners. This closes the gap and keeps the edges flat after washing. Overlap the first stitches by 1/2 inch and backstitch.
- Repeat for the set. Make the other three placemats the same way, then give all four a final press.

Sharp Corners and Flat Edges
The difference between a puffy placemat and a crisp one is mostly pressing. Press the seam flat as sewn before turning, which settles the stitches into the fabric. After turning, press again from both faces. If one fabric keeps peeking around to the other side, roll the seam slightly so the edge sits right on the stitching. The guide to pressing for sewing explains why lifting the iron works better than sliding it.
For the topstitching, a slightly longer stitch of about 3 mm looks smoother on thick edges. Line up the fabric edge with a fixed point on the presser foot and watch that point, not the needle. If the row wobbles, the article on sewing a straight seam covers how to guide the fabric.
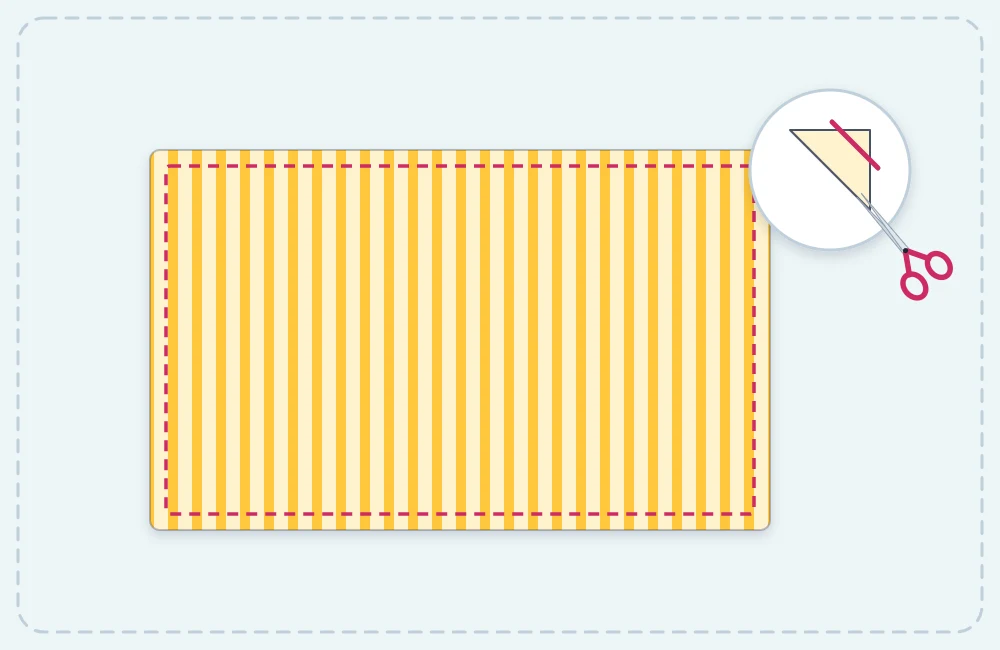
Tip
Wind the bobbin with a thread color that suits Fabric B and use a color for Fabric A in the needle. The topstitching then blends in on both faces.
Troubleshooting
- Rounded, lumpy corners. The corners were not clipped close enough, or the seam allowance is bunched inside. Turn the corner back out, trim a little more and try again.
- One layer is longer than the other. The fabrics shifted while sewing. Use more pins and sew with the slipperier fabric underneath.
- The gap shows as a dent. The gap edges were not pressed level before topstitching. Unpick a few inches, re-press and stitch again.
Variations to Try
For a firmer placemat, fuse lightweight iron-on interfacing to the wrong side of the Fabric A rectangles before sewing, following the product instructions. For a different size, add 1 inch (2.5 cm) to both finished measurements to get the cut size. The same sew, turn and topstitch method also makes a simple table runner to match.
Frequently asked questions
What size is a standard placemat?
Rectangular placemats are commonly around 18 x 12 to 20 x 14 inches. The 18 x 13 inch size in this project sits comfortably in that range and fits most tables.
Do placemats need batting or interfacing inside?
No. Two layers of medium-weight cotton make a usable placemat on their own. Lightweight fusible interfacing on one layer adds body if you prefer a firmer feel.
Why did the placemats pucker after washing?
The two fabrics most likely shrank by different amounts. Prewashing both fabrics before cutting, and pairing fabrics of the same fiber and weight, helps prevent it.