Seam Allowance Guide: Widths, Accuracy and Simple Finishes
What a seam allowance is, which widths are standard, how to keep them accurate at the machine and three easy ways to finish a seam.
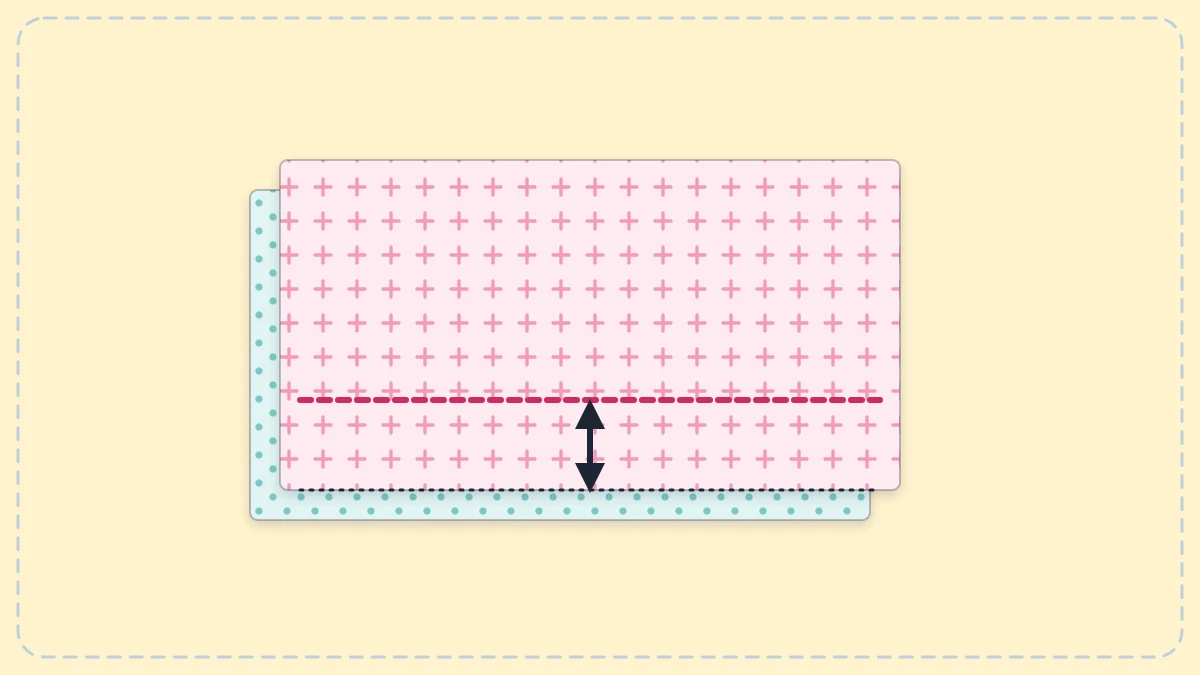
Every sewing project includes a measurement that never shows on the finished item. The seam allowance is the strip of fabric between the line of stitching and the raw, cut edge. It holds the seam together, gives the fabric room to fray a little without the stitches pulling out, and decides whether the finished piece comes out the size it was meant to be.
What a Seam Allowance Is
When two pieces of fabric are sewn together, the stitching never runs right on the cut edge. It sits a set distance inside it. That distance is the seam allowance, and it is already included in the size of the pieces you cut. A project that asks for two 19-inch (48 cm) squares sewn with a 1/2 inch (1.3 cm) seam allowance produces an 18-inch (46 cm) finished square, because each seam takes 1/2 inch from each side.
Project instructions state the seam allowance near the beginning, often with the phrase “unless otherwise noted”. Read it before you cut anything. If no allowance is given, check whether the cutting sizes are finished sizes, in which case you add the allowance yourself.
Common Seam Allowance Widths
Three widths cover nearly everything a beginner will meet.

| Width | Where it is used | Why |
|---|---|---|
| 1/4 inch (6 mm) | Quilting and small items | Saves fabric and keeps bulk low where many seams meet |
| 3/8 inch (1 cm) | Some bags, small accessories, curved seams | A middle ground that still turns neatly |
| 1/2 inch (1.3 cm) | Home projects and bags | Easy to sew accurately and sturdy enough for everyday use |
| 5/8 inch (1.6 cm) | Garments made from US patterns | Leaves room for fitting changes and for finishing the edges |
Wider is more forgiving. A beginner sewing a 1/2 inch allowance can wander slightly without the stitching falling off the edge, which is one reason simple home projects such as the envelope pillow cover use it.
Why Consistency Matters
A small error repeats on every seam. If you sew 1/8 inch (3 mm) wider than the instructions say, that seam uses an extra 1/8 inch from both pieces, so the project loses 1/4 inch (6 mm) at that seam alone. A cover with a seam on each side ends up 1/2 inch (1.3 cm) narrower than planned, and a pillow form may no longer fit as intended.
The opposite error causes a different problem. A seam sewn too narrow can pull out of loosely woven fabric once the edge begins to fray. Sewing the stated width, the same on every seam, matters more than choosing any particular number.
Accurate seams also depend on accurate pieces. If the edges are cut unevenly, a perfect seam allowance still gives a crooked result, so it helps to be comfortable with cutting fabric accurately first.
How to Keep the Width Accurate
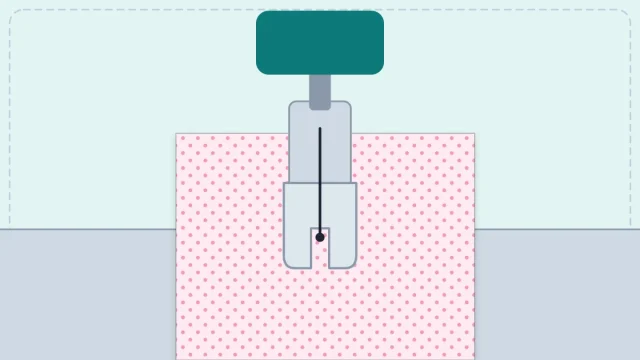
The needle plate of your machine has guide lines to the right of the needle, each marking a distance from the needle in its center position. Keep the raw fabric edge on the line that matches your seam allowance and watch that edge as you sew. The method is described in detail in the guide to sewing a straight seam.
A few extra checks help:
- Confirm the line. With the machine switched off, lower the needle by hand and measure from it to the guide line with a ruler or seam gauge. Markings differ between machines, and some plates are marked only in millimeters.
- Mind the needle position. If your machine lets you move the needle left or right, the guide lines are only correct when the needle is in the position the manual describes as standard.
- Use the presser foot edge. On many machines the right edge of the standard foot is roughly 1/4 to 3/8 inch from the needle. Measure yours instead of assuming.
- Add a tape guide. A strip of low-tack tape along the correct line makes a longer, clearer edge to follow.
- Sew a test seam. Stitch two scraps together, then measure from the stitching to the raw edge in several places.
Tip
Keep both raw edges exactly even with each other before you start. If the lower layer sticks out, you will follow the wrong edge and the two allowances will be different widths.
Simple Ways to Finish a Seam
After stitching, the allowances need to be pressed, and on fabrics that fray they benefit from a finish that protects the raw edges.
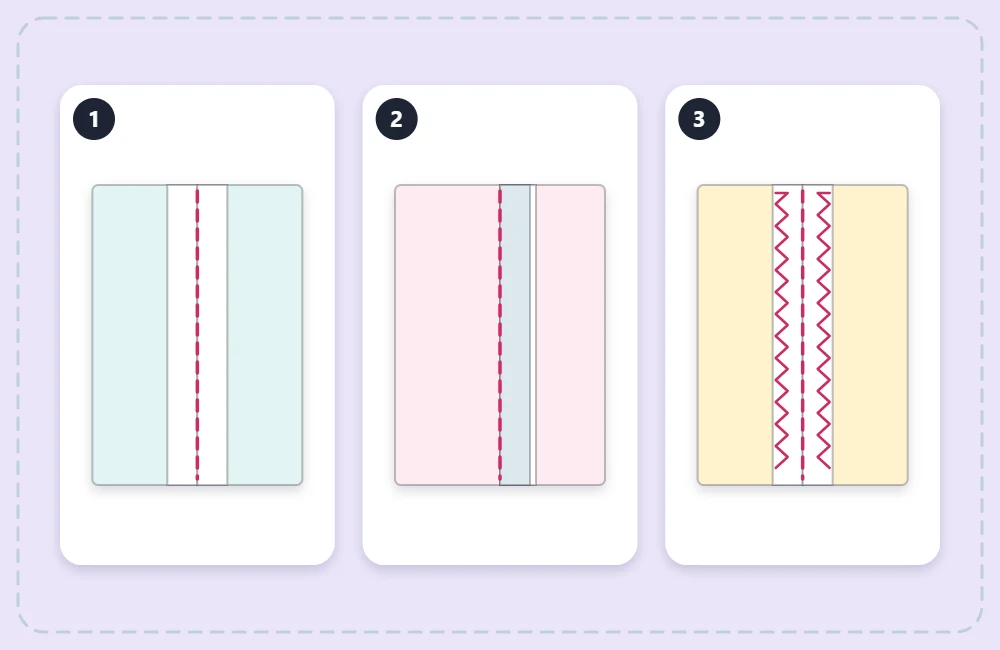
Pressed Open
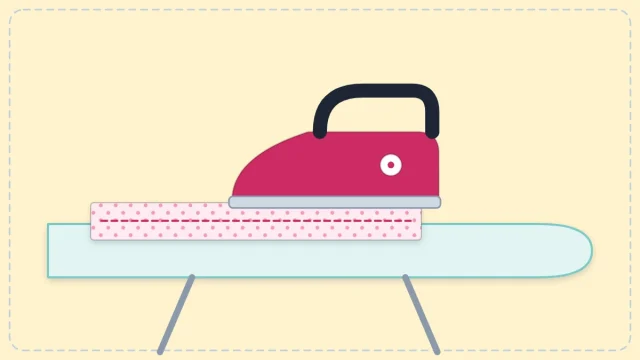
The two allowances are spread apart and pressed flat, one to each side of the stitching. This gives the flattest result and suits most seams in medium and heavy fabrics.
Pressed to One Side
Both allowances are pressed together in the same direction. It is quick, it is the usual choice in quilting, and it works well on light fabrics. When one fabric is darker, press toward the darker side so the allowance does not show through.
Zigzag Edges
A zigzag stitch sewn along each raw edge, or along both edges together, keeps woven fabric from fraying in the wash. Set a medium width and length and let the right-hand swing of the needle land just at the edge of the fabric. Test on a scrap first, because a zigzag that is too wide can curl a thin edge.
Items that are fully lined or turned right side out with the seams enclosed, such as placemats, usually need no edge finish at all. Details on heat settings and technique are in the guide to pressing for sewing.
Trimming Corners and Curves
A full seam allowance is sometimes too bulky once a piece is turned right side out. Two simple cuts solve that:
- Corners: cut diagonally across the corner of the allowance, a few threads away from the stitching, so the corner can turn into a clean point.
- Curves: snip small cuts into the allowance of a curved seam, stopping short of the stitching, so the curve can lie flat.
Watch out
Never cut into the stitching itself. A nicked stitch opens into a hole after turning, and on a corner it is difficult to repair neatly.
Frequently asked questions
Which seam allowance applies if the instructions do not say?
For home and bag projects 1/2 inch (1.3 cm) is a safe choice, as long as you add it to the finished size when cutting. For quilting, use 1/4 inch (6 mm).
Can the seam allowance on a project be changed?
Yes, but the cutting sizes must change with it. Add or subtract the difference on every edge that has a seam, or the finished item will come out a different size.
Do seam allowances need finishing on every project?
No. Seams enclosed inside a lined or turned item are protected already. Finish exposed seams on items that will be washed often or on fabric that frays easily.