Sewing Machine Tension Explained for Beginners
What the tension dial does, how to read a balanced stitch, and the three checks to make before you adjust anything.
Few dials worry new sewists as much as the one marked with numbers on the front of the machine. Sewing machine tension sounds technical, but the idea behind it is simple, and most stitch problems blamed on it are caused by something else entirely. Understanding what the dial does, and what to check before you touch it, saves a lot of wasted fabric and patience.
What Tension Actually Does
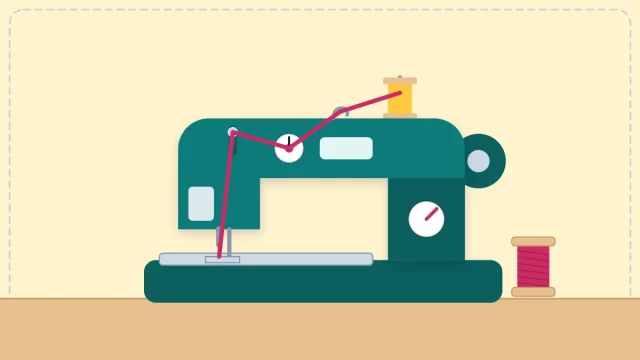
A machine stitch is made from two threads. The upper thread comes down from the spool through the needle, and the lower thread comes up from the bobbin. Each one is held back by a small amount of resistance, and that resistance is the tension. The upper thread is squeezed between two discs controlled by the numbered dial. The bobbin thread is held by a small spring on the bobbin case or holder.
When the two pulls are equal, the threads meet and lock in the middle of the fabric layers. That is a balanced stitch. When one side pulls harder, it drags the other thread through to its own side of the fabric.
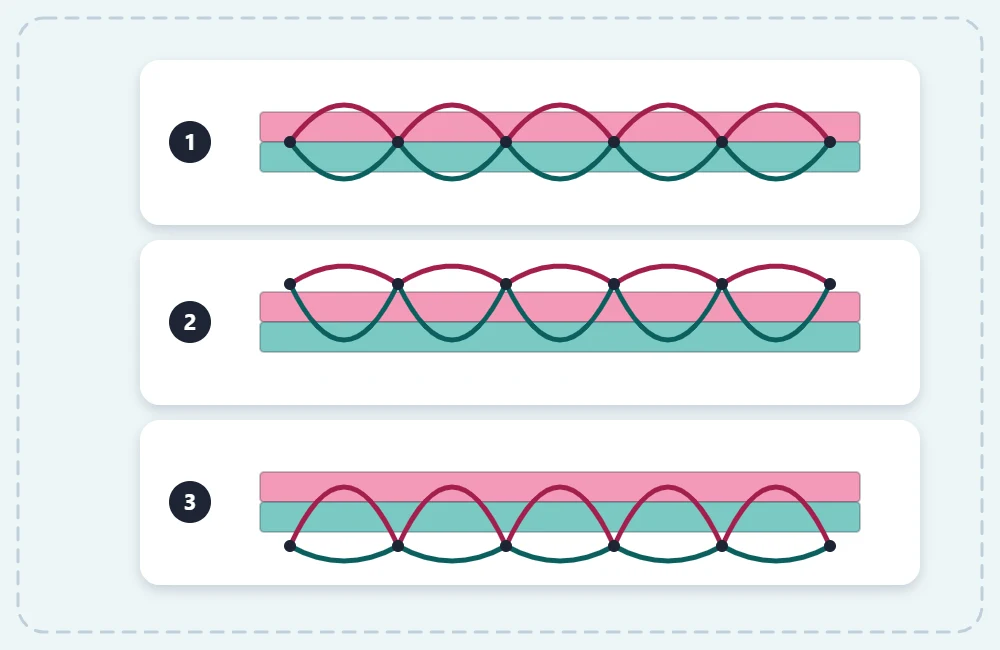
How to Read Your Stitches
The fabric tells you which thread is winning. Sew a test line and look closely at both sides.
| What you see | What it means | Dial adjustment |
|---|---|---|
| Stitches look the same on both sides | Balanced tension | None |
| Dots of bobbin thread show on the top | Upper tension too tight | Turn to a lower number |
| Loops or dots of upper thread show underneath | Upper tension too loose | Turn to a higher number |
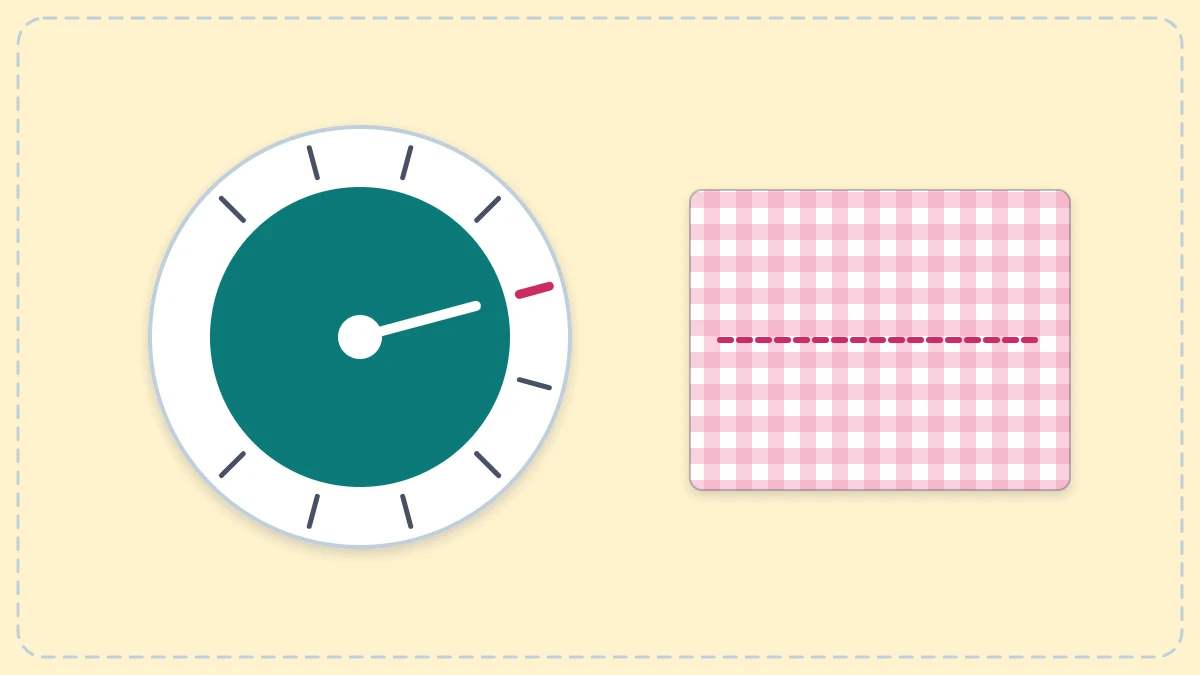
On most machines a higher number means more tension on the upper thread, and the usual setting for ordinary fabric sits near the middle of the dial. That spot is often highlighted or marked. Dials are not identical from one machine to the next, so check your machine’s manual for its normal range.
Tip
For a test seam, put one thread color on top and a different color in the bobbin. Any thread that shows on the wrong side of the fabric becomes obvious at a glance.
Check These Three Things First
A machine that was sewing well does not usually lose its tension on its own. When stitches suddenly go wrong, work through three checks before turning the dial. They solve the majority of beginner stitch problems.
1. Rethread the Machine
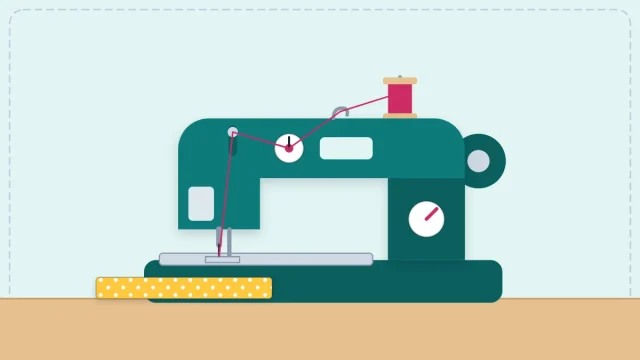
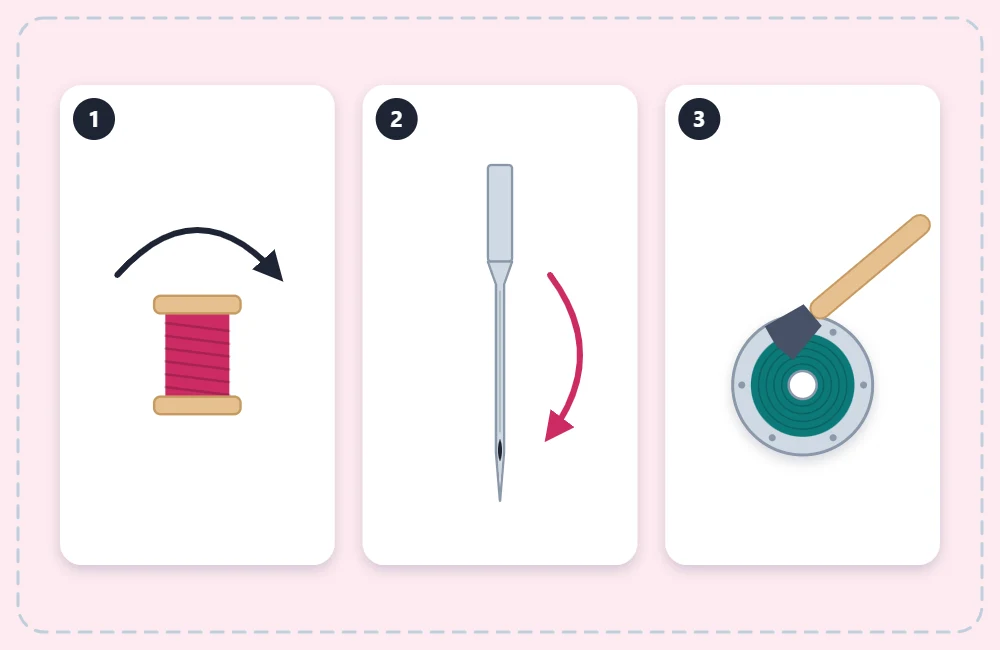
Raise the presser foot, pull the upper thread out completely and thread again from the spool. The foot must be up, because that opens the tension discs and lets the thread drop between them. Thread that sits outside the discs has no tension at all, which produces a nest of loops under the fabric. Take the bobbin out and reinsert it as well. The full route is shown in the guide on how to thread a sewing machine.
2. Change the Needle
A dull, bent or wrongly sized needle causes skipped stitches and uneven loops that look just like a tension fault. Fit a new needle suited to the fabric, and make sure it is pushed all the way up into the clamp. The guide to machine needles and thread lists which size goes with which fabric.
3. Clean Out the Lint
Switch off and unplug the machine. Remove the needle plate if your manual shows how, take out the bobbin and brush away the fluff around the bobbin area and the feed dogs, the small metal teeth that move the fabric. Lint packed into this space can hold the bobbin thread back and upset the stitch. Use a small brush and avoid blowing into the machine, which pushes lint and moisture further inside.
Adjusting the Upper Tension
If the stitches are still unbalanced after those three checks, adjust the dial in small steps.
- Prepare a test piece. Fold a scrap of the fabric you plan to sew so you are stitching through two layers, as you will in the real seam.
- Sew a line about 6 inches (15 cm) long at a normal stitch length and study both sides.
- Turn the dial half a number to one full number in the direction the table suggests.
- Sew another line beside the first and compare. Repeat until the stitches look alike on both sides.
- Note the setting that worked for this fabric and thread so you can return to it.
Expect to make small changes when you switch to a much thicker or thinner fabric, or to a different weight of thread. Test again each time you change materials.
Leave the Bobbin Tension Alone
The bobbin tension is set with a tiny screw and is adjusted at the factory. For ordinary sewing it rarely needs changing, and a small turn makes a large difference that is hard to undo by eye. As a beginner, treat the upper dial as your only adjustment. If balanced stitches are impossible across the whole range of the dial, a service technician is the right next step.
Watch out
Loops on the underside make it tempting to blame the bobbin. In nearly every case the upper thread is the cause: it has slipped out of the tension discs or missed the take-up lever. Rethread the top before anything else.
Problems That Are Not Tension
Some faults look like tension trouble and are not. Puckered seams on fine fabric often come from a needle that is too thick or a stitch that is too short. Thread that snaps repeatedly may be old and brittle, or caught on a rough edge of the spool. A stitch that is uneven only at the start of a seam usually means the thread tails were not held for the first few stitches.
The take-up lever and thread guides are easy to miss while threading; the diagram of sewing machine parts helps you find them. For a wider list of stitch faults and their causes, see common beginner sewing mistakes.
Frequently asked questions
What number should the tension dial be set to?
There is no single correct number, but the normal setting for medium-weight fabric is usually near the middle of the dial and is often marked. Your machine's manual gives the recommended range.
Why is there a bird's nest of thread under the fabric?
The upper thread is almost always the cause, typically because the machine was threaded with the presser foot down. Raise the foot and rethread from the spool.
Does the tension need changing for every fabric?
Not for every fabric. Similar weights usually sew well on the same setting, but a much thicker or thinner fabric or a different thread deserves a quick test seam first.