How to Sew a Straight Seam on a Sewing Machine
Use the seam guide on the needle plate, steer the fabric lightly and backstitch at both ends. The core machine-sewing skill, broken into simple steps.
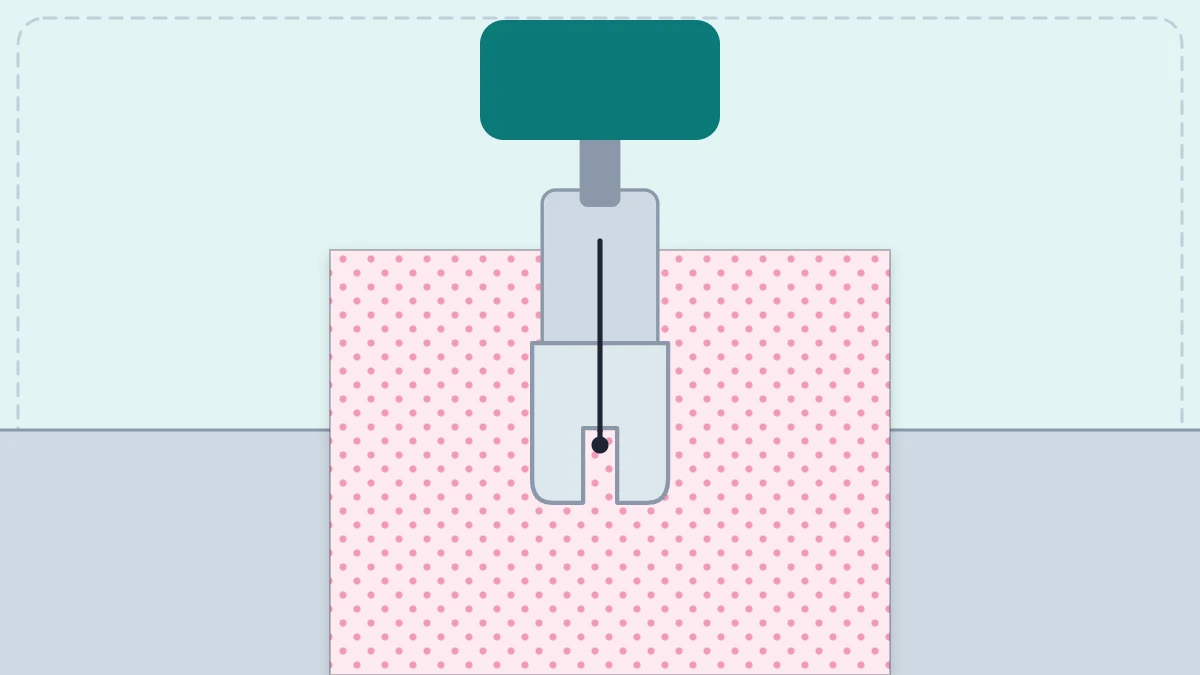
Almost every beginner project, from a pillow cover to a tote bag, is built from one skill repeated many times. Once you know how to sew a straight seam at an even distance from the fabric edge, most simple patterns are within reach. The technique depends less on steady hands than on where you look and how lightly you guide the fabric.
Set Up the Machine
Start with a correctly threaded machine and a fresh needle. If threading is still new, work through how to thread a sewing machine first. For practice on medium-weight woven cotton, use these settings:
- Stitch: straight stitch, with the needle in its standard position.
- Stitch length: about 2.5 mm, the usual length for seams in medium-weight fabric.
- Needle: a universal 80/12.
- Thread: all-purpose polyester in a color that contrasts with the fabric, so you can judge your stitching.
Cut two pieces of cotton about 4 x 10 inches (10 x 25 cm) and place them right sides together, meaning the printed or outer faces touch. Line up the long edges and hold the layers with a few pins or clips. The guide to pinning and clipping fabric covers how to place them.
Find Your Seam Guide
The needle plate, the metal plate under the presser foot, has lines engraved to the right of the needle. Each line marks a distance from the needle, and that distance is your seam allowance: the strip of fabric between the stitching and the raw edge. Many plates label the lines in fractions of an inch, in millimeters or both. The seam allowance guide explains which width to use for which kind of project.
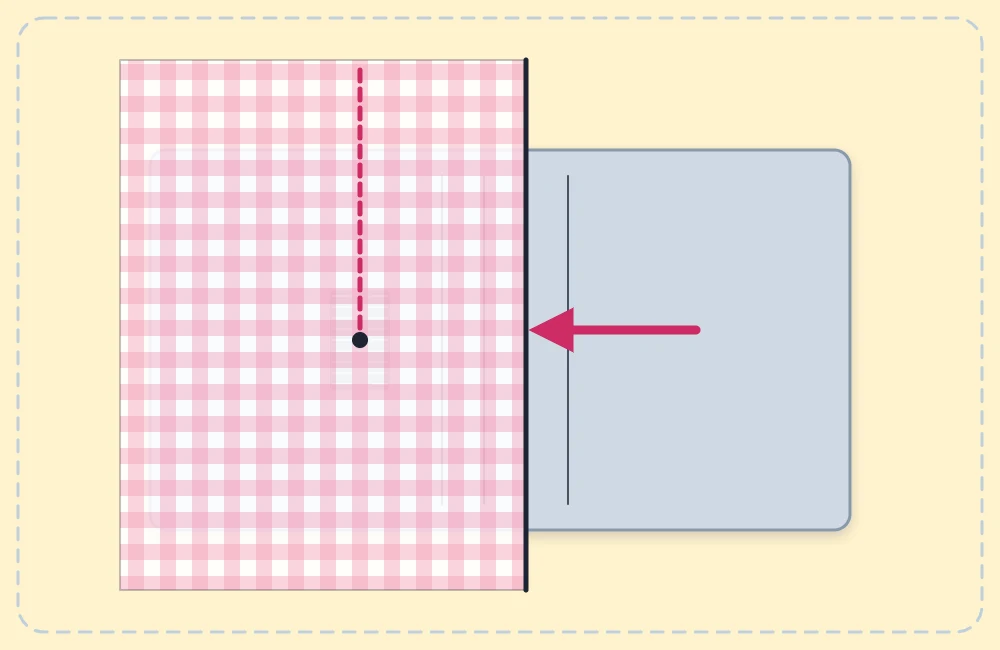
Choose one line, for example 1/2 inch (1.3 cm), and keep the raw edge of the fabric running along it for the whole seam. This is the single most useful habit in machine sewing. The needle moves too fast to follow, and watching it makes your hands overcorrect. The edge of the fabric against the guide line barely moves, so small drifts are easy to see and correct.
Tip
If the engraved lines are hard to see, stick a strip of low-tack tape on the machine bed along the line you need, keeping it clear of the feed dogs. The long, visible edge gives the fabric something to follow.
Sew the Seam Step by Step
- Position the fabric. Slide it under the presser foot with the raw edges on the guide line and the top edge just behind the needle.
- Lower the needle into the fabric by turning the handwheel toward you, then lower the presser foot.
- Hold the thread tails lightly behind the foot for the first few stitches. This stops them from being pulled down into a tangle.
- Sew 3 to 4 stitches forward, then press the reverse button or lever and sew 3 to 4 stitches back over them.
- Sew forward at a slow, steady speed along the guide line. Remove each pin just before it reaches the presser foot.
- Stop at the end, sew 3 to 4 stitches in reverse, then forward again to the edge.
- Raise the needle to its highest point with the handwheel, lift the presser foot, pull the fabric out toward the back and cut the threads.
Watch out
Do not sew over pins. A needle that strikes a pin can bend or break, and the broken tip can fly up. Keep your fingers a safe distance to the sides of the needle at all times.
Guide the Fabric, Do Not Push It
The feed dogs, the small metal teeth under the presser foot, move the fabric at exactly the pace the machine needs. Your job is only to steer.
- Left hand: rest it flat on the fabric to the left of the foot, fingers relaxed, moving along with the fabric.
- Right hand: hold the fabric edges a few inches in front of the foot and keep them on the guide line.
- Do not pull from behind. Pulling stretches the fabric, makes stitches uneven and can bend the needle.
- Do not push from the front. Pushing gathers the fabric into small tucks.
Control the speed with gentle pressure on the pedal. Slow, even sewing produces a straighter seam than fast bursts with sudden stops. When you need to reposition your hands, stop with the needle down in the fabric so the layers cannot shift.
Backstitch at Both Ends
A row of machine stitches can unravel from either end if nothing secures it. Backstitching, which means sewing a few stitches in reverse over the seam, locks the threads in place.
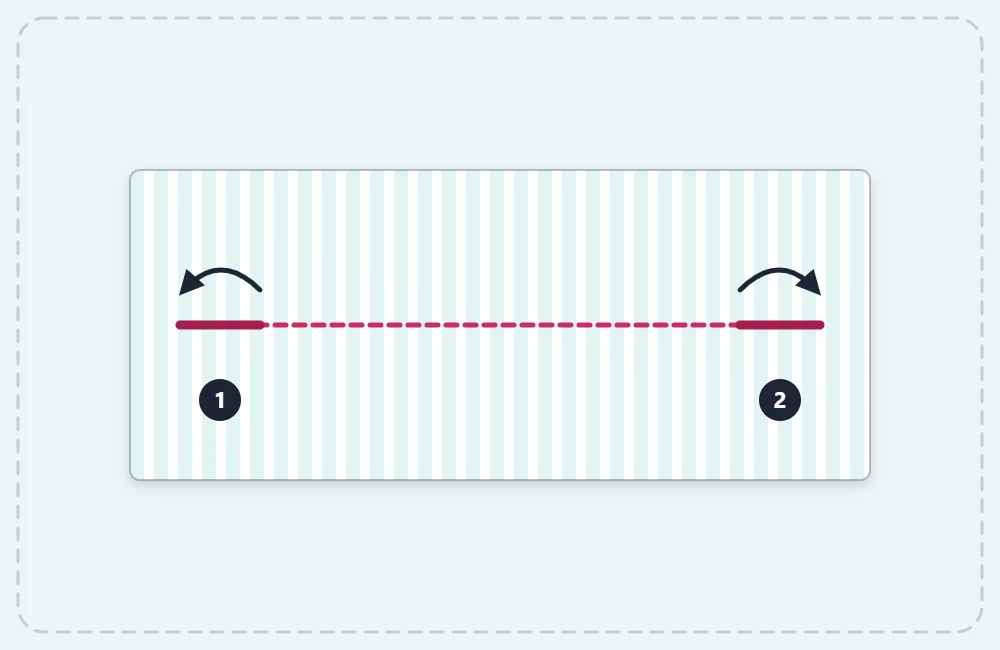
Three or four stitches are enough. More than that builds up a hard lump of thread and is difficult to unpick if you need to redo the seam. Try to reverse directly on top of the first stitches instead of beside them. If the fabric edge gets pushed down into the needle plate at the start, begin about 1/4 inch (6 mm) in from the edge, reverse to the edge, and then sew forward.
Practice Drills and Common Wobbles
A few minutes of practice on scraps pays off quickly. Striped fabric makes a good practice surface, because the printed lines show immediately whether the stitching is straight. Sew along the stripes first, then sew parallel rows using the edge of the presser foot as a spacing guide.
If your seams wander, look for the cause:
- The seam drifts toward or away from the edge: your eyes have moved to the needle. Look back at the guide line.
- The seam wobbles in small waves: you are steering too hard. Lighten your touch and slow down.
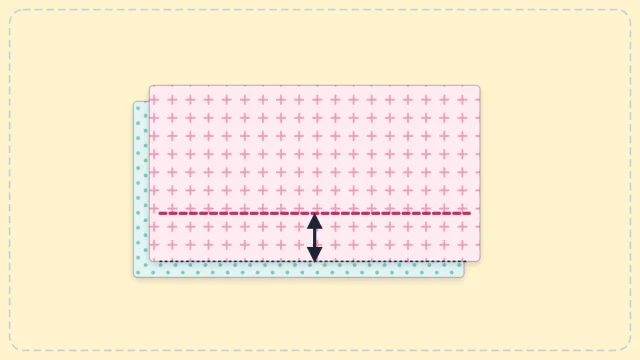
- The layers end up uneven at the bottom: the top layer has crept forward. Use more pins or clips and avoid pushing.
- The seam curves at the very end: keep guiding the edge until the last stitch instead of letting go early.
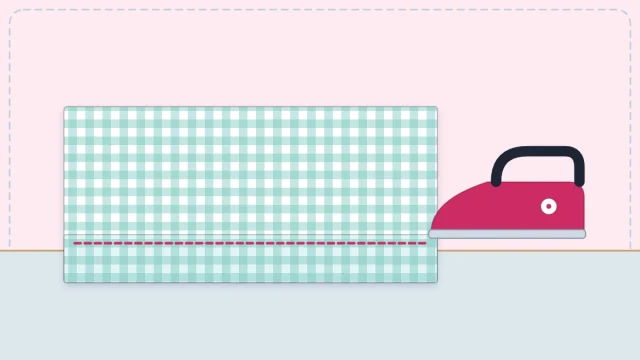
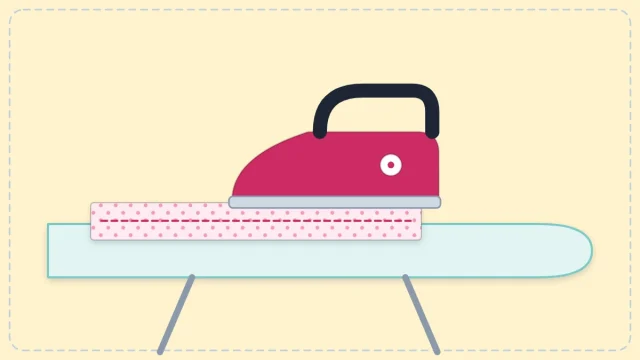
When the seam is finished, press it flat before sewing across it with another seam. The reasons and the method are in the guide to pressing for sewing.
Frequently asked questions
Why does the fabric pull to one side while sewing?
Uneven hand pressure is the usual reason, often from gripping the fabric too firmly on one side. Rest both hands lightly and let the feed dogs move the fabric.
What stitch length should a beginner use for seams?
About 2.5 mm suits most medium-weight woven fabrics. Use a slightly longer stitch for thick fabrics and a slightly shorter one for fine fabrics.
Is backstitching needed on every seam?
Backstitch any seam end that will not be crossed and secured by another seam. When in doubt, backstitch; it takes a second and keeps the seam from opening.
How fast should a beginner sew?
Slowly enough that you can keep the fabric edge on the guide line without rushing. If your machine has a speed limit slider, set it low while you practice.