Pressing for Sewing: How to Press Seams, Set the Heat and Get Crisp Results
Pressing as you sew is what makes a project look neat. Learn the difference between pressing and ironing, when to press seams open or to the side, and which heat setting to use.
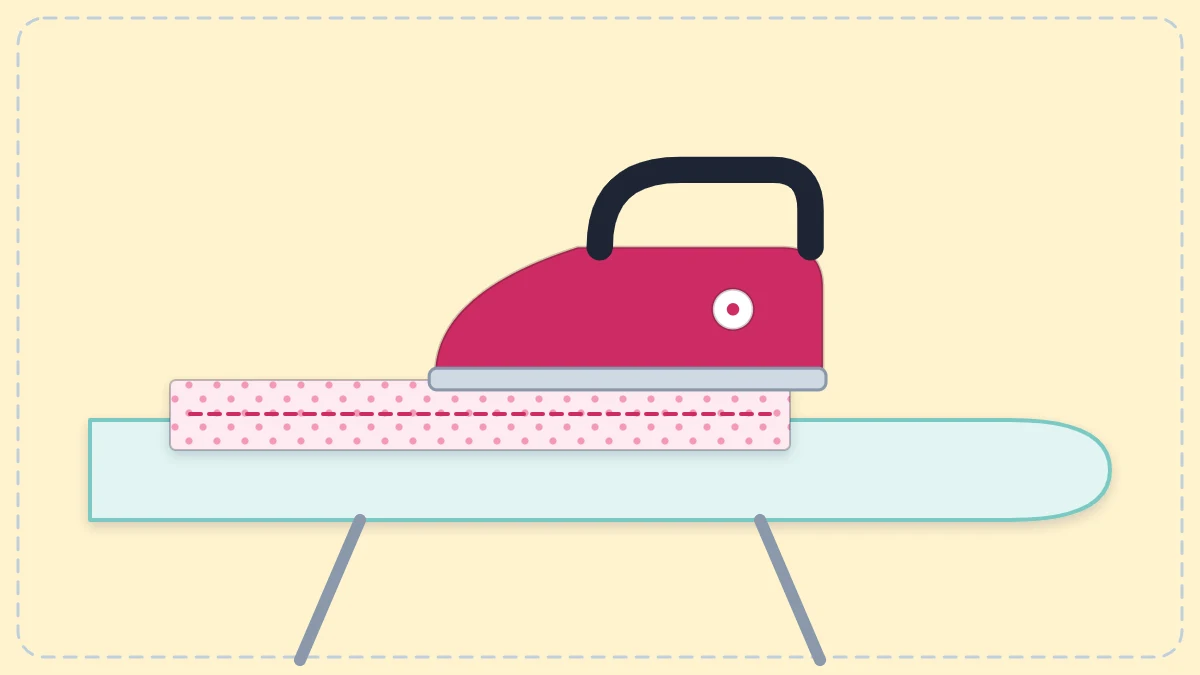
An iron is as much a sewing tool as the machine itself. Pressing for sewing means using heat, and often steam, to flatten each seam and fold as it is made, so the next step starts from a smooth, accurate surface. Projects that are pressed along the way look crisp and lie flat. Projects that are only ironed at the end tend to keep a puffy, homemade look that no amount of last-minute effort removes. The technique is simple, and it takes only a few seconds per seam.
Pressing vs Ironing
The two words describe different movements.
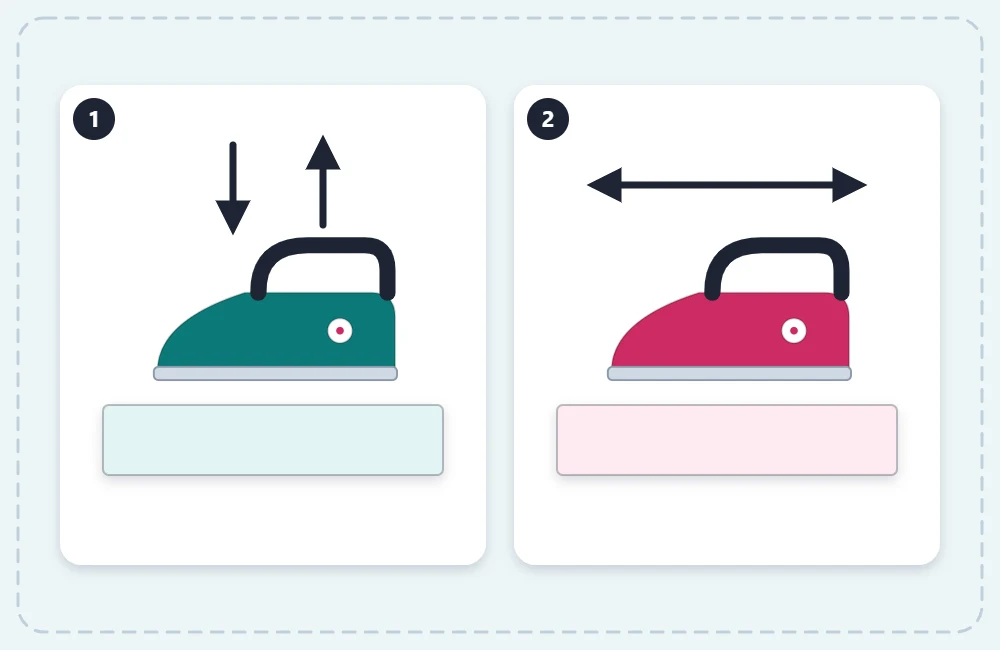
Ironing is the sliding, back-and-forth motion used to take wrinkles out of a shirt. It is the right choice for smoothing a flat piece of fabric before cutting.
Pressing is an up-and-down motion. Lower the iron onto the fabric, hold it for a few seconds, lift it, move along and lower it again. Pressing is used on seams, hems and cut pieces, because sliding a hot iron can stretch fabric out of shape, especially along edges cut on the bias (the stretchy diagonal direction of woven fabric). Once pieces are cut, switch from ironing to pressing.
Choosing the Heat Setting
Irons are marked with fiber names, dots or both. Match the setting to the fiber content of the fabric, which is usually printed on the end of the bolt at the store. Note it down when buying; the guide on how to choose fabric explains why fiber matters.
| Fabric | Heat | Steam |
|---|---|---|
| Polyester, nylon, acrylic | Low | Little or none; use a press cloth |
| Silk, wool | Medium | Use a press cloth |
| Cotton | High | Yes |
| Linen | Highest | Yes |
For a blend, use the setting for the most delicate fiber in it. A cotton-polyester blend is pressed on the polyester setting. Irons differ, so check the manual for what the dots or numbers on yours mean.
Tip
Test the heat on a scrap of the same fabric before touching the project. If the scrap turns shiny, puckers or sticks, lower the setting and use a press cloth.
Press Every Seam Before You Cross It
The basic rule is to press each seam before sewing another seam across it. A seam that is crossed while still unpressed gets locked into a bulky, slightly crooked position.
Pressing a seam takes two short stages:
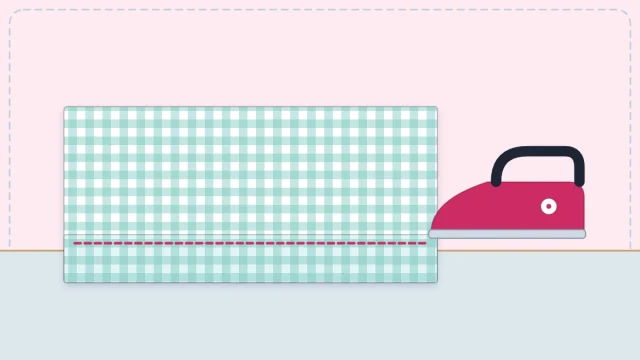
- Set the seam. Leave the two layers exactly as they came off the machine, right sides together, and press along the line of stitching. This settles the thread into the fabric and smooths out small puckers.
- Press it open or to one side. Open the fabric, arrange the seam allowances, and press again from the wrong side. Then turn the piece over and press lightly from the right side to check that no fold is hiding along the seam.
Let the fabric cool for a moment before moving it. Warm, damp fabric loses its shape easily; cool fabric holds the press.
Seams Open or to the Side
Seam allowances, the strips of fabric between the stitching and the raw edge, can be pressed in two ways. If the term is new, the seam allowance guide covers the basics.
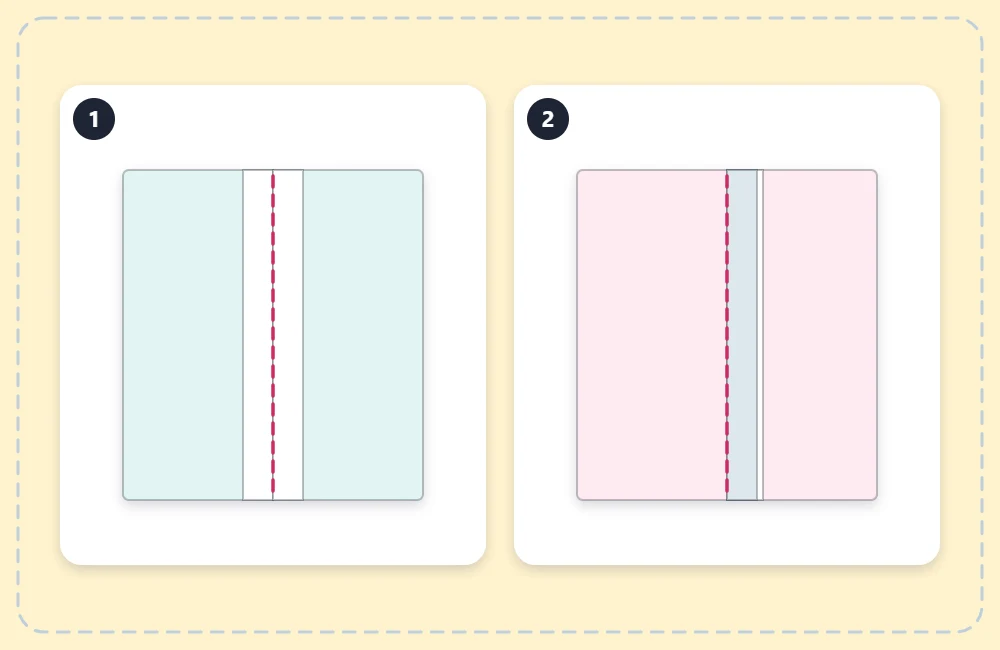
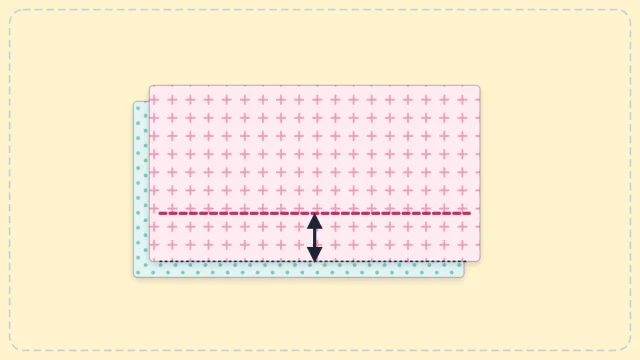
Pressed open: the two allowances are spread apart, one to each side of the stitching. This gives the flattest result and spreads the bulk evenly. It is the usual choice for bags, pillow covers and garments. Run a fingertip along the seam to open it, then follow with the tip of the iron.
Pressed to one side: both allowances are folded the same way. It is quicker, and it is standard in quilting with 1/4 inch (6 mm) seams, which are too narrow to open easily. Press toward the darker fabric so the allowance does not show through a lighter one.
When project instructions say which way to press, follow them. When they do not, press open unless the seam is very narrow.
Useful Pressing Tools
Very little equipment is needed.
- An iron with steam. Any household steam iron that heats evenly will do.
- An ironing board or pressing mat. A firm, padded surface near the machine makes it easy to press after every seam.
- A press cloth. This is a piece of plain fabric laid between the iron and the project to prevent shine and scorching. A square of undyed cotton, such as a piece of an old pillowcase, works well.
- A seam gauge. A small ruler with a sliding marker helps when pressing folds to an exact depth, for example when you sew a double-fold hem.
- A spray bottle of water. A light mist helps stubborn creases in cotton and linen.
Good Pressing Habits
- Press before cutting. Smooth fabric measures accurately; more on this in the guide on how to cut fabric.
- Press from the wrong side when possible. It protects the surface of the fabric from shine.
- Keep plastic away from the iron. Plastic-head pins and sewing clips melt. Remove them before the iron reaches them.
- Do not press over marks you have not tested. Heat can make some marking pens permanent. Try the marker and the iron together on a scrap first.
- Keep the soleplate clean. Residue on the base of the iron transfers to light fabric.
Watch out
Steam burns as quickly as the hot soleplate. Keep fingers out of the path of the steam, rest the iron on its heel between seams, and switch it off and unplug it when the sewing session ends.
A workable rhythm for any project is sew, press, then sew again. Setting up the iron within reach of the machine makes that habit easy to keep.
Frequently asked questions
Does every single seam need pressing?
Press any seam that will be crossed by another seam, folded or topstitched. On small projects that is nearly all of them, and each one takes only a few seconds.
What can be used as a press cloth?
Any clean piece of plain, undyed cotton, such as part of an old pillowcase or a cotton handkerchief. Avoid printed or textured cloth, which can transfer color or texture.
Why does fabric turn shiny after pressing?
The heat is too high for the fiber or the iron touched the right side directly. Lower the setting, press from the wrong side and use a press cloth.