How to Sew a Hemmed Bandana With a Narrow Hem
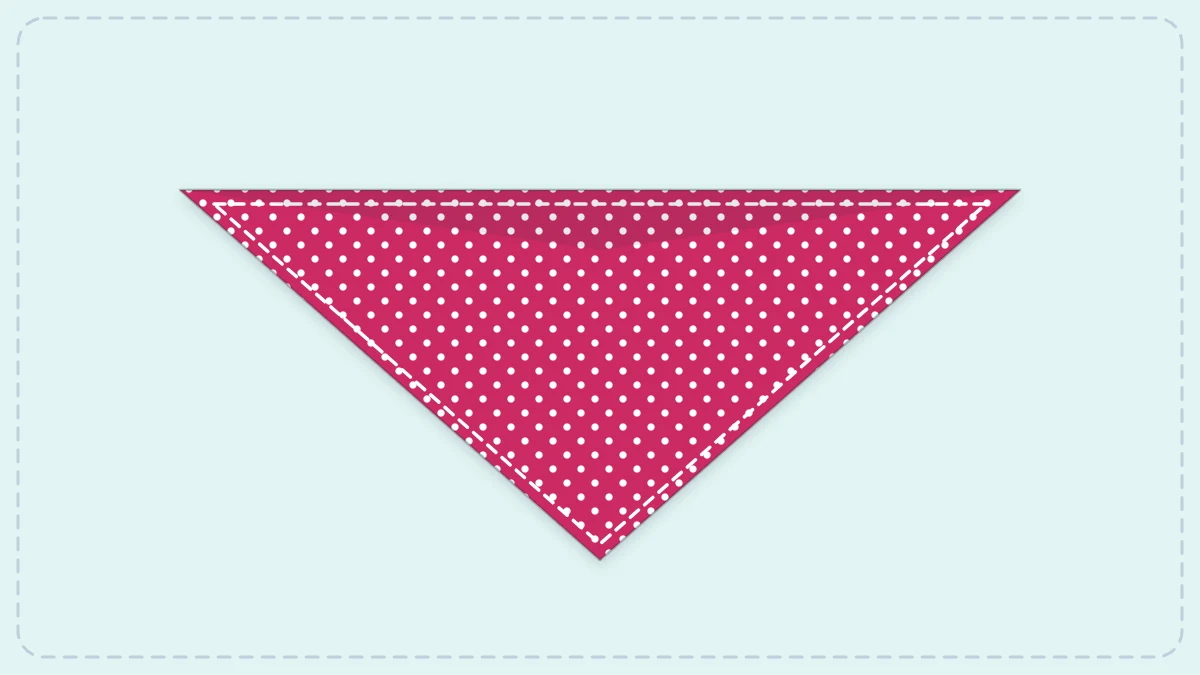
A square bandana is one piece of fabric and four narrow hems. Learn how to cut a true square, press tidy 1/4 inch folds and stitch neat corners.
Tutorial at a glance
Materials
- 2/3 yard (0.6 m) of lightweight woven cotton
- All-purpose polyester thread
- Universal 80/12 machine needle (70/10 for very fine cotton)
- Fabric scissors or a rotary cutter and mat
- Clear ruler and chalk marker
- Seam gauge or small ruler
- Iron and ironing board
- Pins or sewing clips
A hemmed bandana is a single square of fabric with four neat edges, and that simplicity is exactly what makes it worth sewing. There is no seam to match and nothing to turn right side out. All of your attention goes to one skill, the narrow hem, repeated four times until it starts to feel easy. You finish with something you can tie around your neck, hair or a bag handle.
What a Narrow Hem Is
A hem is a finished edge made by folding the fabric over and stitching it down. In a double-fold hem, the edge is folded twice so the raw, fraying edge ends up wrapped inside the fold. A narrow hem is simply a small version of that: here each fold is 1/4 inch (0.6 cm), so the hem uses a total hem allowance of 1/2 inch (1.3 cm) on every side.
Narrow hems suit thin fabrics and items that need to drape and tie, because a wide hem would make the edge stiff. If you have not sewn any hem before, the tutorial on how to sew a double-fold hem walks through the wider, more forgiving version first.
What You Need
- 2/3 yard (0.6 m) of lightweight woven cotton, at least 42 inches (107 cm) wide
- All-purpose polyester thread in a matching color
- A universal 80/12 machine needle, or 70/10 for very fine cotton
- Fabric scissors, or a rotary cutter and cutting mat
- A clear ruler and a chalk marker
- A seam gauge or small ruler for checking the folds
- An iron and ironing board
- Pins or sewing clips
Cotton lawn, cotton voile and soft shirting give the classic floaty bandana. Quilting cotton also works and is the easiest to fold accurately. It starts out a little crisp and softens with washing.
Cutting the Square
Wash, dry and press the fabric before cutting. Cotton shrinks the first time it is washed, and a bandana gets washed often. Then cut one square. The table gives three common sizes. The middle one is the standard choice, and the large one needs 7/8 yard (0.8 m) of fabric.
| Bandana | Cut size | Finished size |
|---|---|---|
| Small (child or pocket square) | 18 x 18 inches (46 x 46 cm) | 17 x 17 inches (43 x 43 cm) |
| Standard | 22 x 22 inches (56 x 56 cm) | 21 x 21 inches (53 x 53 cm) |
| Large (head scarf) | 27 x 27 inches (69 x 69 cm) | 26 x 26 inches (66 x 66 cm) |
Each finished size is 1 inch (2.5 cm) smaller than the cut size, because the hem takes 1/2 inch from each of two opposite sides.
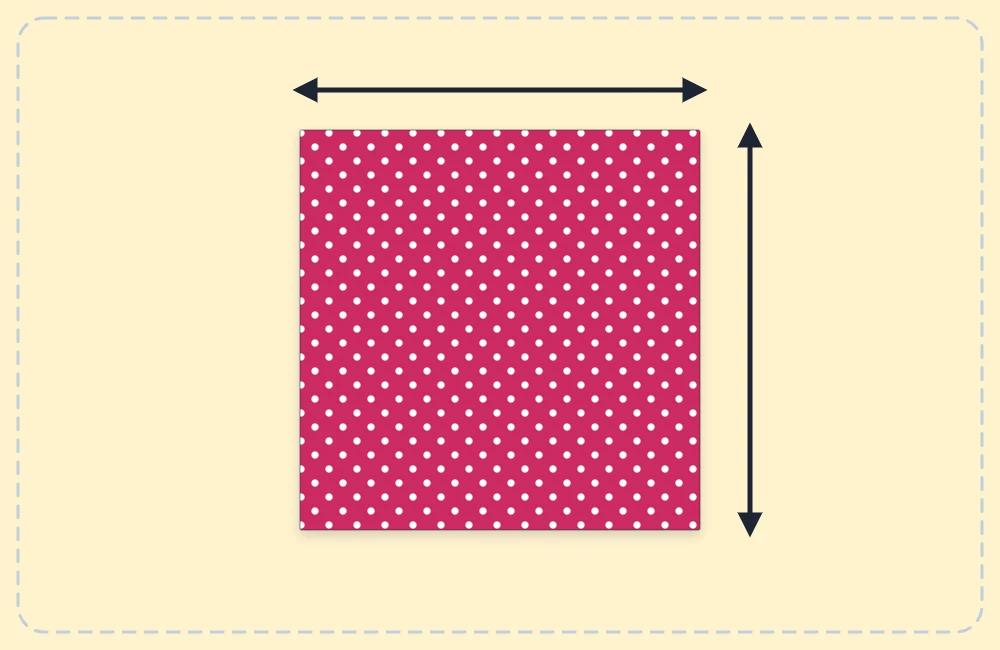
A bandana only looks right when it is truly square. Trim one edge straight first, then measure every other edge from it, keeping the corners at right angles. Folding the cut square diagonally is a quick check: the edges should meet all the way along. The guide on cutting fabric accurately shows how to square up a wavy store-cut edge.
Sewing the Narrow Hem Step by Step
Most of the work happens at the ironing board. Folds that are pressed sharply almost sew themselves.
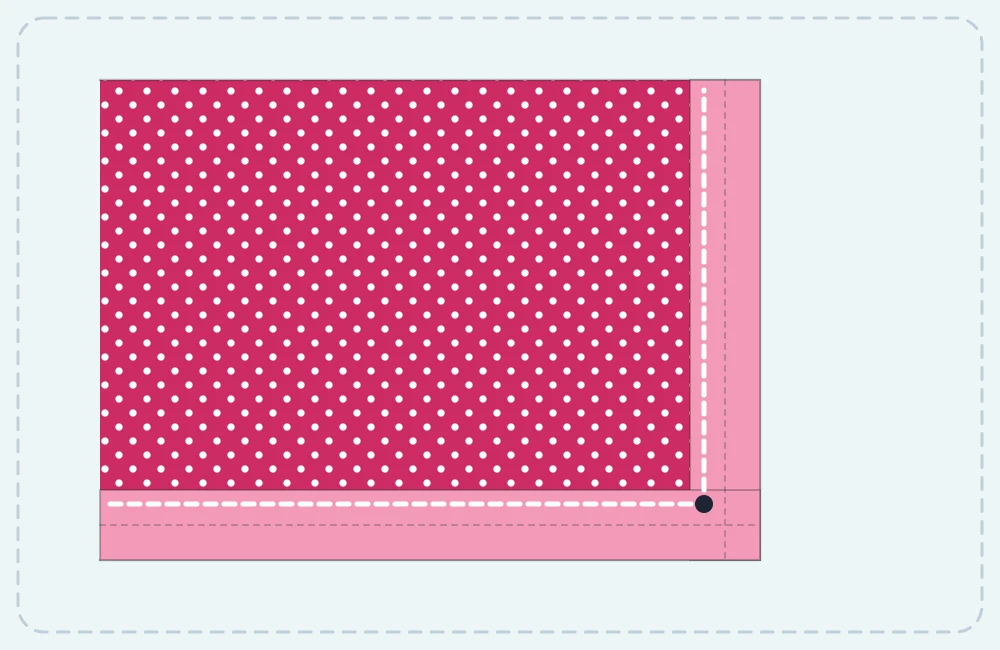
- Stitch a folding guide. With the wrong side of the fabric facing up, sew a line of straight stitches 1/4 inch (0.6 cm) from the raw edge on all four sides. This step is optional, but the line gives you an exact place to fold and makes the next steps much quicker.
- Press the first fold. Fold one edge toward the wrong side by 1/4 inch, right along the guide stitching, and press. Repeat on the other three sides. At the corners the folds simply cross over each other.
- Press the second fold. Fold the same edge over again by 1/4 inch so the raw edge is hidden inside, and press firmly. Work around all four sides. Check the width with the seam gauge every few inches.
- Square the corners. At each corner, one folded side lies on top of the next, forming a small square of layers. Press it flat and hold it with a clip or a pin placed well away from the stitching line.
- Start sewing mid-side. Place the bandana under the presser foot with the wrong side up, a few inches from a corner. Begin with 3-4 backstitches, then sew close to the inner folded edge, about 1/8 inch (0.3 cm) in from it.
- Pivot at each corner. Sew until you reach the inner fold of the next side. Stop with the needle down in the fabric, lift the presser foot, turn the bandana a quarter turn, lower the foot and continue.
- Finish the stitching. When you arrive back where you started, sew over the first few stitches, backstitch, and trim the threads close.
- Give it a final press. Press the hem flat from both sides to set the stitches.
Tip
Corners are the thickest part of the hem. If the machine hesitates there, turn the handwheel toward you by hand for a few stitches instead of pressing harder on the pedal.
Fixing Common Narrow Hem Problems
The Hem Ripples or Twists
This usually happens when the fabric is pulled or pushed as it goes under the foot. Let the machine feed the fabric and only steer it. Pressing each fold before sewing, without sliding the iron along the edge, also keeps the edge from stretching. The difference is explained in pressing versus ironing.
The Stitching Falls Off the Fold
Watch the folded edge, not the needle, and line it up with a fixed point on the presser foot. Sewing with the wrong side up lets you see the fold the whole way. If a short section misses, unpick just that part with a seam ripper and sew it again, overlapping a few stitches at each end.
The Fabric Gets Pulled Into the Needle Plate
Fine fabric can be pushed down into the hole at the very start of a line. Starting a few inches in from a corner, holding both thread tails behind the foot for the first stitches, and using a fresh, fine needle all help. Switch the machine off before changing the needle.
Ways to Use the Same Skill
Once the hem looks tidy, the same square can become other things with nothing more than a change of size or fabric. A smaller square in soft cotton is a handkerchief. A set of squares in a heavier cotton, with a wider hem, becomes a stack of cloth napkins. A long rectangle hemmed the same way is a light scarf.
Frequently asked questions
What size is a standard bandana?
Most are between 20 and 22 inches (51 to 56 cm) square. A 22 inch cut square with a 1/4 inch double-fold hem finishes at 21 inches.
Can a bandana be hemmed by hand?
Yes. Press the two folds the same way, then sew along the inner fold with small running stitches or a whipstitch. It takes longer but needs no machine.
Is a special presser foot needed for a narrow hem?
No. Rolled hem feet exist, but they take practice. Pressing two 1/4 inch folds and sewing with the regular presser foot gives a clean result.