How to Sew a Fabric Scrunchie From a Strip of Fabric and Elastic
Turn a strip of fabric and a short piece of elastic into a scrunchie with one straight seam. A quick scrap project that teaches turning a tube and threading elastic.
Tutorial at a glance
Materials
- Fabric strip, 22 x 4 inches (56 x 10 cm)
- 8 inches (20 cm) of 1/4 inch (6 mm) wide elastic
- All-purpose polyester thread
- Universal 80/12 machine needle
- Fabric shears or rotary cutter, mat and ruler
- Pins or sewing clips
- Two safety pins
- Hand sewing needle (optional)
Few projects give a faster result than a fabric scrunchie. It needs one strip of fabric, a short piece of elastic and a single straight seam, and it uses up leftovers that are too small for anything else. For a beginner it is useful practice in three small skills: sewing a narrow seam accurately, turning a tube right side out, and threading elastic through a channel. This scrunchie is cut from a 22 x 4 inch (56 x 10 cm) strip and sewn with a 1/4 inch (6 mm) seam allowance.
What You Need
- A strip of lightweight woven fabric at least 22 x 4 inches (56 x 10 cm)
- 8 inches (20 cm) of elastic, 1/4 inch (6 mm) wide
- All-purpose polyester thread
- A universal 80/12 machine needle
- Fabric shears, or a rotary cutter with a mat and ruler
- Pins or sewing clips
- Two safety pins
- A hand sewing needle (optional, for closing the scrunchie by hand)
- An iron
Choosing the Fabric
Quilting cotton is the easiest choice and comes in endless prints. Cotton lawn and other light cottons make a softer, floppier scrunchie. Satin and velvet are popular, but they slide and fray, so they are better saved for a second or third attempt. Stretchy knit fabric behaves differently under the needle; the guide on how to choose fabric explains the difference between wovens and knits. Press the fabric flat before cutting.
Cutting List
| Piece | Quantity | Cut size |
|---|---|---|
| Fabric strip | 1 | 22 x 4 inches (56 x 10 cm) |
| Elastic, 1/4 inch (6 mm) wide | 1 | 8 inches (20 cm) |
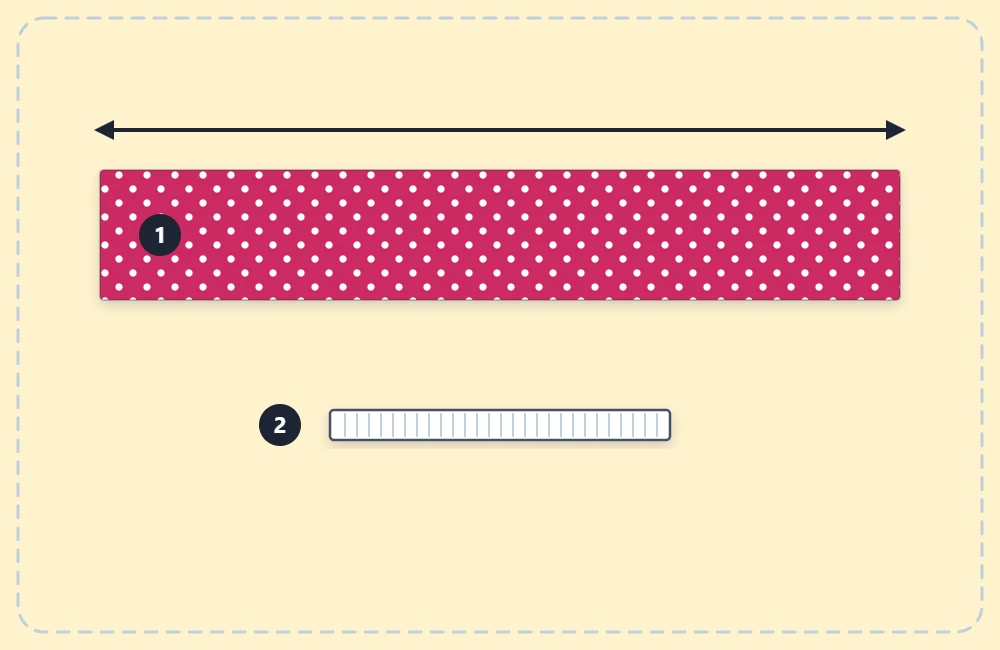
The numbers work out like this. The 4-inch width loses 1/4 inch on each side to the seam, leaving a tube 3 1/2 inches (9 cm) around, which lies about 1 3/4 inches (4.5 cm) wide when flat. The elastic loses 1/2 inch (1.3 cm) where its ends overlap, giving a loop of about 7 1/2 inches (19 cm). The fabric is nearly three times as long as the elastic, and that difference creates the gathers.
Sew the Fabric Scrunchie
Set the machine to a straight stitch about 2.5 mm long. A 1/4 inch seam is narrower than the seams on most bag and pillow projects, so sew slowly and keep the fabric edges against the 1/4 inch guide; on many machines this is the right-hand edge of the standard presser foot, but check your machine’s manual. The basics are covered in the guide on how to sew a straight seam.
- Fold the strip. Fold the fabric in half lengthwise with the right sides together, so the two long edges meet. Pin or clip along the long edge.
- Sew the long edge. Sew down the long edge with a 1/4 inch (6 mm) seam allowance, backstitching 3 or 4 stitches at both ends. Leave both short ends open. Remove pins as you reach them.
- Turn the tube. Fasten a safety pin to one layer at one short end. Push the pin into the tube and work it along the inside, gathering the fabric over it and pulling it through, until the tube is right side out. Remove the pin.
- Press the tube. Roll the seam so it sits along one edge and press lightly. This step is optional, since the gathers hide the seam, but it makes the next steps easier.
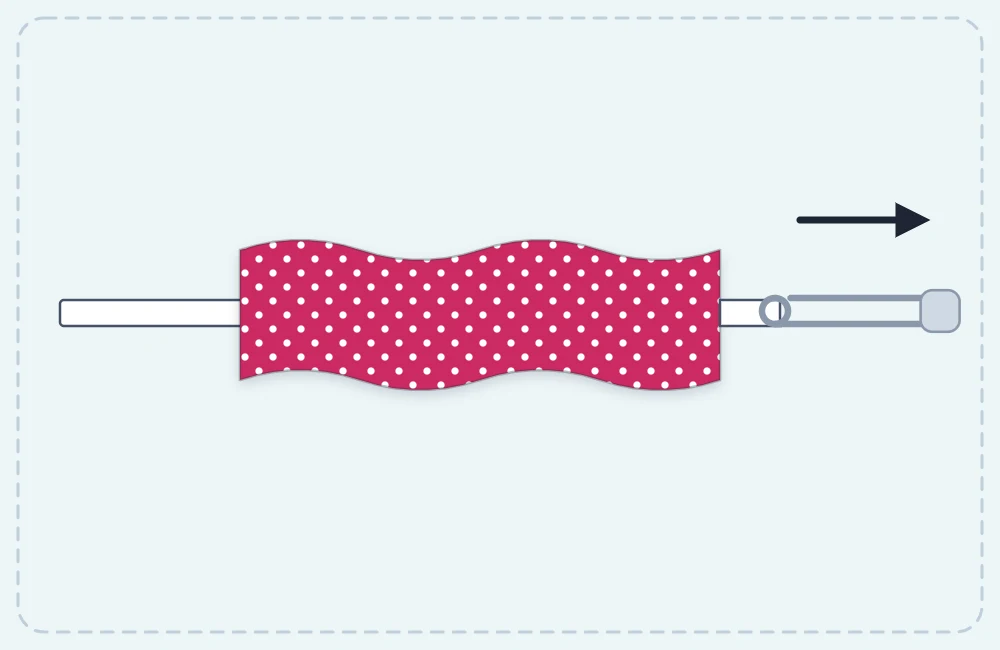
- Thread the elastic. Fasten one safety pin to one end of the elastic. Use the second safety pin to anchor the other end of the elastic to one end of the tube, so it cannot disappear inside. Feed the first pin through the tube, bunching the fabric up behind it, until it comes out at the far end.
- Join the elastic. Overlap the two ends of the elastic by 1/2 inch (1.3 cm), making sure it is not twisted. Sew back and forth across the overlap several times with a zigzag or straight stitch. Remove both safety pins. A firm double knot also works if the overlap is hard to fit under the presser foot.
- Tuck one end in. At one short end of the tube, fold the raw edge about 1/2 inch (1.3 cm) to the inside, all the way around.
- Close the ring. Slide the other raw end about 1/2 inch (1.3 cm) into the folded end. Make sure the tube is not twisted, then pin through all the layers.
- Stitch it closed. Stretch the elastic out of the way so the fabric lies flat, and sew straight across the join by machine, close to the folded edge, backstitching at both ends. For a less visible finish, close it by hand with small whipstitches around the fold; the stitch is shown in the guide to hand sewing basics.
- Arrange the gathers. Stretch the scrunchie a few times and spread the fabric evenly around the elastic.
Tip
Before joining the elastic in step 6, wrap the loop around a ponytail or wrist and pinch the ends to test the fit. Trim the elastic if the loop feels loose.
Troubleshooting
- The tube will not turn. Very stiff fabric or a seam wider than 1/4 inch makes the tube tight. Work slowly, easing a little fabric over the safety pin at a time, and choose a softer fabric next time.
- The seam pops open while turning. The stitching drifted too close to the edge. Turn the tube back, sew the weak section again and repeat.
- The elastic vanished inside the tube. Pull it out, pin the loose end to the fabric and thread it again.
- The scrunchie feels loose in thick hair. Open the join, shorten the elastic by 1/2 to 1 inch (1.3 to 2.5 cm) and close it again.
Easy Variations
Changing the strip changes the look, while the method stays the same.
| Style | Fabric strip | Elastic |
|---|---|---|
| Slim | 18 x 3 inches (46 x 7.5 cm) | 8 inches (20 cm) |
| Standard | 22 x 4 inches (56 x 10 cm) | 8 inches (20 cm) |
| Extra full | 28 x 5 inches (71 x 12.5 cm) | 8 inches (20 cm) |
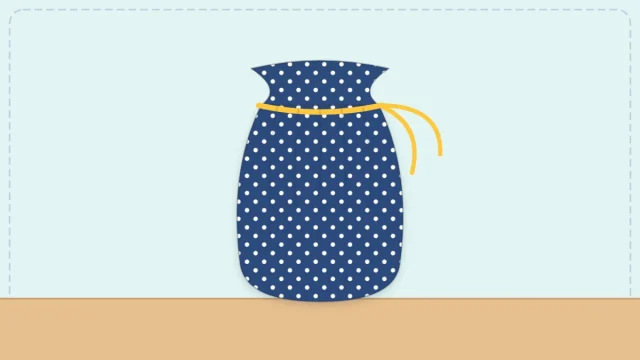
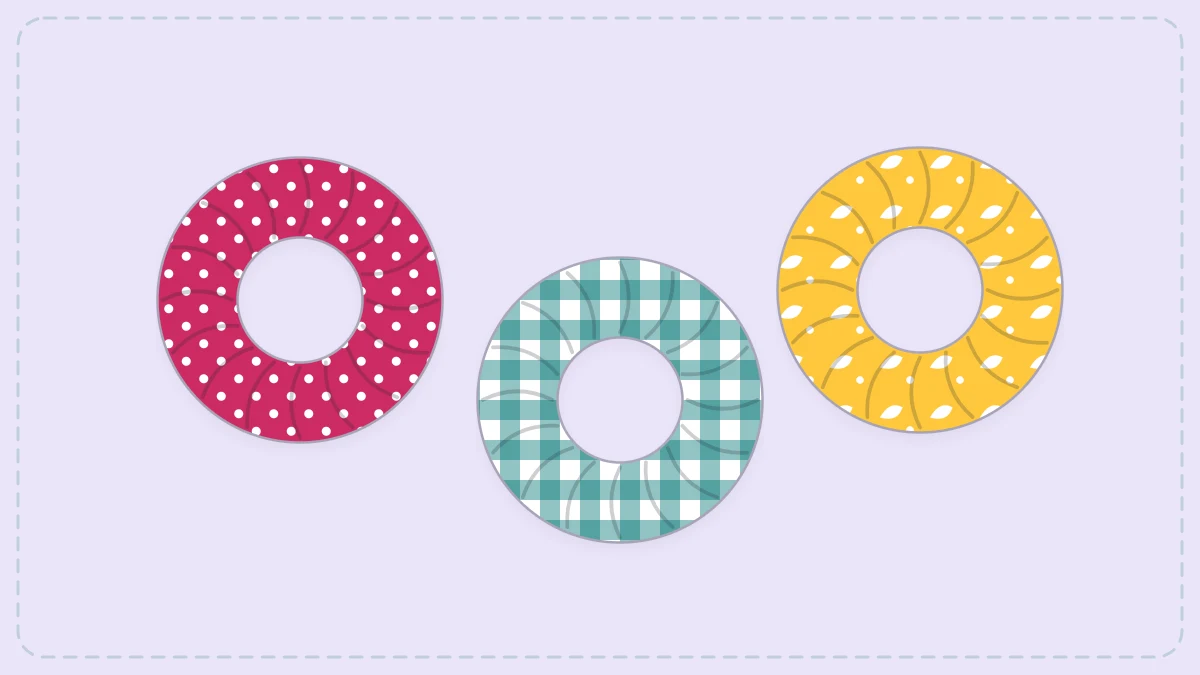
A set of three in coordinating prints makes a quick handmade gift, and a small drawstring bag in one of the same fabrics turns it into a neat package.
Frequently asked questions
Can a scrunchie be sewn entirely by hand?
Yes. Sew the long seam with a small backstitch, which is the strongest hand stitch, then turn, thread and close the scrunchie the same way.
What elastic is best for a scrunchie?
Braided or knitted elastic 1/4 inch (6 mm) wide is the usual choice. Wider elastic is harder to thread and makes a stiffer scrunchie.
How should a fabric scrunchie be washed?
Wash it with similar fabrics and let it air dry. High dryer heat shortens the life of elastic.