Quilted Fabric Coasters From Scraps
Turn leftover cotton into a set of four quilted coasters for cold and room-temperature drinks. Three layers, one seam, topstitching and a simple quilted X.
Tutorial at a glance
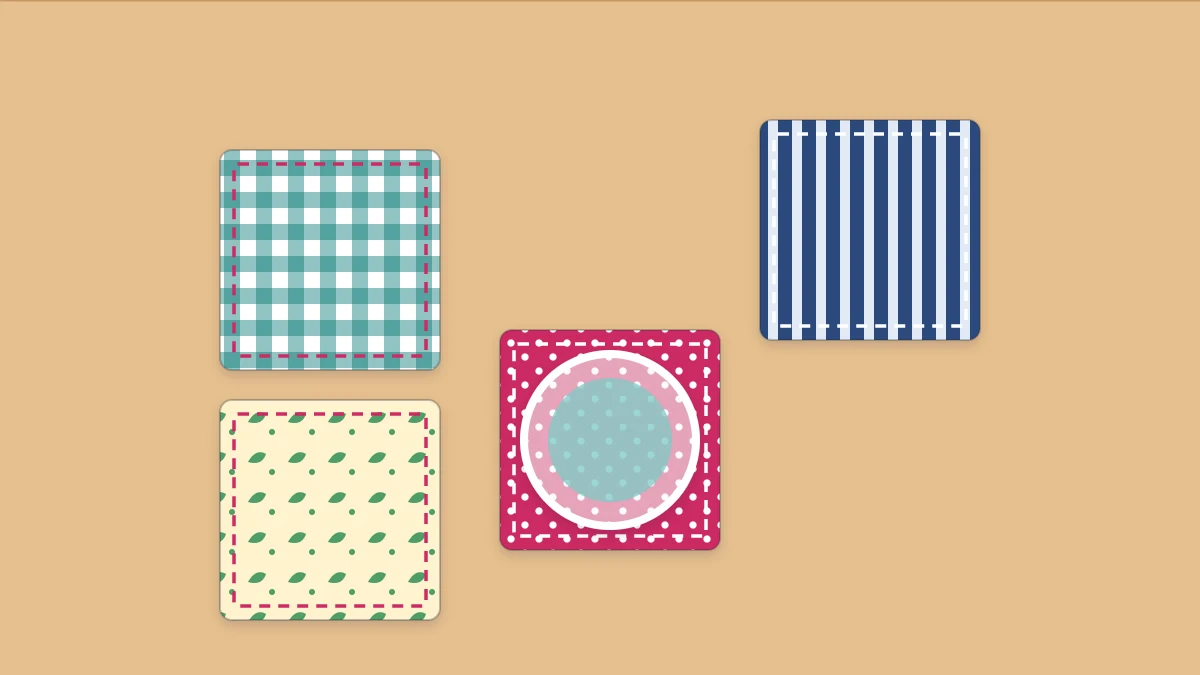
Materials
- Cotton scraps for four top squares
- Cotton fabric for four backing squares
- Thin cotton batting, 10 x 10 in (25 x 25 cm)
- All-purpose thread
- Universal 80/12 or 90/14 machine needle
- Fabric scissors or rotary cutter, mat and clear ruler
- Chalk marker or removable fabric marker
- Pins or sewing clips
- Iron and a chopstick for corners
Quilted fabric coasters are small enough to cut from leftovers and quick enough to finish a full set in one sitting. Each one is a miniature version of a quilt: a top, a soft middle layer and a backing, held together with a few lines of stitching. If you have a bag of scraps from earlier projects, this is a satisfying way to use the pieces that are too pretty to throw away.
These coasters are meant for cold and room-temperature drinks. The fabric and batting soak up the condensation that runs down a chilled glass, which is exactly what protects a table from water rings.
What You Need
The list below makes a set of four coasters.
- Cotton fabric scraps for the tops: four pieces at least 5 x 5 inches (12.5 x 12.5 cm)
- Cotton fabric for the backings: four pieces the same size, or one piece 10 x 10 inches (25 x 25 cm)
- Thin cotton batting: one piece 10 x 10 inches (25 x 25 cm)
- All-purpose thread in a color that looks good on the top fabric
- A universal 80/12 or 90/14 machine needle
- Fabric scissors, or a rotary cutter, mat and clear ruler
- A chalk marker or other removable fabric marker
- Pins or sewing clips, an iron, and a chopstick for the corners
Batting is the soft sheet used as the middle layer of quilts. Cotton batting is the practical choice for coasters because it absorbs moisture and lies flat. Quilting cotton is the easiest fabric for the tops and backings. Prewash it so the coasters do not shrink or bleed color the first time they are laundered.
Cutting the Pieces
Every piece is the same size, which makes cutting simple. Press the scraps flat first so the squares are accurate.
| Piece | Cut for one coaster | Cut for a set of four | Size |
|---|---|---|---|
| Top fabric | 1 | 4 | 5 x 5 inches (12.5 x 12.5 cm) |
| Backing fabric | 1 | 4 | 5 x 5 inches (12.5 x 12.5 cm) |
| Batting | 1 | 4 | 5 x 5 inches (12.5 x 12.5 cm) |
The project uses a 1/4 inch (0.6 cm) seam allowance, the standard width in quilting. A seam on each side removes 1/2 inch in total from the width and from the height, so a 5 inch square finishes at 4 1/2 x 4 1/2 inches (11.5 x 11.5 cm). For help cutting several identical squares, see the guide on how to cut fabric accurately. Rotary cutter blades are extremely sharp, so close the guard every time you put the cutter down.
Sewing the Coasters Step by Step
Work through all four coasters one step at a time instead of finishing them singly.
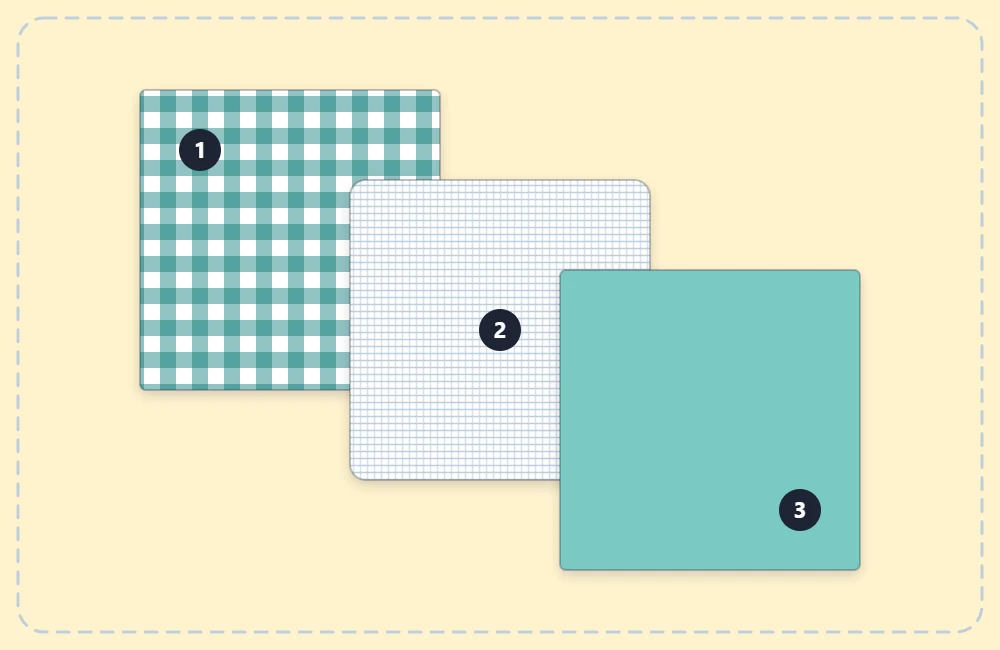
- Stack the layers. Lay a batting square on the table. Place a top square on it with the right side (the printed side) facing up, then a backing square with the right side facing down. Match the edges and pin or clip the stack.
- Mark a turning gap. On one side, make two marks 2 inches (5 cm) apart near the middle. This stretch stays open.
- Sew around the square. Begin at one mark with 3-4 backstitches. Sew 1/4 inch (0.6 cm) from the edge, pivoting at each corner with the needle down and the presser foot lifted. Stop at the second mark and backstitch. Remove pins before they reach the needle.
- Trim the corners. Snip across each corner diagonally, a few threads outside the stitching. Trim the batting in the seam allowance close to the stitches to reduce bulk.
- Turn right side out. Reach through the gap between the top and the backing and pull the coaster through, so the batting sits in the middle. Ease the corners out with the chopstick. Do not use scissor points, which can poke through.
- Press. Tuck the raw edges of the gap to the inside so they follow the line of the sewn edge. Press the coaster flat and clip the gap shut.
- Topstitch the edge. Topstitching is visible stitching sewn from the right side. Lengthen the stitch to about 3.0 and sew 1/8 inch (0.3 cm) from the edge around all four sides. This closes the gap and gives a clean frame.
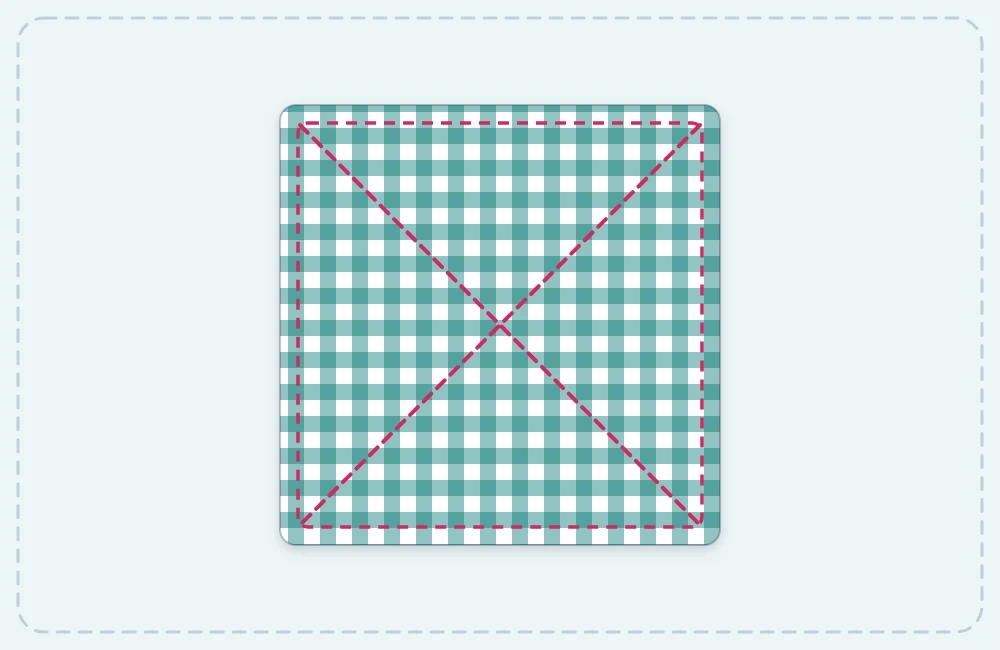
- Mark the quilting lines. Use the ruler and chalk to draw a line from one corner to the opposite corner, then a second line between the other two corners, forming an X.
- Quilt the X. Sew along each chalk line through all the layers, starting and ending at the topstitching with a few backstitches. Brush off the chalk and press once more.
Tip
Press after turning and before topstitching, every time. A coaster that is pressed flat with its seam rolled right to the edge is far easier to topstitch evenly. The basics are covered in pressing for sewing.
Where Coasters Should and Should Not Be Used
Use these coasters under iced drinks, water glasses, cans and anything else that is cold or at room temperature. They are not trivets or pot holders, and nothing in this project is tested for heat, so do not rely on them under hot cookware or dishes straight from the oven or microwave.
Watch out
A coaster that has soaked up a lot of condensation can pass moisture through to the table. On delicate wood finishes, swap a damp coaster for a dry one and let the first air dry.
Variations to Try
Different Quilting Lines
The X is the simplest pattern, but any straight lines work. Try two or three parallel lines spaced 1 inch (2.5 cm) apart, or a small square echoing the edge. Keep the lines no more than about 2 inches apart so the batting stays in place through washing.
Scaling Up
The same sew, turn and topstitch method makes larger mats. A cut size of 7 x 7 inches (18 x 18 cm) gives a 6 1/2 inch mat for a plant pot saucer or a carafe of cold water. Go bigger still and you are making reversible placemats, which use the same sequence on a rectangle.
Washing and Care
Machine wash the coasters in cool or warm water with similar colors and dry them flat or on low heat. Press them afterward if the edges curl. Small puckers along the quilting lines after the first wash are normal for cotton batting and are part of the quilted look.
If the layers shifted while you were quilting, the seam widths were probably uneven to begin with. The seam allowance guide shows how to use the markings on the needle plate to keep a steady 1/4 inch.
Frequently asked questions
Can fabric coasters be used under hot mugs?
These are designed for cold and room-temperature drinks only. They have not been tested for heat and should not be treated as trivets or pot holders.
What can replace batting in a coaster?
A square of cotton flannel or two layers of leftover cotton fabric will work. The coaster will be flatter and absorb a little less moisture.
Is a walking foot needed to quilt coasters?
No. A coaster is small enough that a regular presser foot handles the three layers. Pressing well and using a slightly longer stitch helps keep the layers from shifting.