How to Start Sewing: The First Skills to Learn and in What Order
A clear order for learning to sew: set up a small corner, get to know the machine, practice straight lines, then move on to seams, hems and a first project.

Learning how to start sewing is mostly a matter of doing a few small things in the right order. You do not need a dedicated room, a shelf of gadgets or a talent for crafts. You need a machine that runs, a yard or two of plain cotton and a plan that adds one skill at a time. The order below keeps early frustration low because each stage asks you to learn only one new thing.
Set Up a Small Sewing Corner
A sturdy table, a chair at a comfortable height and good light are enough. Place the machine so the needle sits roughly in front of the middle of your body, and put the foot pedal where your foot rests naturally. Leave clear space to the left of the machine so the fabric can lie flat instead of dragging off the table edge, which pulls seams crooked.
Keep the tool list short at first: fabric scissors, pins or clips, a tape measure, a seam ripper, thread and an iron. A basic beginner sewing kit covers everything the first few projects require, and the rest can wait until a project actually calls for it.
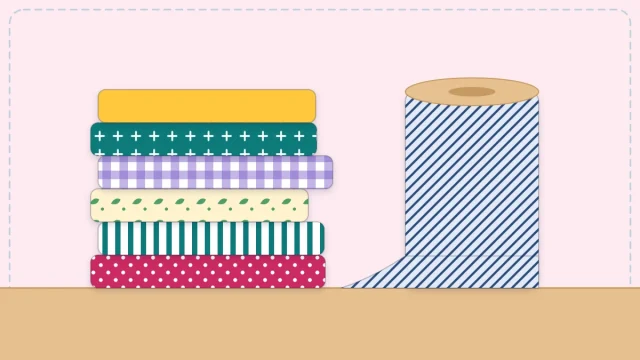
For practice fabric, choose quilting cotton or an old cotton pillowcase or bedsheet. These fabrics are woven and stable, and they do not stretch or slide, so the material will not fight you while your hands learn what to do.
Get to Know the Machine Before You Sew
Read the first pages of your machine’s manual with the machine in front of you. Find the power switch, the handwheel on the right side, the presser foot lever, the stitch selector and the reverse button or lever. Turn the handwheel toward you by hand and watch the needle go down and come back up. That one slow movement is everything the machine does, just repeated quickly.
Next, learn how to thread the machine and wind a bobbin. The bobbin is the small spool that sits under the needle and supplies the lower thread. Threading feels fiddly the first few times, so do it five or six times in a row until the path is familiar. A missed threading step is behind a large share of beginner stitching problems, so this practice keeps paying off.
Watch out
Switch the machine off before you change a needle or clean around the bobbin, and keep your fingers a safe distance from the needle whenever it is moving.
Practice Straight Lines on Scrap Fabric
Before you make anything, sew lines. Fold a piece of cotton in half so you are stitching through two layers, lower the presser foot and press the pedal gently. Let the machine move the fabric. Your hands only steer; they should never push or pull.
Striped fabric makes a useful practice swatch because the stripes act as ready-made lines to follow. Sew along one stripe, then sew a row a presser foot’s width away from it, then another. Aim for a slow, steady speed rather than a fast one.
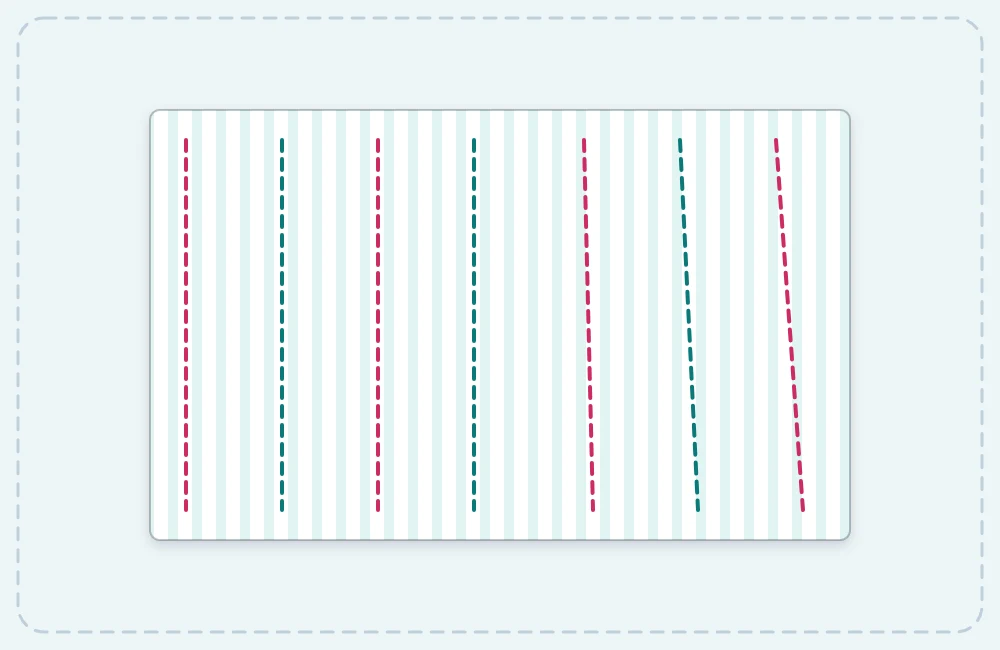
When the rows start to look parallel, practice starting and stopping. Sew three or four stitches forward, three or four in reverse, then forward again. This is called backstitching, and it locks the thread so the seam cannot unravel. The full method for sewing a straight seam adds one more habit: watching the fabric edge against a guide line instead of watching the needle.
Learn the First Skills in This Order
Sewing skills stack. Each one below depends on the one before it, which is why skipping ahead usually ends with a seam ripper in hand.
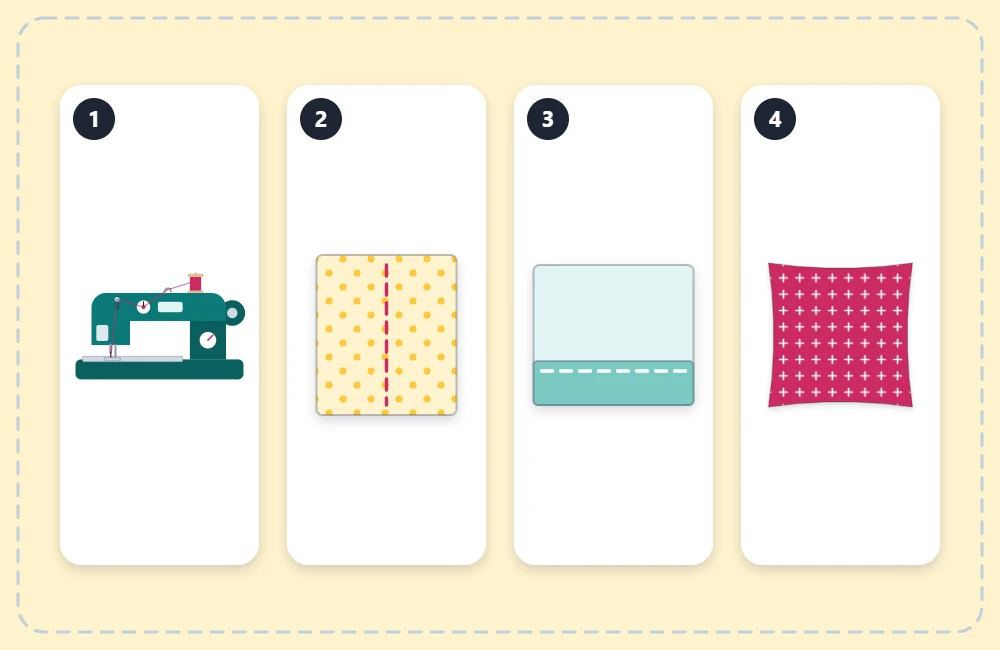
- Thread the machine. This covers the upper thread, the bobbin, and bringing the bobbin thread up through the needle plate. Repeat it until you can do it without the manual.
- Sew a straight seam. A seam joins two pieces of fabric. Practice keeping an even seam allowance, which is the distance between the stitching and the cut edge. A 1/2 inch (1.3 cm) allowance is common in home and bag projects.
- Sew a hem. A hem finishes a raw edge by folding it over twice and stitching it down. It teaches you to measure, press and stitch close to a fold.
- Make a simple project. A pillow cover uses only straight seams and hems, so it puts the first three skills together in one finished object.
Two supporting habits belong alongside that list. Cut accurately, because pieces that are cut crooked can never be sewn straight. And press as you go: set the iron down on each seam after you sew it instead of saving all the pressing for the end. Pressed seams lie flat, and the next seam that crosses them will be far easier to sew.
Choose a First Project That Forgives Mistakes
A good first project is flat, made from rectangles and has no closures, curves or fitting. An envelope pillow cover is a classic choice: three rectangles, two hems and one seam around the outside. Cloth napkins, a drawstring bag and a simple tote are in the same family.
Leave clothing for later. Garments add curved seams, fit and slippery or stretchy fabrics all at once, and a pair of pants that does not fit is far more discouraging than a pillow cover with a slightly wobbly seam. Home items hide small errors well, and nobody inspects the inside of a pillow.
Whatever you choose, read the instructions all the way through before cutting, and wash and dry cotton fabric first so it does its shrinking before it is sewn rather than after.
Build a Habit of Short Practice Sessions
Twenty or thirty minutes a few times a week tends to teach more than one long weekend session, because your hands remember what they did recently. Keep the machine threaded and a few scraps nearby so that sitting down takes no setup at all.
Expect mistakes and plan for them. Unpicking a seam is a normal part of sewing at every level, not a sign that something has gone wrong. When stitches look odd, work through the same short list every time: rethread the upper thread with the presser foot raised, reseat the bobbin, and fit a fresh needle. A universal 80/12 needle suits medium-weight cotton, and needles are usually replaced after roughly six to eight hours of sewing or as soon as stitches start to skip.
Keep your first practice swatch. After a month of short sessions, sew a new one and set the two side by side. The difference between them is the clearest measure of progress you will get.
Frequently asked questions
Can you learn to sew without taking a class?
Yes. A machine manual, scrap cotton and a simple project made of rectangles are enough to learn the core skills at home. A class can speed things up, but it is not required.
How long does it take to learn the basics of sewing?
It varies from person to person. Many beginners can thread a machine and sew a reasonably straight seam after a handful of short practice sessions, while neat, consistent results take longer.
Is it better to start with hand sewing or a sewing machine?
Either works. A machine is faster for seams and hems, while hand sewing costs almost nothing to try and remains useful for closing openings and small repairs.
What should a beginner sew first?
Start with flat items made from rectangles, such as a pillow cover, cloth napkins or a drawstring bag. They need only straight seams and simple hems.